16
After the cover is locked the operation indicator
(Figure 1 A) switches from red to green. Either the
number "6" or the last selected speed appears in
the speed display (Figure 1 B).
If you use the all purpose bowl then you have the
option, depending on the material to be proces-
sed or recipe recommendations, of freely selec-
ting from speeds 1 - 12 by using the buttons for
adjusting the level of speed (Figure 1 D). The
speed may also be changed during operation.
Please note:
Everything which is to be processed in the Mul-
tiple Use Appliance has to be carefully prepared.
Remove seeds from fruit having seeds.
Meat and bacon should be de-boned.
Food should be prepared in such a way that it
passes through the filling inlet.
The equipment is started by pressing the ON/OFF
switch (Figure 1 C).
The unit may also be started by means of the
pulse (Figure 1 E) or automatic pulse
(Figure 1 F).
Use the stopper / measuring beaker (Figure 2 C)
for pressing in material to be cut and for closing
the filling inlet.
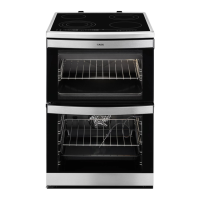
■ Using the Metal Plates
Place the metal plate selected onto the bayonet
lock of the plate retainer (Figure 2K). Turn the
pate retainer in a counterclockwise direction
until it stops.
Caution: Please do not
touch the cutting
edge. Danger of injury!
Now place the plate
retainer into the
already prepared all
purpose bowl.
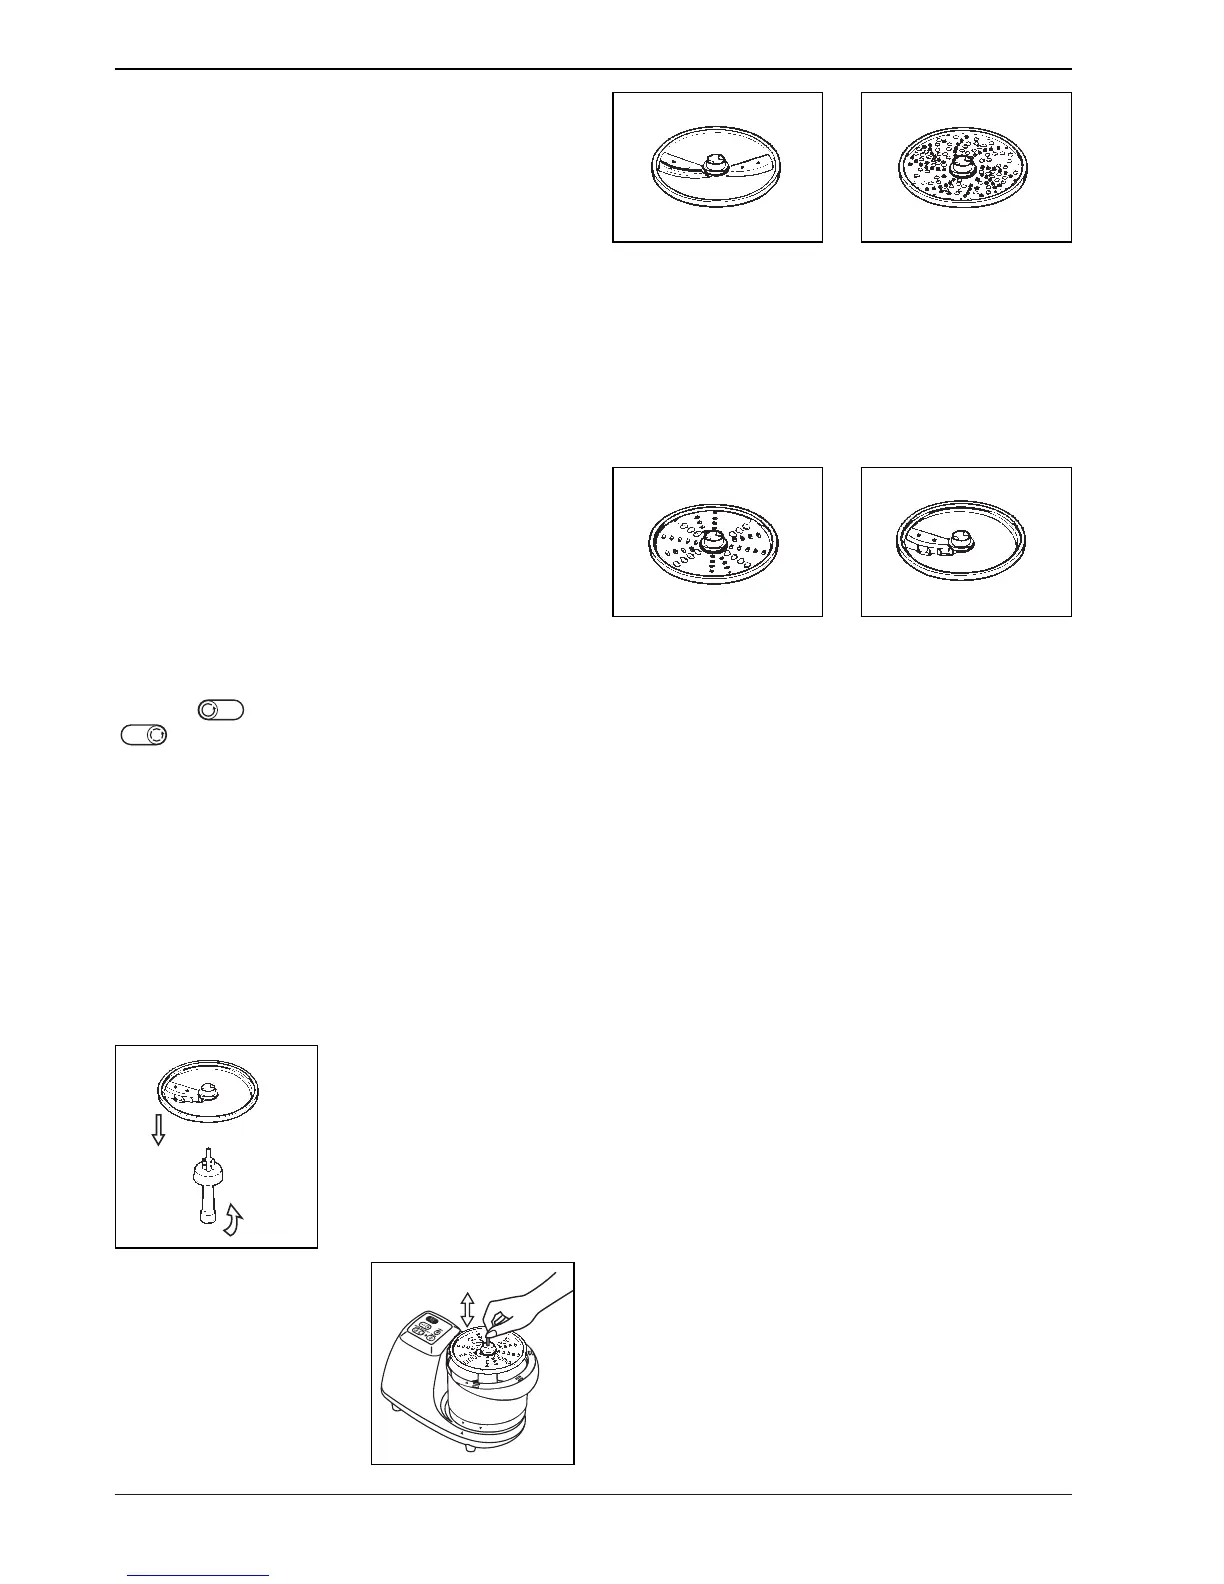
Cutting plate Grating plate
fine/rough (Figure 2F) (Figure 2G)
Both sides of the Use speeds 10 - 12
plate may be used. for grating.
Use speeds 1 - 6
for cutting.
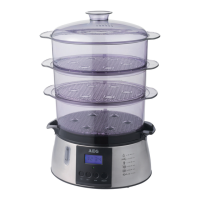
Rasping plate
French fries plate
fine/rough (Figure 2I)
(Figure 2 H) Use the plate
Use speeds 1 - 6 with speeds 1 - 4.
for rasping.
Both sides of the plate
may be used.
The following applies as a rule for use of the
metal plates:
■ Prepared food should be cut small enough
that it passes through the filling inlet.
■ Materials should be placed in a vertical direc-
tion, side by side into the filling inlet.
■ Use only the stopper for addition pressing.
■ The thickness of the material to be cut may be
affected by the additional pressure applied.
■ Select the lower speeds for softer cutting
materials and the higher speeds for harder
materials.
Use of the Stirring Bowl (Figure 3A) /
Kneading Hook (Figure 3E) / Stirring
Element (Figure 3F) / Beater Insert
(Figure 3G)
■ Attaching the stirring bowl (Figure 3 A);
cf. section on "Attaching the All Purpose
Bowl"