English
46
Special safety information
This device works with a class 1 laser.
WARNING:
Avoid damage to your hearing with volume that is too high.
CAUTION:
Do not touch the loudspeaker membranes (7) with your
hands or with objects. The membranes can get damaged
that way.
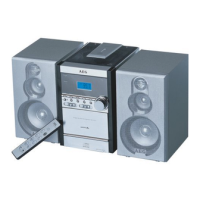
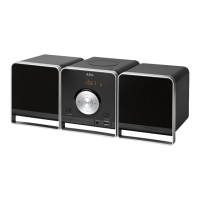
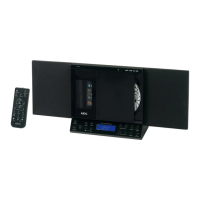
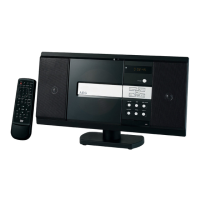
Overview of the Components
1 VOLUME control
2 Telescopic antenna
3 CD compartment
4 Carrying handle
5 PUSH TO OPEN button (open CD tray)
6 TUNING control
7 Loudspeaker membranes
8 PAIR/STANDBY control lamp (bluetooth/operating status)
9 IR sensor for the remote control
10 AUX-IN input
11 USB port
12 Display
13 SD CARD card slot
14 headphone connection
15 button
16 /PAIR button
17 STOP button
18 /+10 / /-10 buttons
19 PROG/P-MODE button
20 EQ/LIGHT button (equalizer/lighting effect)
21 FUNC button
Reverse (not shown)
AC Mains connection
Battery compartment
Remote control
1 MUTE button (mute)
2 STANDBY/
button (operational readiness)
3 MO/ST button (Mono/Stereo)
4 VOLUME buttons (volume)
5 button (playback/ pause)
6 TUN+/ button (radio station search upward/ next track)
7 PAIR button (disconnect current Bluetooth connection)
8 button (stop)
9 P-MODE button (playback mode)
10 TUN-/ button (radio station search downward/
previous track)
11 ID3 button (ID3 tag Meta data on/ off)
12 FOLD./10/M. buttons (album/ respectively
10 select tracks/ stored radio stations)
13 LIGHT button (lighting effect)
14 MEM button (storing)
15 FUNC. button (function mode)
16 EQ button (equalizer)
Start-up of the device/introduction
• Select a suitable location for the device, such as a dry,
flat, non-slip surface on which it is easy to operate the
machine.
• Ensure that the device is sufciently ventilated!
• Remove the protective lm from the display if it is still
present.
Power Supply
• Ensure that the voltage is the same as that indicated on
the model identification plate.
• Connect the power cable supplied (see battery compart-
ment if necessary) to a properly installed safety power
socket and the mains connector AC on the back of the
machine.
NOTE:
If the device is not used for a longer period of time, the
mains plug must be pulled from the socket.
Inserting the Batteries (not supplied)
1. Open the battery compartment lid on the rear.
2. Insert 8 batteries of type UM2/R14 1.5 V. Please ensure
that the polarity is correct (see the floor of the battery
compartment)!
3. Then close the battery lid.
NOTE:
When a mains cable is connected the batteries are auto-
matically switched off.
CAUTION:
• Batteries may leak and lose battery acid. If the device is
not used for a longer period of time, remove the bat-
teries.
• Different battery types or new and used batteries must
not be used together.
• Batteries are not to be disposed of together with
domestic wastes. Dispose of the used batteries at the
relevant collection bin or at your dealer’s.
WARNING:
The batteries shall not be exposed to excessive heat such
as sunshine, fire or the like. Danger of explosion!
 Loading...