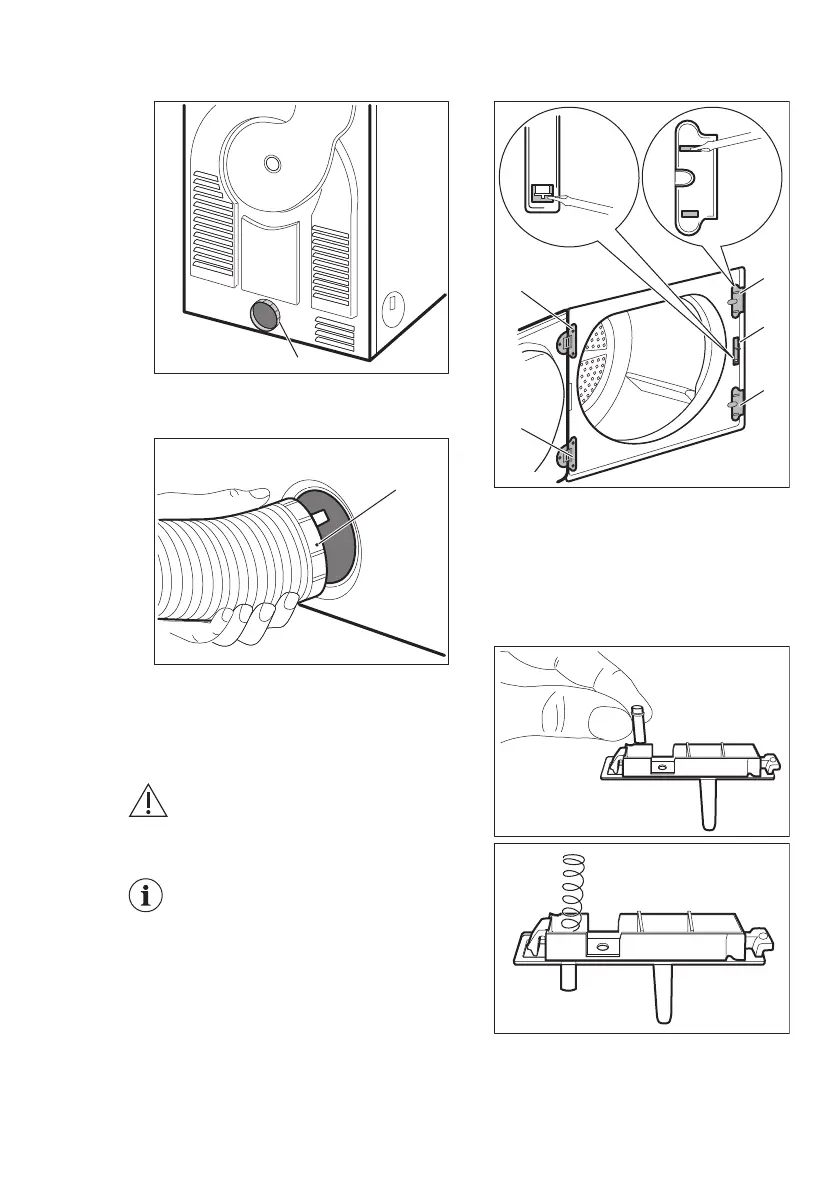
1. Pull the ring nut A from the vent
outlet at the rear.
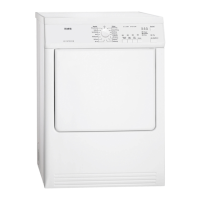
2. Screw on the ring nut to the hose
and push it into position.
3. The not used vents must be sealed
with supplied covers.
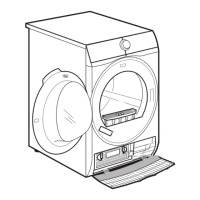
15.3 Load door reversal
WARNING!
Before changing the door
stop, disconnect the mains
plug.
Note regarding contact
protection: The appliance is
only secure for operations
again once all plastic parts
have been put.
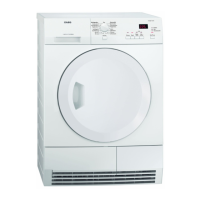
1. Open load door.
2. Unscrew hinge A from the front of
the appliance and remove the load
door.
3. Remove cover plates B. To do this,
put a thin screwdriver into the slots
as shown in the illustration, push
down lightly and remove the cover
plates.
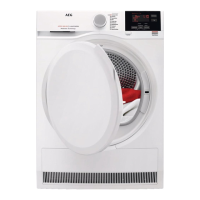
4. Use an applicable tool and apply
pressure to unlock part C, remove
and turn it through 180°, then put on
the other side. There is a small spring
below locking block C. To put all
parts together correctly, look at the
illustrations:
www.aeg.com
18