20
English
- remove the covers from the ends of the refrigerator lines and
tighten the fittings on the outdoor unit using two wrenches
to avoid warping the unit structure;
- Connect the vacuum pump to connectors (A) on the gas line
fittings;
- do not open the valves (the vacuum must be generated in
the refrigerator lines and indoor unit);
- generate vacuum conditions of up to 100 to 120 mmHg;
- On completion of the above operations and having finally
disconnected the vacuum pump, fully open the valves by
turning nuts (B) using a 4 mm male hex wrench;
- refit covers (C) and tighten;
- make the condensate drain connection;
- Carry out a final check, making sure that the lines are cor-
rectly positioned. Fix the refrigerator lines and electrical
cables together and anchor with fixing straps.
1
2
3
A
B
B
C
C
C
Max.
+7 m.
Max.
-7 m.
Max. 15 m.
3 m.
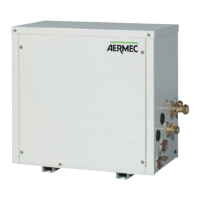
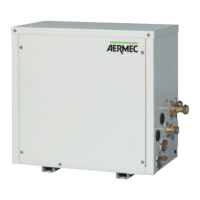
CWX
FIT A LOOP
Mod. CWX 1217 1817 2417
LG Ø [mm] 12,7 x 0,81 (
1
/
2
”) 12,7 x 0,81 (
1
/
2
”) 15,88 x 0,81 (
5
/
8
”)
CS [N.m] 49 ÷ 59 49 ÷ 59 62 ÷ 76
LL Ø [mm] 6,35 x 0,71 (
1
/
4
”) 6,35 x 0,71 (
1
/
4
”) 6,35 x 0,71 (
1
/
4
”)
CS [N.m] 15 ÷ 20 15 ÷ 20 15 ÷ 20
L max. [m] 15 15 15
H max. [m] 7 7 7
LG = gas line
LL = liquid line
CS = joint torque
L max. = maximum refrigerant line lenght
H max. = Max. difference of level between indoor and
outdoor units