Aerohive Networks
6
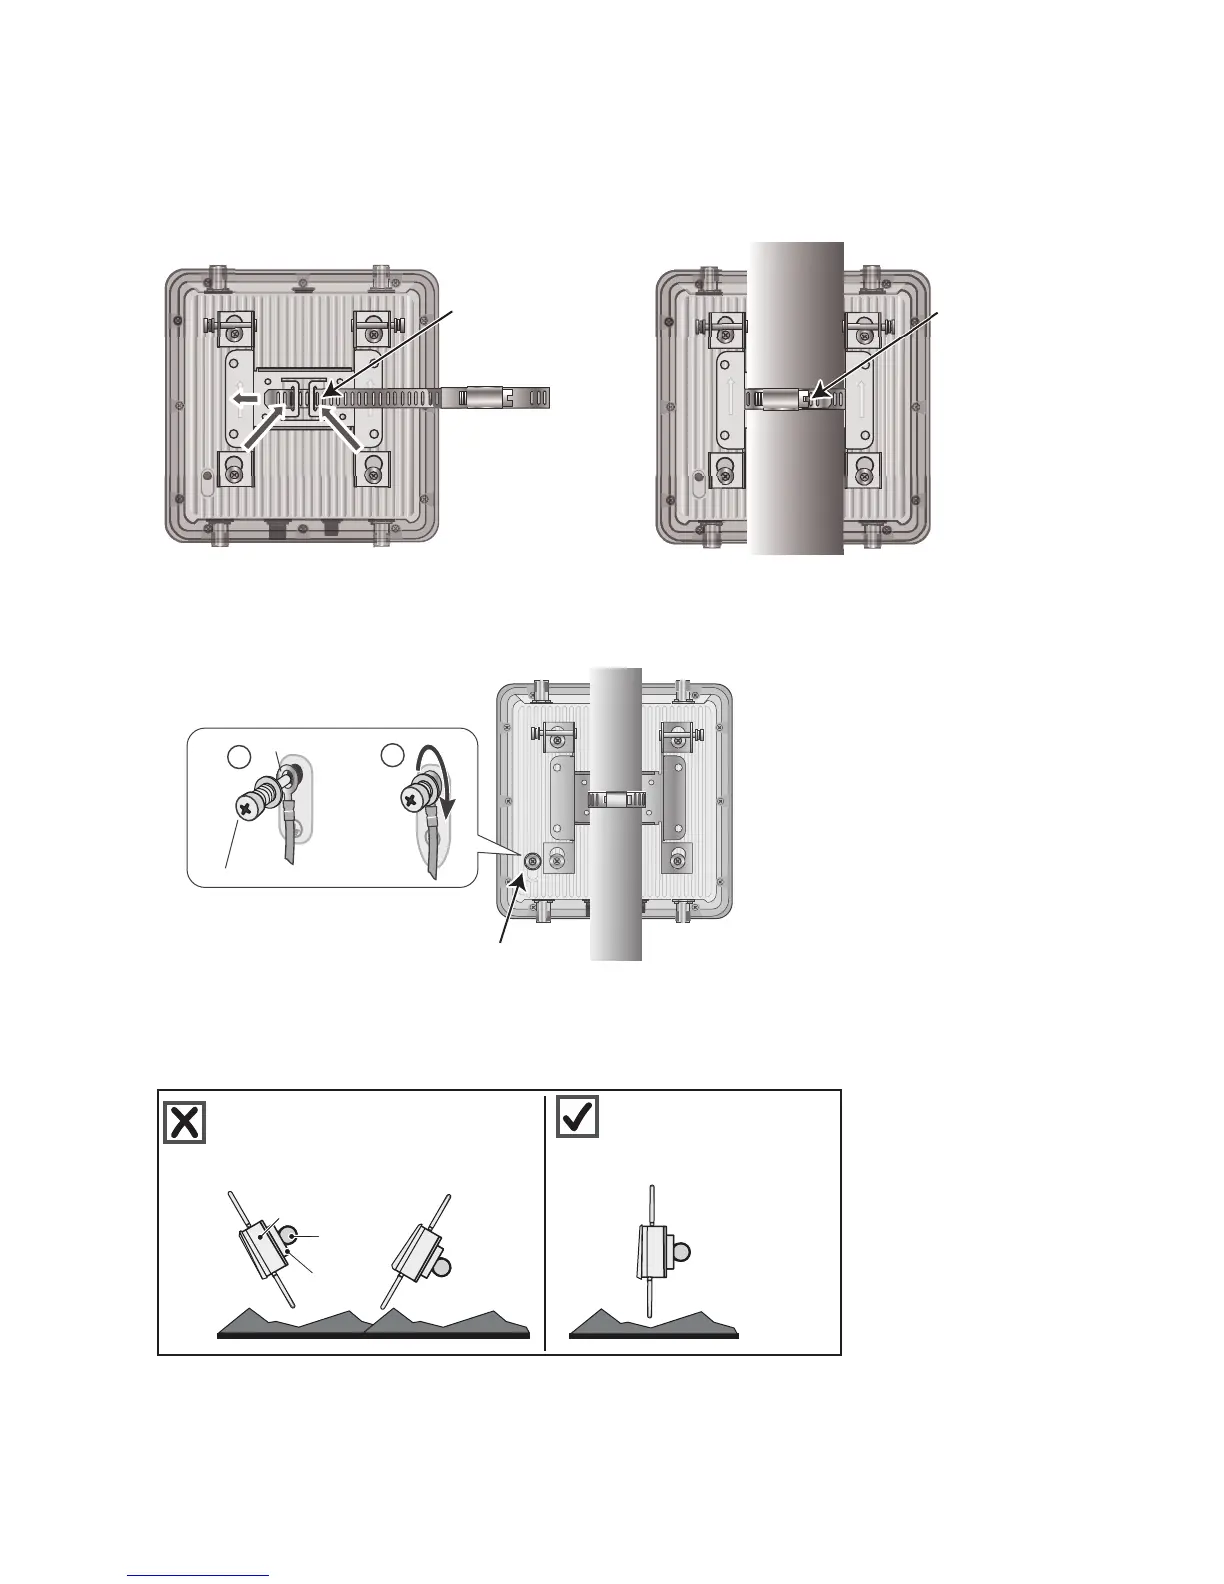
3. Fit the hose strap around the pole and tighten the clamp with a 1/4” (2 cm) slotted screwdriver or a
5/16” (8 mm) drive socket (or nut) driver.
4. Insert the fifth bolt with washer through the terminal on one end of the ground cable. Thread the bolt
into the ground hole on the back of the unit and tighten it until the ground terminal is secure.
5. Connect the other end of the cable to an appropriate ground.
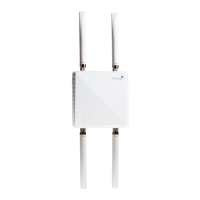
Correct Alignment for Horizontal Mounts
When attaching the AP1130 to a horizontal pole, such as the arm of a street light, make sure that the face of
the device is perpendicular to the Earth for optimal RF coverage.
Thread the strap
through the slots in
the mounting bracket
(a vertical pole
mount is shown).
Pole
Tighten the
clamp around
the pole.
Grounding lug
4
5
Grounding nut
Cable terminal
Pole
Earth
Bracket
Pole
AP1130
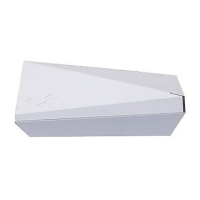
Not good. Angled slant of unit
and antennas provides suboptimal
RF coverage.
Good! Unit is perpendicular
to Earth and antennas are
oriented vertically for
optimal RF coverage.
 Loading...