Do you have a question about the Aerus LUX LEGASY C153E and is the answer not in the manual?
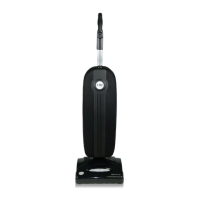
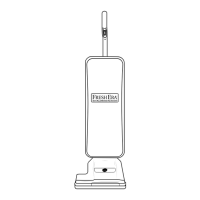
Details electrical ratings, dimensions, weight, and cord length.
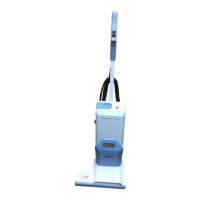
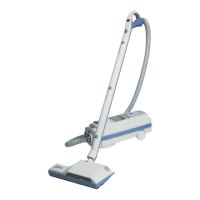
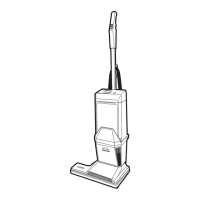
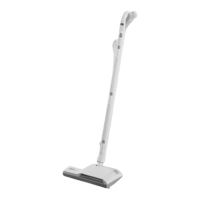
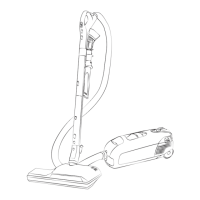
Step-by-step guide for connecting the hose, wands, and power nozzle.
Instructions for attaching the hose handgrip to the wands securely.
Procedure for connecting the wands to the power nozzle.
Steps to connect the power nozzle to the wand.
Guide for connecting the power hose to the vacuum unit.
How to properly connect and retract the power cord.
Steps to turn the vacuum cleaner on and off using the toe switch.
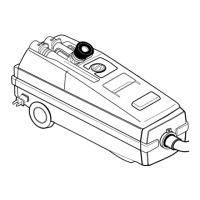
Guidance on using the power nozzle for various floor types.
Details on the power nozzle's control switch settings for different cleaning needs.
Procedure to follow if an object obstructs the power nozzle, including auto shut-off.
How the motor shuts off to prevent overheating and how to reset.
Instructions for using various cleaning attachments and adjusting suction.
Guide for using the combination tool for upholstery and crevices.
Steps for connecting the crevice nozzle for hard-to-reach areas.
How to attach and use the deluxe floor tool for hard floors.
Introduction to the Sidekick II accessory for enhanced cleaning.
Steps for clearing obstructions from the Sidekick II.
Procedure for restarting the Sidekick II after clearing a blockage.
Key steps to maintain the vacuum for peak cleaning efficiency.
Guide on how to remove and replace the afterfilters.
Method for clearing blockages within the vacuum cleaner hose.
Specifies what parts and labor are covered under the warranty.
Outlines necessary maintenance to keep the warranty valid.
Procedure for consumers to follow to get warranty service.
Lists conditions and damages not covered by the warranty.
Importance of serial numbers and authorized purchase channels for warranty.
Contact details for customer service and obtaining product updates.
Identifies the manufacturer and contact details for compliance.
| Brand | Aerus |
|---|---|
| Model | LUX LEGASY C153E |
| Category | Vacuum Cleaner |
| Language | English |