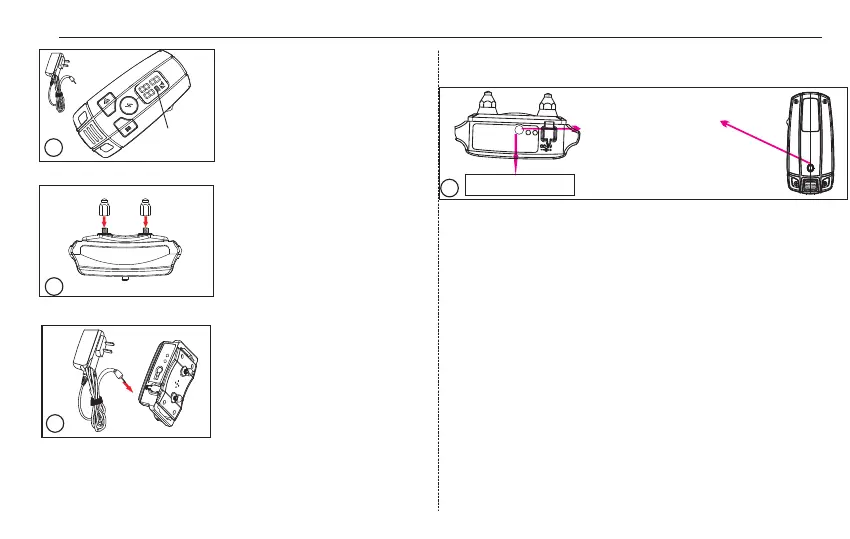
Step 2: Screw the metal
prongs onto the receiver till
the prongs are securely
attached. Normally, they
are assembled in the factory.
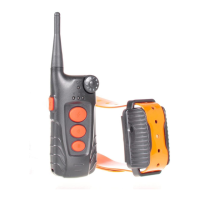
Quick Start
-02-
Step 1:
transmitter. The battery is
charging when the battery
status icon moves up and down.
When the battery is fully
charged, the icon will stop
moving and be full.
Charge the
2
Step 3:
The RED LED light of the receiver
will be on while the receiver is
charging. When the receiver is
fully charged, the BLUE LED will
be on. Once you unplug the
charger, the RED LED light will
stay solid on-waiting for sync.
At the same time, the Blue LED
light will go off.
Charge the receiver.
Tip 1: It is recommend to charge the transmitter and receiver for
up to 3 hours for the first 3 times.
Tip 3:After 3 minutes of inactivity, transmitter will go into
sleep mode. You can wake it up by pressing any function
keys (Vibrate, Shock and Beep).
3
1
Battery Status
Icon
Step 4: Turn the receiver on/off. Bring the magnet on the
transmitter near to the magnet switch on the receiver until
the receiver vibrates. At that time, the red light will be on/off,
indicating that the receiver is started/off. If you just finish
charging, unplug the charger, and the receiver is on already.
4
Tip 2: To do a self-test, place the magnet on the
transmitter near to the ON/OFF area on the receiver for 3
times, and the receiver will beep, vibrate or shock with
the blue light on, indicating the receiver works normally.
ON/OFF area
Place the magnet on the
transmitter near to the
magnet switch on the
receiver until the receiver
vibrates. The red light will be
on, indicating that the receiver
is started.