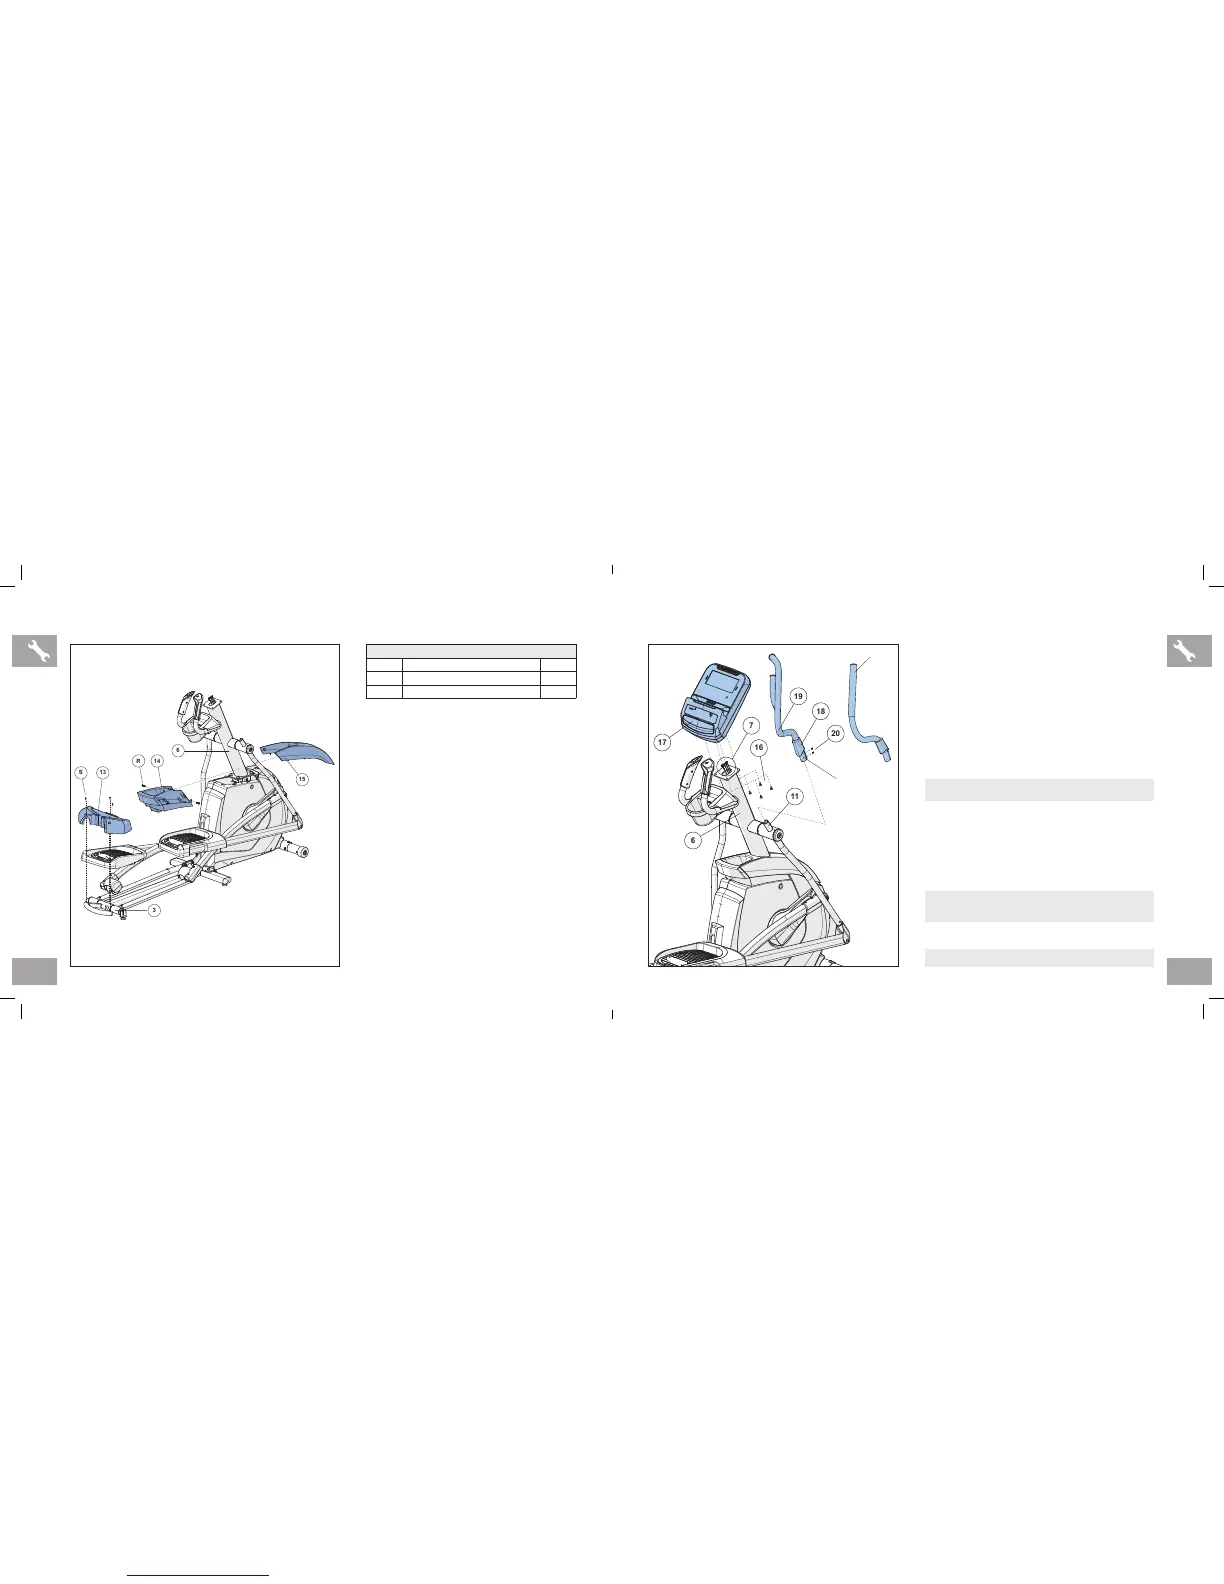
ASSEMBLY STEP 8
A Open HARDWARE FOR STEP 7.
B Slide TOP CAP REAR COVER (14) over
CONSOLE MAST (6) and attach using
2 SCREWS (R).
C Slide TOP CAP FRONT COVER (15) over
CONSOLE MAST (6) and snap into place.
D Slide REAR CAP (13) over REAR
STABILIZER (3) and attach using 3
SCREWS (S).
HARDWARE FOR STEP 8
PART TYPE QTY
R SCREW 2
S SCREW 3
ASSEMBLY STEP 9
NOTE: All hardware for this step is pre-installed.
A Remove 4 PRE-INSTALLED BOLTS (16) from the
CONSOLE (17).
B Attach the CONSOLE CABLES (7) to the
CONSOLE (17).
C Carefully tuck the CONSOLE CABLES (7) into the
CONSOLE MAST (6) before attaching the CONSOLE.
Attach CONSOLE (17) to CONSOLE MAST (6) using
4 PRE-INSTALLED BOLTS (16).
D Slide the HANDLEBAR BOOT (18) halfway up
the UPPER HANDLEBAR (19). Slide the UPPER
HANDLEBAR (19) onto the LOWER HANDLEBAR (11)
making sure handlebars are joined together completely.
Secure the UPPER HANDLEBAR (19) to the LOWER
HANDLEBAR (11) using PRE-ATTACHED SET
SCREWS (20).
E Repeat STEP D on other side.
NOTE: Make sure upper handlebars are as far down as
possible. Handlebars can be damaged If not secured correctly.
ASSEMBLY COMPLETE!
NOTE: Do not to pinch any wires while attaching the console.
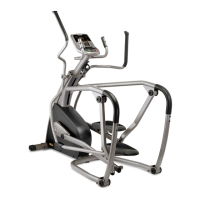
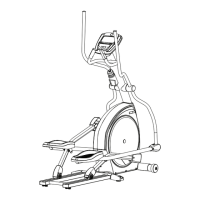
3.3AE HANDLEBAR
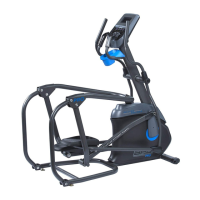
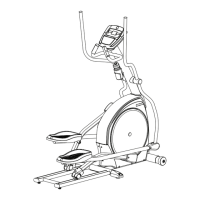
5.3AE/7.3AE
HANDLEBAR
AFG14_3.3AE_5.3AE_7.3AE_OM_r1_4.indd 18-19 5/20/14 9:12 AM


 To Next Page