The AG Dispensers are fitted with the unique high quality endless polyurethane belt,
giving long and lasting durability.
Regular routine maintenance will ensure your AG Dispenser
results.
Conveyor removal
ENSURE WHEN RUNNING/TESTING, NO MOVING PARTS ARE
INTERFERING WITH THE FRAMEWORK OR GUARDS.
PRIOR TO ANY MAINTENANCE ENSURE THE PRIME MOVER IS
SWITCHED OFF WITH THE KEY REMOVED
13
The AG Dispensers are fitted with the unique high quality endless polyurethane belt,
giving long and lasting durability.
Regular routine maintenance will ensure your AG Dispenser
Fig 9
ENSURE WHEN RUNNING/TESTING, NO MOVING PARTS ARE
INTERFERING WITH THE FRAMEWORK OR GUARDS.
PRIOR TO ANY MAINTENANCE ENSURE THE PRIME MOVER IS
SWITCHED OFF WITH THE KEY REMOVED
1.
Removal of the conveyor is
quick and easy
2.
Place the AG on a stable support.
3.
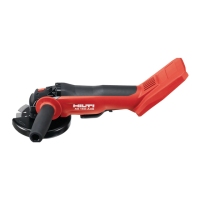
Remove the 3x hydraulic pipes shown
in figure 9. Pipes A/B/C feed the
conveyor, ensure you clearly mark
which pipe has come from which port.
4.
Ensure the pipes ends are kept clean
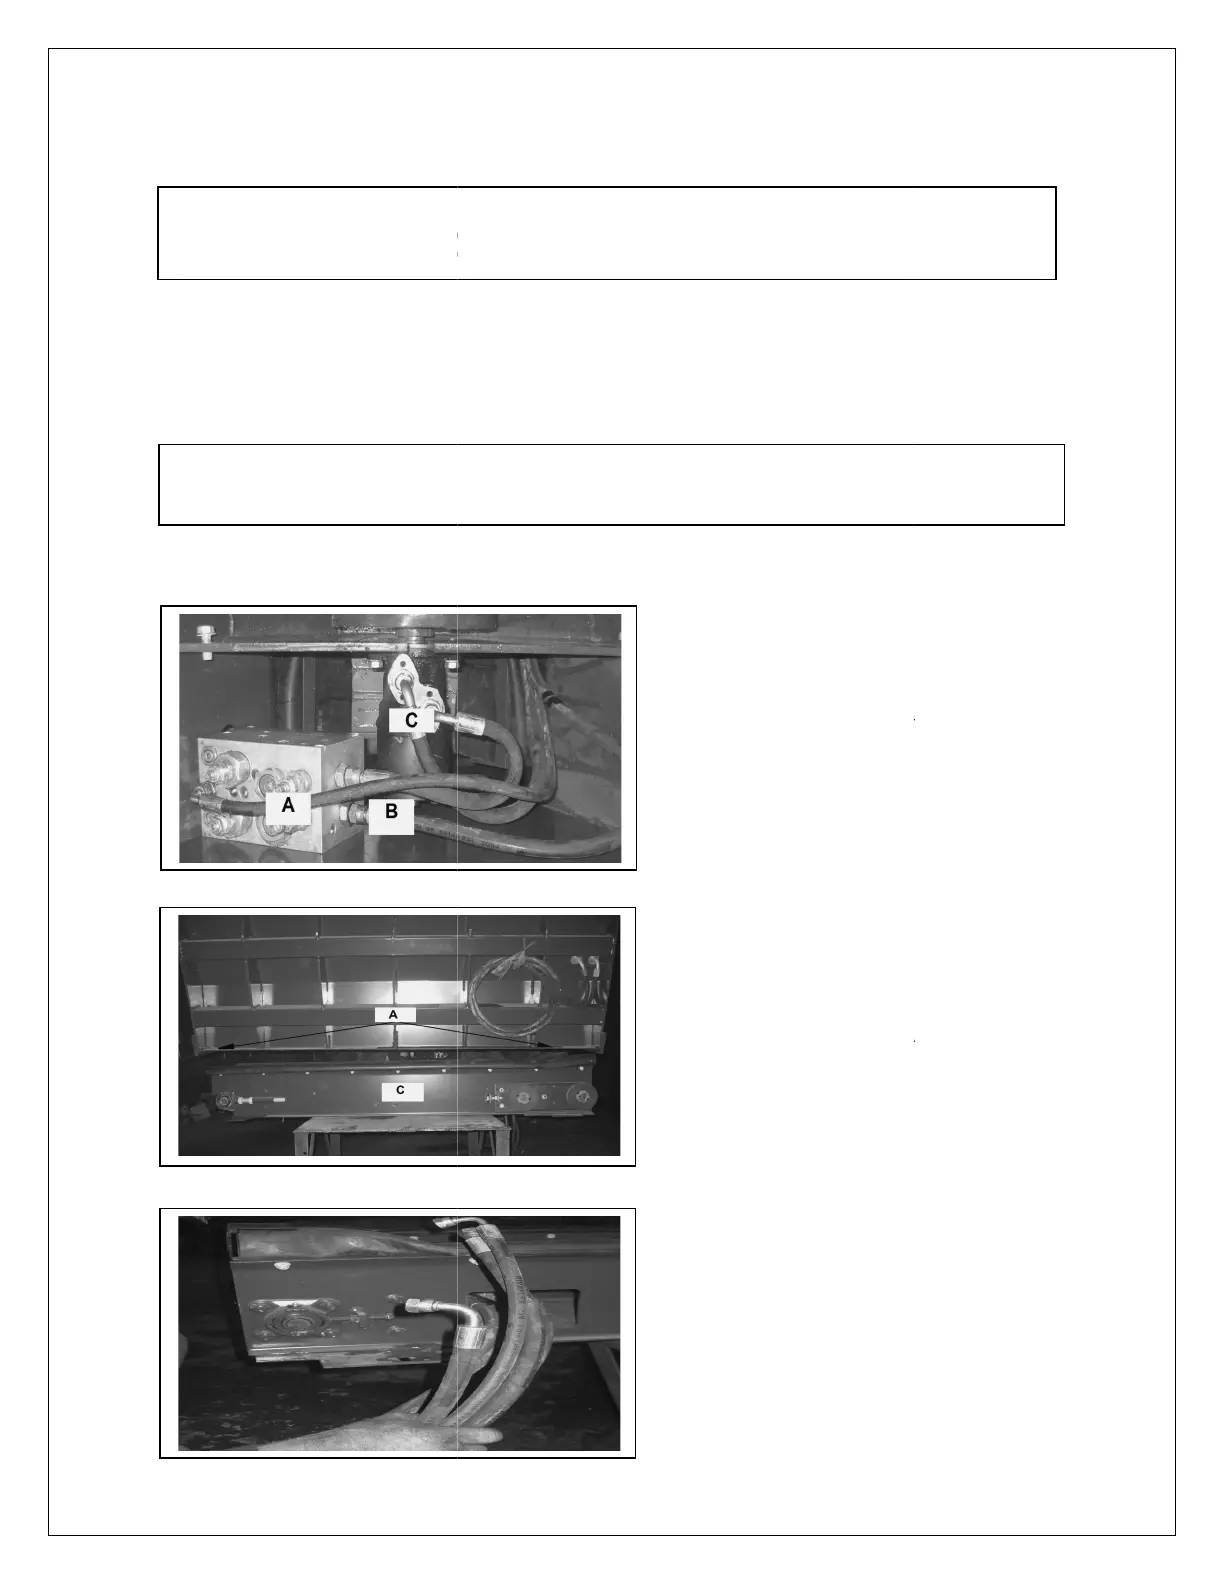
5.
Remove the 4x M12 bolts in each
corner.
6.
Slowly lift the AG shell vertically.]
7.
Be careful pipes A/B/C are free
prior/during lifting.
8.
Once the AG shell is clear from the
machine, move away and place down
safely.
9.
Before work is carried out on the
conve
yor, place pipe bungs in pipe
ends. Fig 11.
Fig 11.
The AG Dispensers are fitted with the unique high quality endless polyurethane belt,
ENSURE WHEN RUNNING/TESTING, NO MOVING PARTS ARE
PRIOR TO ANY MAINTENANCE ENSURE THE PRIME MOVER IS
Removal of the conveyor is
simple,
Place the AG on a stable support.
Remove the 3x hydraulic pipes shown
in figure 9. Pipes A/B/C feed the
conveyor, ensure you clearly mark
which pipe has come from which port.
Ensure the pipes ends are kept clean
erial.
Remove the 4x M12 bolts in each
Slowly lift the AG shell vertically.]
Be careful pipes A/B/C are free
Once the AG shell is clear from the
machine, move away and place down
Before work is carried out on the
yor, place pipe bungs in pipe
 Loading...