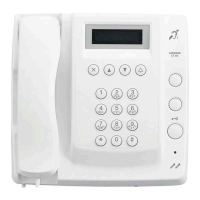
6
PROGRAMMING: INPUT RESIDENT INFORMATION
NOTE:
The GT digital panel, GT-DM(V)A, and GT-MK must be programmed with the resident information before residential/
tenant stations can be addressed. The resident information can be entered using the 10 key or by using the software
supplied on the CD.
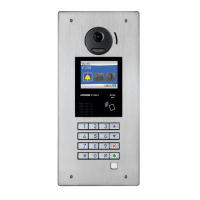
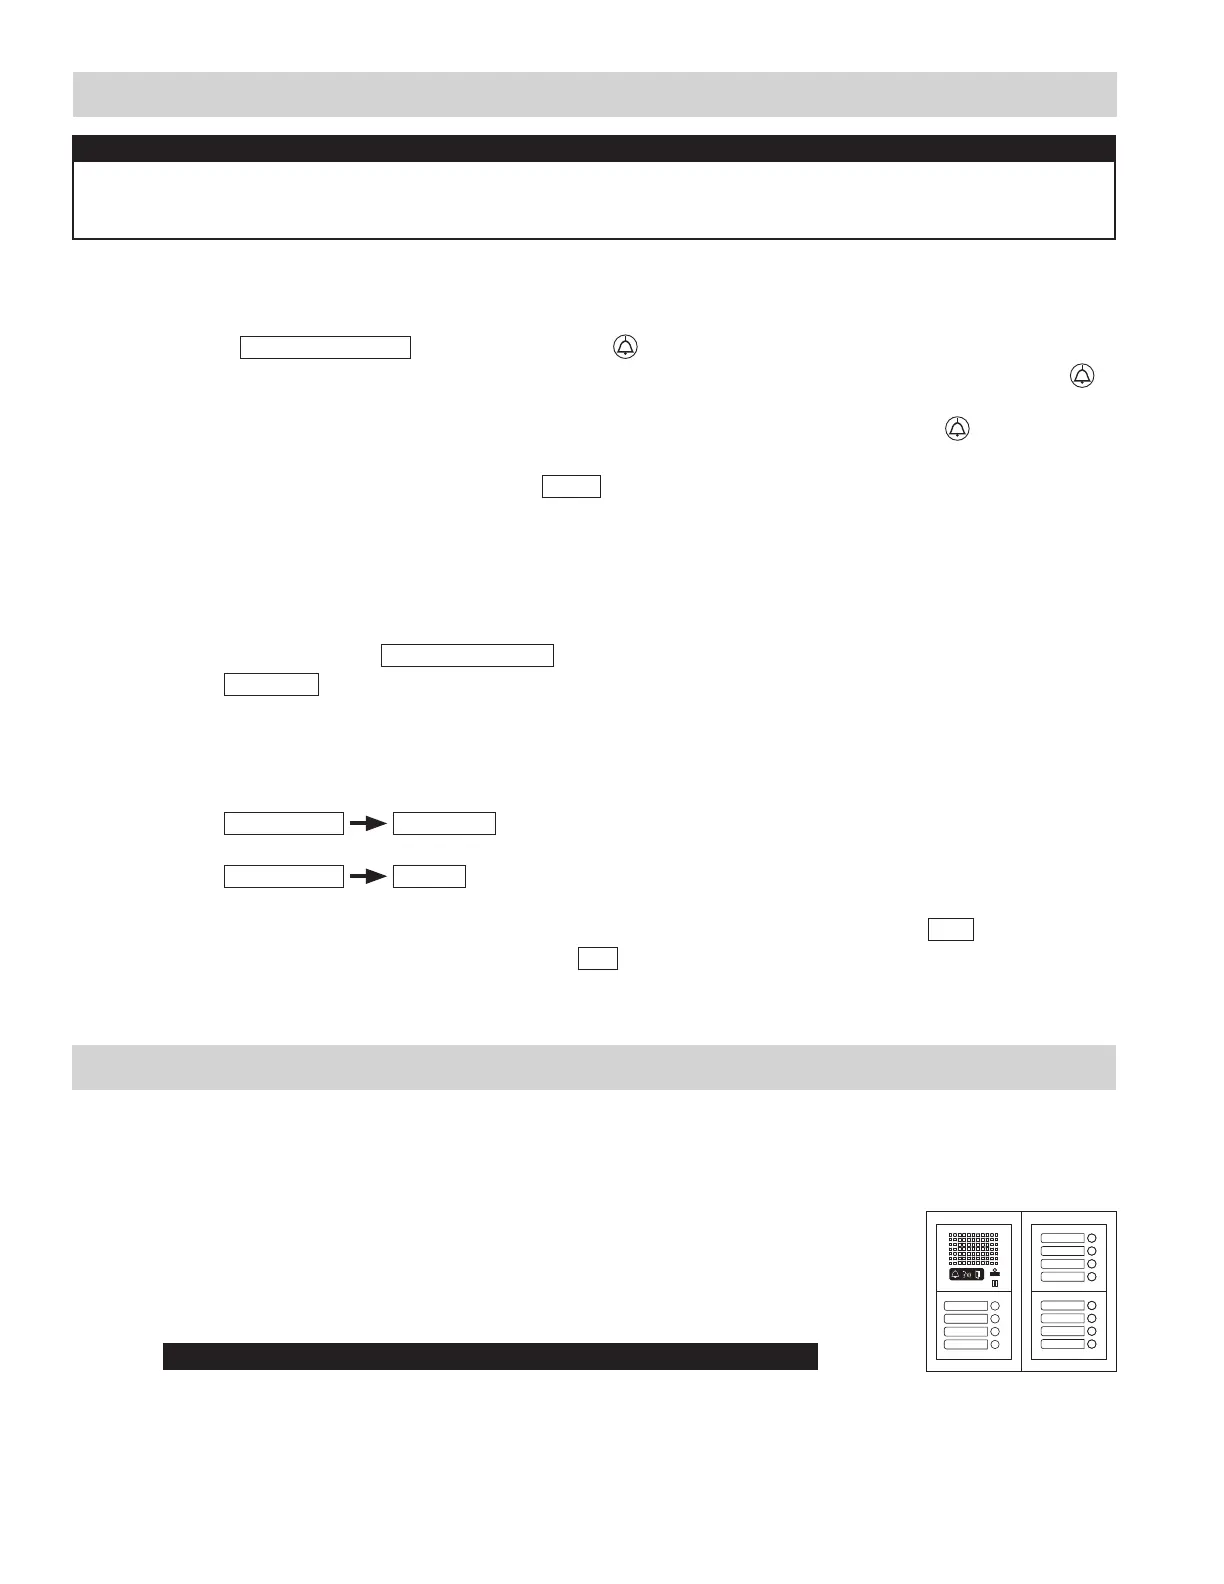
Direct Select / Push Button Entrance Station Addressing
Step 1: Remove front panel from entrance station.
Step 2: To enter programming mode, use a small screwdriver to push and release button under the
rubber cap on front of speaker module (GT-DA(-L)). The amber LED will begin blinking, then
remain lit. Once lit, the entry panel is in programming mode.
Step 3: At residential/tenant station, push and release the TALK button to establish communication
with the entrance station in programming mode.
Step 4: Push and release the desired Call Button on the entrance station to assign the button to the
residential/tenant station that is active. A blip tone will be heard.
Step 5:
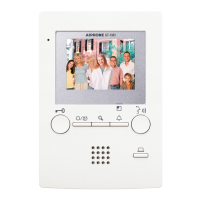
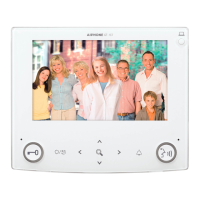
Turn off residential/tenant station (GT-1A, GT-1C7, GT-1M3: Push TALK again/ GT-2C(-L): Push OFF).
Step 6: Repeat steps 3-5 for remaining residential/tenant stations.
Step 7: To exit programming, push the button under the rubber cap on the GT-DA(-L) module again
and the amber LED will turn off. The system is now ready for use.
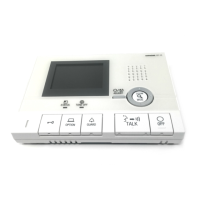
PROGRAMMING: ADDRESSING RESIDENCES VIA HAND-SHAKE METHOD
Entering Resident Info Using 10 key
Step 1: On the 10 key, enter # plus the ID code (
*
1111). Re-enter ID code (
*
1111).
Step 2: Scroll to
RESIDENT INFO.
and press Bell button .
Step 3:
ROOM # will display on the screen. Enter the desired room number (ie: 101, 102, 103, etc.) and press Bell button .
Step 4: The room number entered will appear on screen along with a space for the Resident Name. Use the
10 key and Arrow buttons to key in the resident name (if desired) and press Bell button when fi nished.
Step 5: Repeat steps 3 & 4 for remaining residents.
Step 6: Press “X” to return to main menu. Scroll to
QUIT
and press “X” again to exit programming.
Entering Resident Info Using Software
Step 1: Using the CD supplied with the GT-BC, install the GT software and USB cable driver on a PC running
Windows
®
XP, Windows Vista
®
, Windows
®
7, or Windows
®
8.
Step 2: Open GT software, click
GT System Mode
.
Step 3: Select
Resident
tab.
Step 4: Enter a Room # and Name (if desired) for each resident.
Step 5: Connect the USB cable to the PC and to the GT device being programmed. Ensure that the GT device
being programmed is powered.
Step 6: Refer to the PC’s device manager to determine which COM Port is being used for the cable driver.
Step 7: Select
Connection
COM Port
from the menu bar to see the available COM Ports on the PC.
Select the COM Port that was verifi ed in Step 6.
Step 8: Select
Connection
Export
from the menu bar.
(Export sends data to the entrance station. Import pulls data from the entrance station.)
Step 9: A new window will open asking, “Do you want to overwrite the information?” Select
Yes
.
Step 10: Enter ID code (initial setting is
*
1111) and click
OK
.
Data will be transferred.
Do not press and hold the Call Button as doing so will clear the memory for this button.

 Loading...