System Operation
8. Wait until “Log operation ok” is displayed and press Enter.
9. Connect the controller and a computer using a microUSB to USB cable. The folder containing the logs
should appear as a new drive. The logs can then be copied to the computer and viewed.
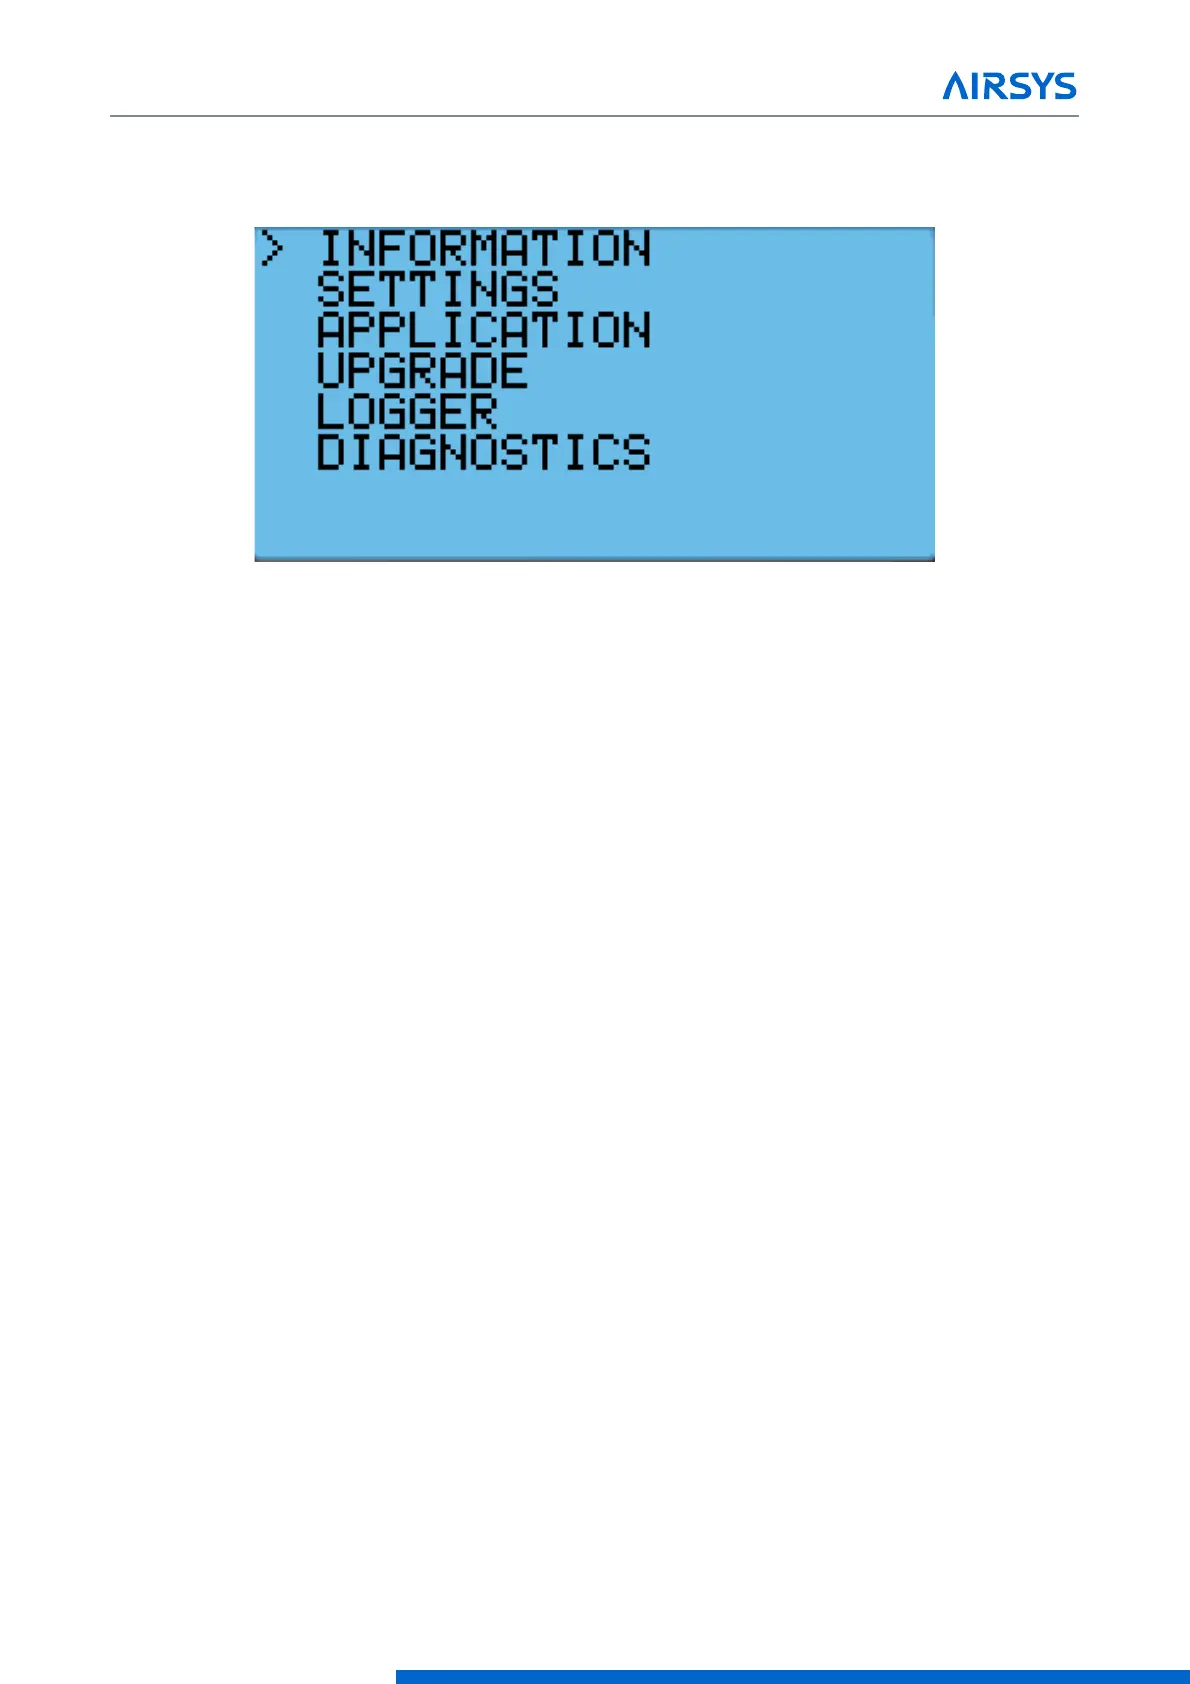
Figure 4-12 Hardware Configuration Menu
4.7.2 Exporting Alarm History
1. Hold the Esc button until the main screen is displayed.
2. Press Prg and enter the password (0004). Press Enter.
3. Press Down until the cursor is over “Import/Export” and press Enter.
4. Press Down until the cursor is over “Alarm Export” and press Enter.
5. Press Enter until the cursor is over “File name” and press the Up or Down buttons to change the log
number. Press Enter to confirm.
6. Press Down until the “no” becomes “yes” and press Enter.
7. Connect the controller and a computer using a micro USB to USB cable. The folder containing the logs
should appear as a new drive. The logs can then be copied to the computer and viewed.
4.8 Resetting Factory Defaults
In some cases, it may be necessary to restore the controller to factory defaults. Depending on the option
selected, custom setpoints and other system parameters will be changed to factory defaults.
Note: Resetting factory defaults should only be done under the instruction of AIRSYS support.
There are three types of available factory resets:
• Restore factory settings (Wipe retain mem)
• Reset system memory (Wipe NVRAM mem)
• Full factory reset (Wipe both mem)
Restoring factory settings will restore all settings to factory defaults but will not affect stored data such as alarm
and system logs. Resetting the system memory will clear all stored data but will not change any system
settings. The full factory reset will restore all settings to factory default and wipe the system memory.