WARNING! Be sure to follow all local codes and regulations with respect
to installation and operation of the blower. The blower motor should be
wired to a branch circuit disconnect and all other safety devices
recommended by the relevant sections of NFPA 70, National Electrical
Code, and in accordance with all applicable state and local regulations and
requirements.
3.1 Installation Procedure
Perform the installation exactly in accordance with the following steps:
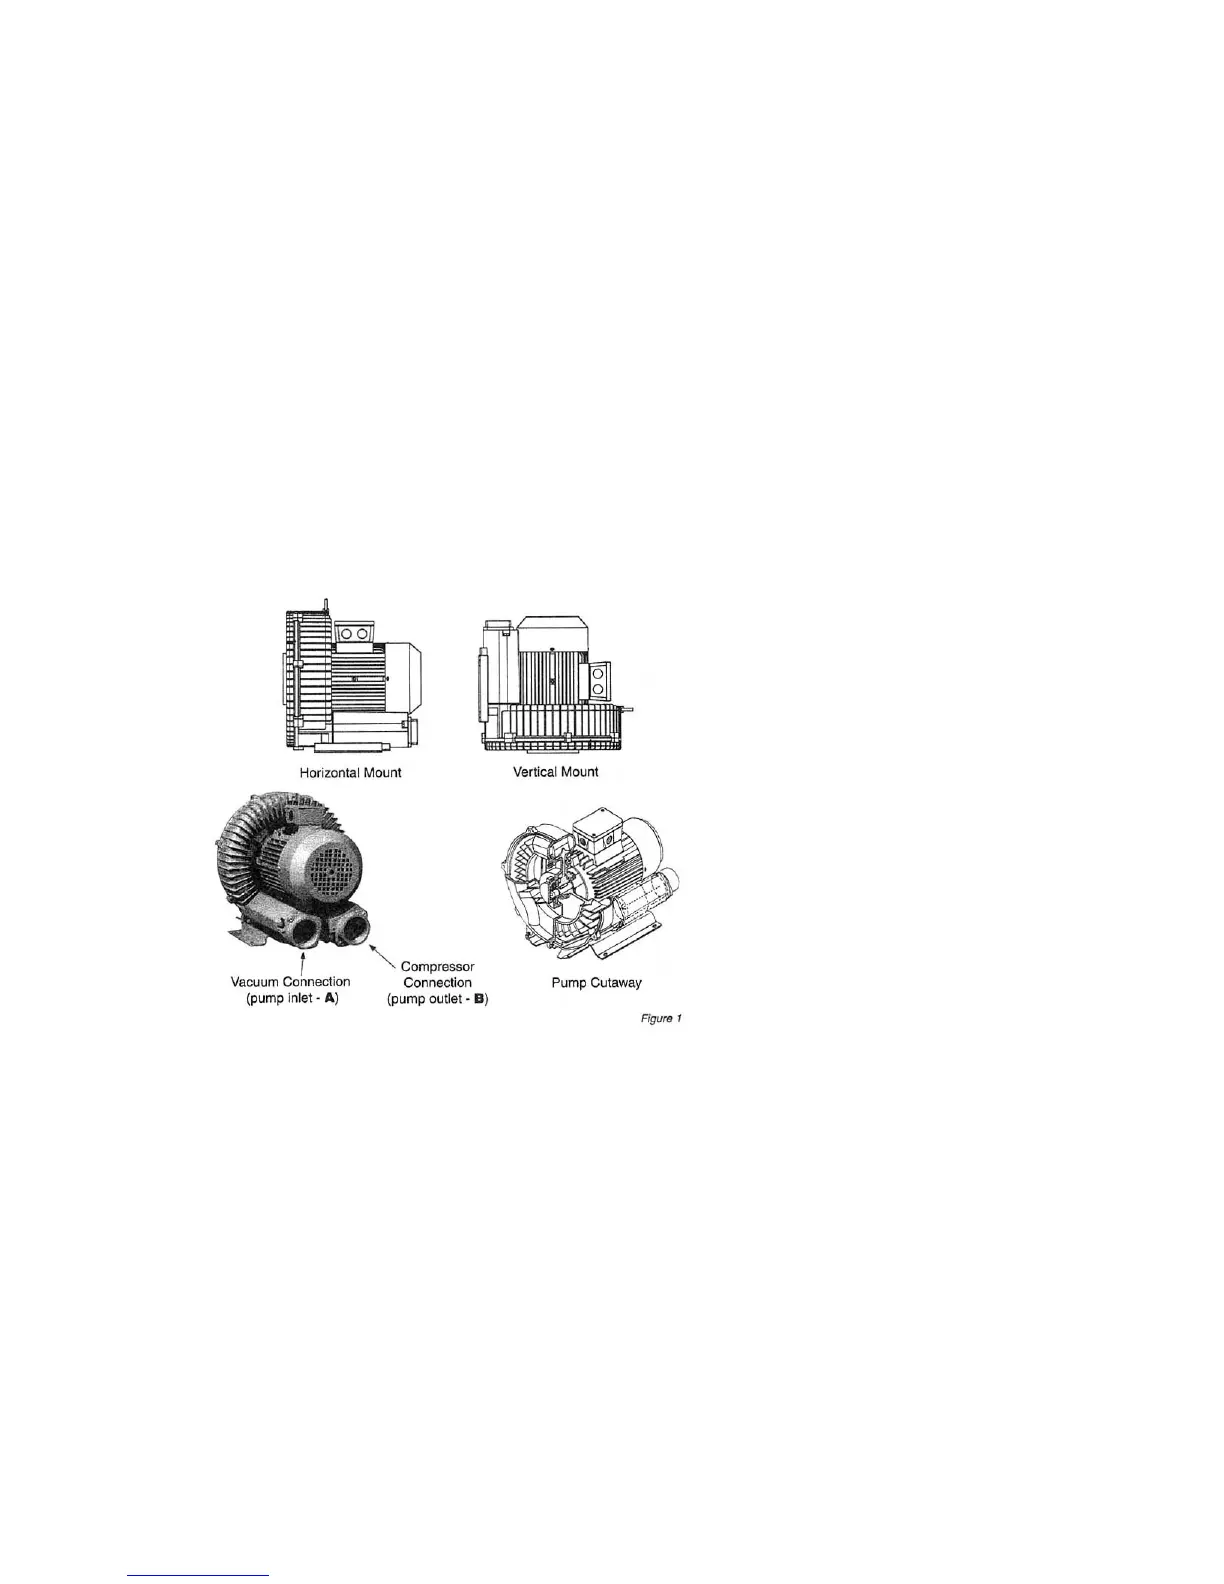
1. For vacuum operation, connect the suction pipe to connection A, and for
pressure operation connect the pressure pipe to connection B (See Figure 1).
Install startup screens before startup to protect pump from debris.
CAUTION! Design your
piping system to avoid
unnecessary pressure
loss, which may
significantly affect the
operation of any
regenerative blower.
Contact your Airtech
representative for
assistance in designing
and configuring an
appropriate piping system
for your application.
For alternation between
vacuum and pressure in any
application, changeover valves are available. Use of the changeover valve
allows the same connection to be used for both vacuum and pressure.
2. The electrical data shown in Tables 1 to 4 (pages 10-14) should be confirmed
by examination of the motor data plate on your 3BA blower. The standard motor
features Class F insulation as a standard and are UL recognized for applications
in both Canada and the United States (CUL). Motors are IEC design IP55, equal
to a NEMA TEFC motor design. The connection diagram for the motors can be
found in the inside of the terminal box cover. Be sure to confirm that your
electrical supply has sufficient capacity to operate the blower according to the
nameplate requirements.