17
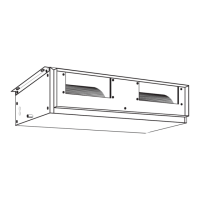
Split system gainable à pression -
Ductable pressurized split system -
Split-system für Kanalanschluß unter Druck
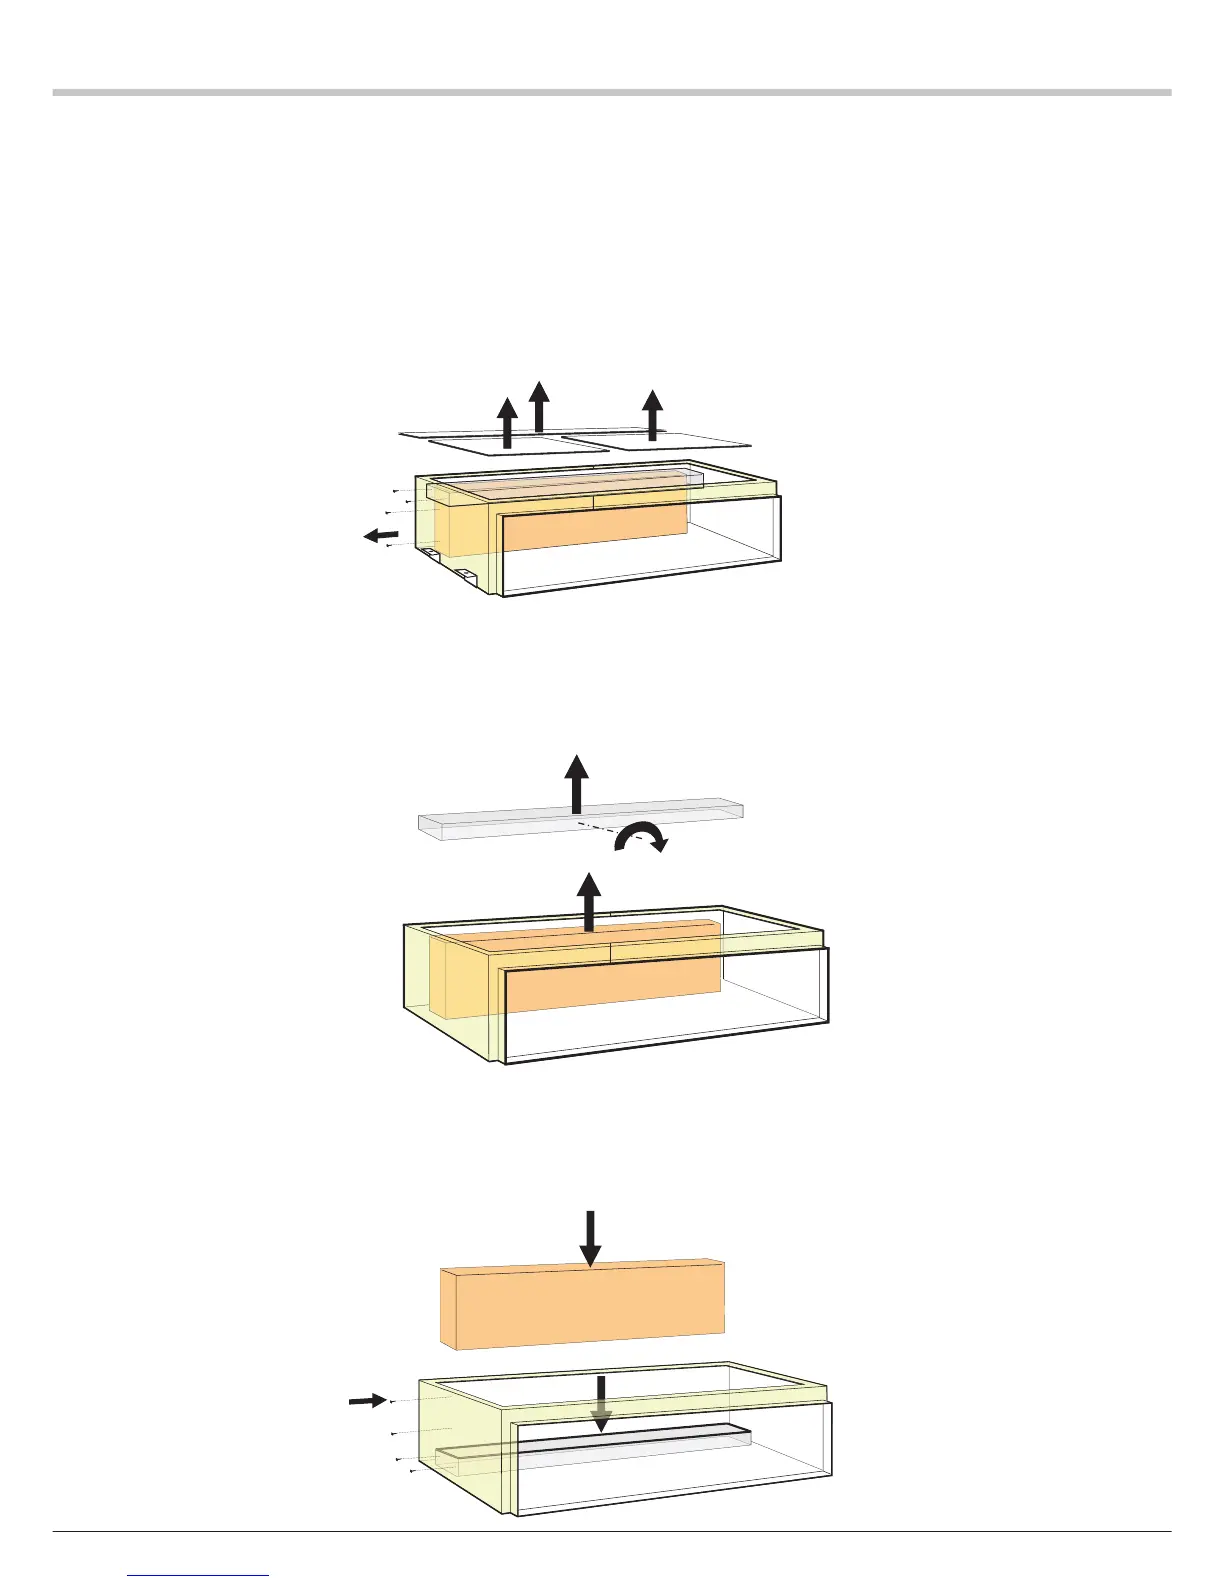
CONFIGURATION POUR
L'INSTALLATION DE L'APPAREIL
CD60
configuration usine en plafond
- Pour modifier la configuration, afin d'instal-
ler l'appareil au sol, il faut inverser la posi-
tion du bac d'évacuation des condensats
comme suit:
1 et 2 : retirer les panneaux d'accès.
3 : retirer les vis tenant l'évaporateur et le
bac d'évacuation des condensats.
4 : oter le bac d'évacuation des condensats
de l'appareil.
5 : oter l'évaporateur en prenant soin de ne
pas abimer la partie ailetée.
6 : tourner le bac d'évacuation des
condensats de 180°.
7 : placer ce bac dans le fond de l'appareil.
8 : Remettre en place l'évaporateur dans le
même sens qu'au démontage.
9 : remettre les vis du bac et de l'échangeur
ainsi que les panneaux d'accès.
7
8
9
4
5
6
1
2
3
1
CONFIGURATION FOR
INSTALLING THE CD60 UNIT
original factory configuration:
ceiling
- To change the configuration, in order to
install the unit on the floor, it is necessary to
reverse the position of the condensate
evacuation tray as follows:
1 and 2: remove the access panels
3: remove the screws securing the
evaporator and the condensate evacuation
tray.
4: remove the condensate evacuation tray
from the unit.
5: remove the evaporator, taking care to
avoid damaging the finned part.
6: rotate the condensate evacuation tray
through 180°.
7: locate this tray in the bottom of the unit.
8: reinstall the evaporator, oriented in the
same way as prior to removal.
9: reinstall the screws of the tray and
evaporator, and refir the access poanels.
KONFIGURATION FÜR DIE
INSTALLIERUNG VON GERÄT CD60
Werksseitige Deckenkonfiguration
- Zum Ändern der Konfiguration, um das
Gerät auf dem Boden aufzustellen, muß die
Position der Kondensatwanne
folgendermaßen geändert werden:
1 und 2: die Zugangsplaten entfernen.
3: die Schrauben entfernen, mit denen
Verdampfer und Kondensatwanne gehalten
werden.
4: die Kondensatwanne aus dem Gerät
entfernen.
5: den Verdampfer entnehmen und darauf
achten, daß die Rippen nicht beschädigt
werden.
6: die Kondensatwanne um 180° drehen.
7: die Wanne auf den Geräteboden stellen.
8: den Verdampfer in der gleichen Richtung
wie bei der Demontage wieder anbringen.
9: die Schrauben von Kondensatwanne und
Verdampfer, sowie die Zugangsplatten
wieder anbringen.