1
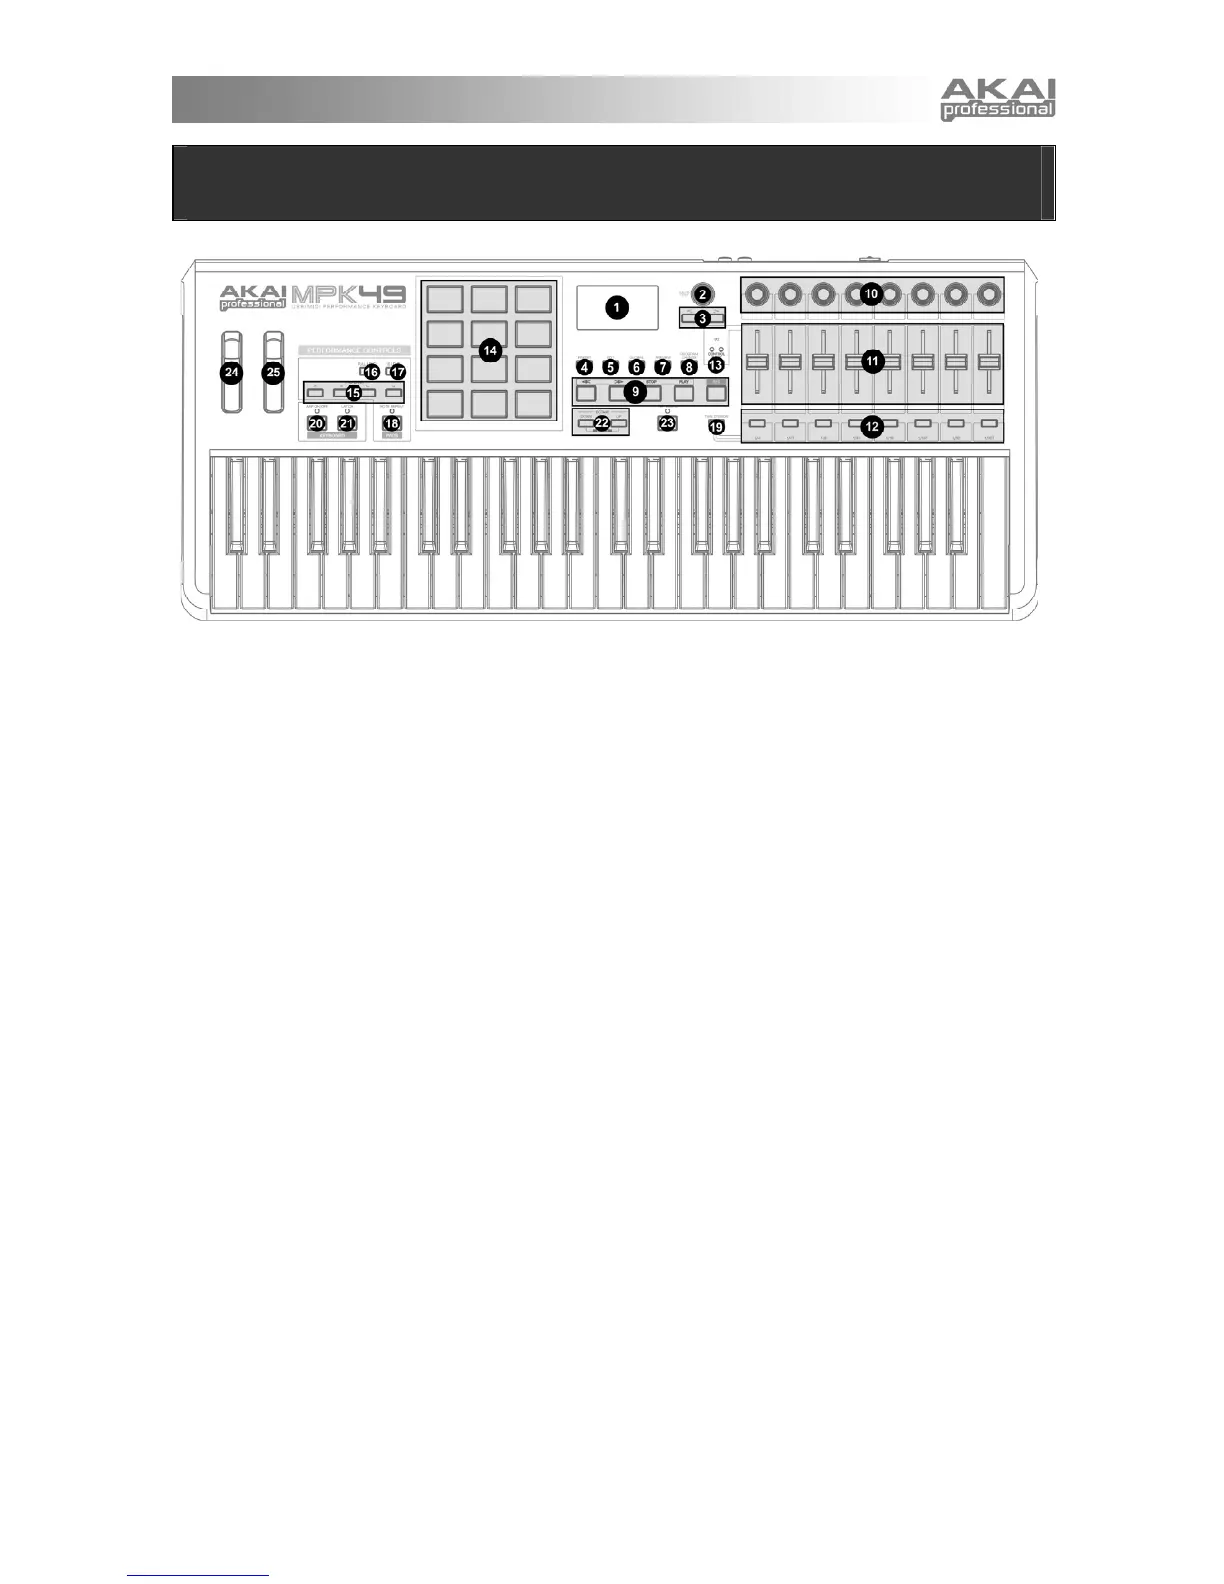
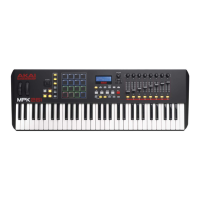
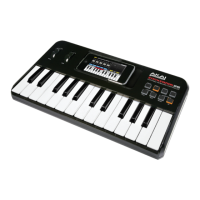
FRONT PANEL OVERVIEW
1. LCD – The display is used for navigating
menus, displaying data, and affecting change
on MPK49’s options and parameters.
2. [VALUE] (Push to Enter) – This dial is used
to increment and decrement Presets,
parameter values and settings. This dial also
functions as an [ENTER] button when it is
pressed down.
3. [<] AND [>] BUTTONS – These buttons are
used to navigate through the fields of menus
and options. The [<] button also functions as
a [CANCEL] button.
4. [PRESET] – This button calls up Preset
Mode. You can select and recall different
Preset programs in this mode.
5. [EDIT] – This button calls up Edit Mode,
which allows you to edit the behavior of the
keyboard, pads, knobs, buttons, sliders and
default settings for each preset.
6. [GLOBAL] – This button calls up Global
Mode, where MIDI reset commands and
global system preferences are set.
7. [PREVIEW] – This button allows you to see
what value will be sent by a controller, without
actually sending the value. This gives you
precise control over your parameters and
helps avoid erroneous controller data being
sent to your devices due to the physical
position of the controller. This is especially
useful when switching between control banks
where, for example, the physical position of a
slider may not correspond to the last value
sent by the controller. Holding down
[PREVIEW] allows you to view the original
value and adjust the physical position of the
slider as necessary before transmitting any
values.
8. [PROGRAM CHANGE] – Pressing this
button will enter Program Change mode. In
this mode, you can send a Program Change
or Program with Bank Change message to a
hardware or software module.
9. TRANSPORT CONTROL BUTTONS –
These five buttons are dedicated buttons for
sending transport control commands. The
transport control buttons can be set to
transmit either MMC (MIDI Machine Control),
MMC/MIDI SysEx, MIDI START/STOP or
pre-assigned MIDI CC values.
10. 8 ASSIGNABLE KNOBS –Each 360-degree
knob can be used to send continuous control
data to a desktop audio workstation or
external MIDI device.
11. 8 ASSIGNABLE SLIDERS – Each slider can
be used to send continuous control data to a
desktop audio workstation or external MIDI
device.
12. 8 ASSIGNABLE BUTTONS – These buttons
can be used as MIDI CC switches or Program
Change switches. They can function in
momentary or toggle modes. When [TIME
DIVISION] has been activated, these 8
buttons are used to set the time division of
the Arpeggiator and Note Repeat features.
13. [CONTROL BANK] – The MPK49 features 3
independent banks of continuous controllers.
Effectively, this allows you to control up to 72
independent parameters with the knobs,
sliders and buttons on the MPK49. The
[CONTROL BANK] button is used to switch
among the 3 banks. The LEDs above the
button will reflect the currently selected
control bank.