PR200_3-EN-125853-1.4
© All rights reserved. Subject to technical changes and misprints.
akYtec GmbH · Vahrenwalder Str. 269 A · 30179 Hannover · Germany
Tel.: +49 (0) 511 16 59 672-0 · www.akytec.de
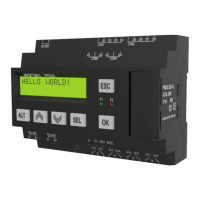
PR200
Programmable relay
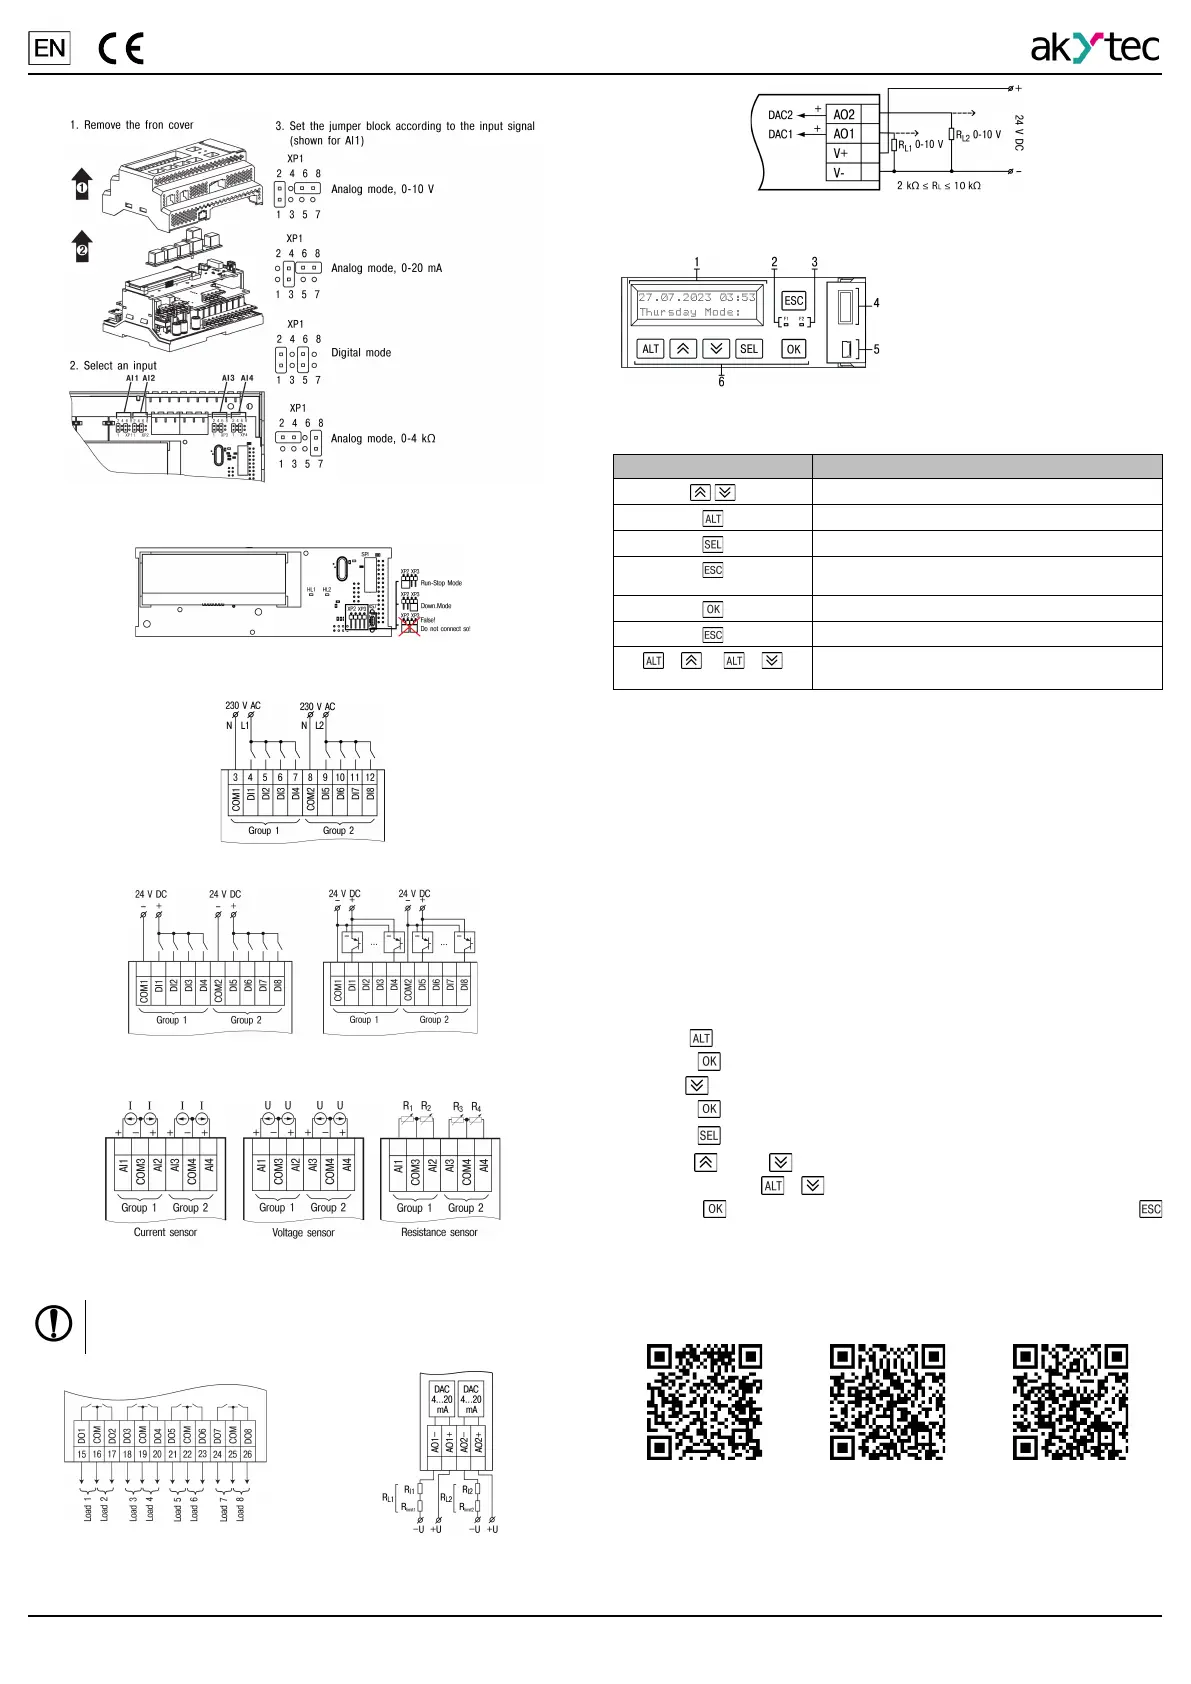
5. Analog inputs modes
Fig. 3 – AI mode selection
6. Service modes
Fig. 4 – Jumpers of service modes
7. Digital inputs wiring
Fig. 5 – Digital inputs wiring (230 V AC)
Fig. 6 – Digital inputs wiring (24 V AC)
8. Analog inputs wiring
Fig. 7 – Analog inputs wiring
9. Outputs wiring
NOTICE
The output voltage of an external voltage source may not
exceed 30 V. Higher voltage can damage the device.
Fig. 8 – Digital output wiring Fig. 9 – Current output wiring
Fig. 10 – Voltage output wiring
10. Controls and indication
1. Two-line 16-digit LCD display
2. Green LED
3. Red LED
4. Extension module connector
(under cover)
5. Programming connector (under
cover)
6. Buttons
Fig. 11 – Face plate
Table 7 Buttons
Button
Description
Menu navigation / Parameter value editing
Used in combination with other buttons
Parameter selection / changed value saving
Cancel change (reset to original value) / exit edit
mode
Applying changes
Exit / Cancel
+ or +
Changing the position of the cursor / moving
through the digits
11. Device menu
PR200 has a user menu and a system menu.
The user menu can be programmed in ALP using one or more display forms.
To switch between two display forms, jump conditions have to be created.
Jump condition can be an event of a function button or of a variable. For
further details about display programming, see ALP Help.
The system menu allows you to view the most important parameters of the
device and perform a quick configuration without connection to ALP. The
system menu is always present in the device, even if it does not contain a user
program.
The display can be used in view or edit mode. The edit mode is only for
editable display elements available.
When the edit mode is activated, the last changed parameter will be
displayed.
12. Time/Date settings
To set time and date using the device system menu:
1. Hold
button for 3 seconds to access the menu.
2. Press
button to enter Device menu.
3. Use
button to reach Clock menu
4. Press
button to enter Time/Date parameter.
5. Press
button to enter edit mode. The first digit starts flashing.
6. Use and buttons to change the value. To move between
characters use
+ combination .
7. Press
button to move to the next editable parameter or hold
button for 3 seconds to exit edit mode.
13. Still have questions?
Please feel free to check our latest materials about this product:
Product page Full user guide FAQs
 Loading...