Do you have a question about the Alcatel 1T10 SMART and is the answer not in the manual?
Displays notifications and connection status. Swipe down for panels.
Holds frequently used apps. Touch to open, long press to move.
View detailed notifications by touching them.
Access and toggle functions like Wi-Fi, Bluetooth, and screen rotation.
Open Contacts app and use the '+' button to add a new contact.
Sync contacts from multiple accounts like Gmail or external storage.
Access Gmail from the Home screen and manage multiple accounts via Settings.
Steps to compose, add recipients, subject, content, attachments, and send emails.
Connect to Wi-Fi via Settings, selecting a network and entering credentials.
Get help via the SUPPORT CENTER app, website, or call centers.
This document is a Quick Start Guide for the Alcatel 1T 10 SMART tablet, providing essential information for initial setup and basic operation. It covers the physical layout of the device, initial charging and storage expansion, navigation of the Home screen, managing contacts, using Gmail, and connecting to Wi-Fi. The guide also includes support contact information for various regions.
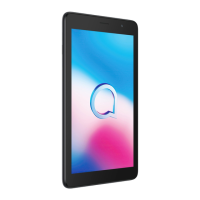
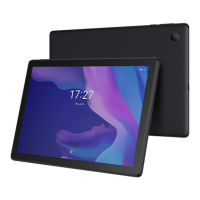
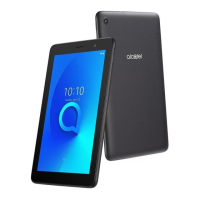
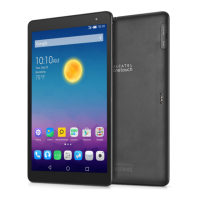
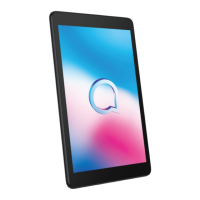
The Alcatel 1T 10 SMART tablet features a standard layout for easy access to its primary functions. On the top edge of the device, when held in landscape orientation, you will find the Volume up/down buttons and the Power key. These are crucial for controlling audio levels and managing the device's power state, including turning it on/off or putting it to sleep. The Front camera is also located on the top bezel, centered, which is typically used for video calls and selfies. On the rear of the tablet, the Rear Camera is positioned, suitable for taking photos and videos.
Before using the tablet for the first time, it is essential to fully charge your device. This ensures optimal battery performance and readiness for initial setup. The charging port is located on the side of the tablet, and the guide illustrates plugging in a charger. For expanding storage, the tablet supports an SD card. To install it, you need to open the slot and insert the SD card. This process allows you to increase the available storage for apps, media, and other files.
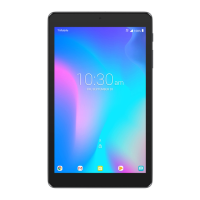
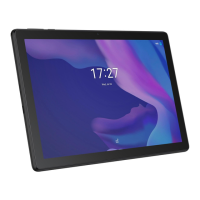
The Home screen is the central hub for interacting with your Alcatel 1T 10 SMART tablet. It is designed to provide quick access to frequently used items such as applications, shortcuts, folders, and widgets. You can easily switch to the Home screen by touching the Home key. The Home screen is presented in an extended format, allowing for more space to add application icons and shortcuts. You can slide the Home screen horizontally left and right to access additional views and organize your content.
At the top of the Home screen, you'll find the Status bar. This area displays important information, including Status/Notification indicators on the left side and the connection service status on the right side. To access more details or quick settings, you can touch and drag down on the Status bar to open the notification panel.
The Home screen allows for significant customization. You can touch an icon to open an application, folder, or other item. The Favourites tray applications at the bottom of the screen provide quick access to your most used apps. To enter an application, simply touch its icon. For moving or changing applications within the Favourites tray or on the Home screen, you can long press on an icon.
The Status bar is a dynamic element that keeps you informed about your device's current state. When there are notifications, they appear on the left side, and you can touch them to view more information.
To access the Notification panel or the Quick Settings panel, you can swipe downward from the Status bar. The Notification panel displays a list of all current notifications. To close this panel, touch and drag upward. The Quick Settings panel offers quick access to frequently used functions and modes. You can enable or disable these functions or change modes by touching their respective icons. For instance, you might find toggles for Wi-Fi, Bluetooth, Do Not Disturb, and more. To further customize the Quick Settings panel, there's an option to edit shortcut list. Additionally, you can touch an icon to access settings, where you can make changes to more functions. Event-based notifications can be cleared by touching "CLEAR ALL," while ongoing notifications will remain on the panel.
The Contacts app on your tablet is designed to help you manage your personal and professional connections. It allows you to add, delete, or edit contacts efficiently. The app also supports importing or exporting contacts from various sources, such as external storage, your Gmail account, or other email accounts, providing flexibility in how you manage your contact list.
To add a contact, open the Contacts app from your applications list. Then, touch the Plus button (+) located on the bottom right of the screen. This will open a new contact entry form where you can input the contact's details.
The tablet also supports synchronizing contacts in multiple accounts. This feature is particularly useful if you use several accounts (e.g., work and personal email accounts) that store contact information. Contacts, data, or other information can be synchronized from these multiple accounts, depending on the applications installed on your tablet, ensuring your contact list is always up-to-date across your various platforms.
Gmail is Google's web-based email service, and it is seamlessly integrated with your Alcatel 1T 10 SMART tablet. When you initially set up your tablet, Gmail is automatically synchronized with your Google account. This application allows you to receive and send emails, manage your inbox, and archive your email messages.
To open Gmail, simply touch the Gmail icon, which is typically found within the Google folder on your Home screen. Gmail displays messages and conversations from a single Gmail account at a time. If you have multiple Google accounts, you can add them to the Gmail app. To do this, touch the Menu button, then navigate to Setting > Add account. Once multiple accounts are set up, you can easily switch between them by touching the name of the account you wish to view.
To create and send emails:
If you prefer not to send the email immediately, you can save it as a draft. To do this, touch the Menu overflow button (three vertical dots) and then select "Save draft." To access your drafts later, touch the Menu button and select the "Drafts" folder. From there, you can touch the draft email and then the Edit button to continue composing or send it.
To access the internet on your Alcatel 1T 10 SMART tablet, you will need a Wi-Fi connection. The tablet is designed to connect to various Wi-Fi internet services.
To turn Wi-Fi on and connect to a Wi-Fi network:
This comprehensive guide ensures that users can quickly get their Alcatel 1T 10 SMART tablet up and running, from basic hardware identification to essential software functions and internet connectivity.
| Display | 10.1 inches |
|---|---|
| Resolution | 800 x 1280 pixels |
| Processor | Quad-core 1.3 GHz |
| RAM | 1 GB |
| Internal Storage | 16 GB |
| Rear Camera | 2 MP |
| Front Camera | 2 MP |
| Battery | 4000 mAh |
| Expandable Storage | microSD up to 128GB |
| Connectivity | Bluetooth 4.2 |
| Weight | 415g |
| Operating System | Android 10 (Go edition) |