Do you have a question about the Alcatel TKEE MAX and is the answer not in the manual?
This document serves as a Quick Start Guide for the TKEE MAX tablet, providing essential information for initial setup and basic operation. It covers the physical layout of the device, initial charging and storage setup, navigation of the home screen, contact management, email functionality via Gmail, and internet connectivity through Wi-Fi. Additionally, it offers support contact details for various regions.
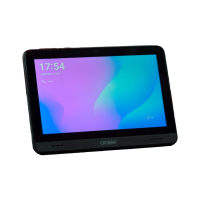
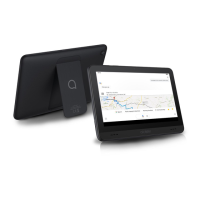
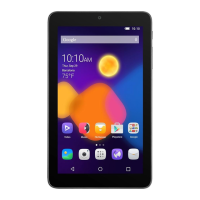
The TKEE MAX tablet features a straightforward design with key physical controls and components. On the top edge of the device, you'll find the Volume up/down buttons and the Power key, which are standard for controlling audio levels and device power. The Front camera is also located on the top bezel, ideal for video calls and selfies. On the rear of the tablet, the Rear Camera is positioned, suitable for taking photos and videos.
Before its first use, it is crucial to fully charge your device. This ensures optimal battery performance and readiness for setup. The guide illustrates connecting a charger to the tablet, indicating the charging port's location.
For expanding storage, the tablet supports an SD card. The guide instructs users to open the slot and insert the SD card, allowing for additional space for applications, media, and documents.
The Home screen is the central hub for interacting with the tablet. It is designed to provide quick access to frequently used items such as applications, shortcuts, folders, and widgets. Users can easily switch to the Home screen by touching the dedicated Home key.
The Home screen is organized with several key elements:
The Home screen is provided in an extended format, allowing users to slide horizontally left and right to access additional views and accommodate more application icons, shortcuts, and widgets.
The Status bar is a critical component for monitoring device status and managing notifications. On the left side, it displays notifications, while the right side shows connection service status.
To access more detailed information or control device functions, users can swipe downward from the Status bar. This action reveals either the Notification panel or the Quick Settings panel. To close either panel, users simply touch and drag upward.
The Notification panel provides a comprehensive list of all current notifications. Touching a notification will typically lead to more information or the relevant application.
The Quick settings panel offers a convenient way to enable or disable various functions and change modes by touching their respective icons. To open this panel, users swipe down from the status bar twice. This panel includes shortcuts for features like Wi-Fi, Do Not Disturb, Auto-rotate, Battery Saver, Airplane mode, Eye comfort, Ear Protect, Read mode, Screenshot, and Screen recorder. The guide also highlights options to edit shortcut list and access settings for more extensive changes.
To clear all event-based notifications, users can touch the "CLEAR ALL" button within the Notification panel. Ongoing notifications, however, will remain on the panel.
The Contacts app is pre-installed on the tablet for managing personal and professional contacts. It allows users to add, delete, or edit contacts efficiently. The app also supports importing and exporting contacts from various sources, including external storage, Gmail, or other email accounts.
Adding a contact: To add a new contact, users open the Contacts app from the applications list and then touch the Plus button (+) located at the bottom right of the screen. This action opens a form to input new contact details.
Synchronising contacts in multiple accounts: The tablet supports synchronization of contacts, data, and other information from multiple accounts. The availability of synchronization depends on the applications installed on the tablet, allowing for a unified contact list across different platforms.
Gmail is a Google web-based email service that comes pre-installed and automatically synchronizes with your Google account upon initial tablet setup. This app enables users to receive, send, manage, and archive emails.
To open Gmail: From the Home screen, users can find and touch the Gmail icon within the Google folder.
Gmail displays messages and conversations from a single Gmail account at a time. If a user has multiple Google accounts, they can add additional accounts by touching the Menu button (typically represented by three horizontal lines) and then navigating to Setting > Add account. After adding accounts, users can switch between them by touching the name of the desired account.
To create and send emails:
To access the internet, the TKEE MAX tablet relies on Wi-Fi connectivity.
To turn Wi-Fi on and connect to a Wi-Fi network:
The guide provides comprehensive support options for users of the TKEE MAX tablet.
This guide emphasizes ease of use and provides clear instructions for setting up and operating the TKEE MAX tablet, ensuring users can quickly get started and find help when needed.
| Display Size | 9.66 inches |
|---|---|
| Resolution | 1280 x 800 pixels |
| Processor | MediaTek MT8167B |
| RAM | 1.5GB |
| Internal Storage | 16 GB |
| Rear Camera | 5MP |
| Front Camera | 2 MP |
| Battery Capacity | 4080 mAh |
| Operating System | Android 10 |
| Processor Speed | 1.3 GHz |
| Expandable Storage | microSD up to 32 GB |