22
USE
WARNING!
Only connect the fryer to the power supply
before the heating process.
Electric shock hazard! Ensure that the power cable cannot
come into contact with the hot parts of the fryer.
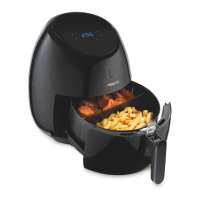
1. Open th
e lid by pressing the release button
7
.
2. Remove the frying basket
12
, if applicable.
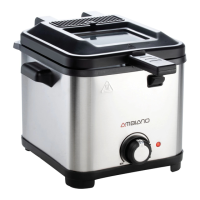
3. Fill the dry and clean frying tank
10
with oil, liquid or
melted fat (approx. 1.5 L).
Pay attention to the MIN and MAX marks
4
in the
frying tank. Do not exceed the MAX mark during
fi lling and do not fall below the MIN mark.
4. Close the lid
1
by folding it down until you hear it click
into place.
5. Make sure that on/off switch / temperature controller
9
is
turned counter-clockwise to MIN.
6. Connect the power plug to the power supply.
7. Rotate the on/off switch / temperature controller
9
in a
clockwise dire
ction to the required temperature.
The red indicator lamp
8
shows the connection to
the power supply and the heating-up process. After
the pre-selected temperature is reached, the lamp goes
out and lights up again after a short time = compensation
of heat loss.
The lid and the housing of the fryer become very hot
during operation. Use oven gloves, if you are inserting
or removing a basket.
Use
 Loading...