10
MODEL No.: CBV18F.9 • 10/2022 • 709610
AFTER SALES SUPPORT
(toll free)
e-mail: info.aldi@positecgroup.com1300 889 028
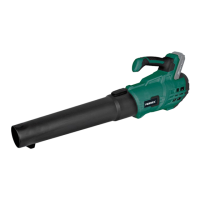
20V Li-Ion Cordless Blower Skin
11
MODEL No.: CBV18F.9 • 10/2022 • 709610
AFTER SALES SUPPORT
e-mail: info.aldi@positecgroup.com
1300 889 028
(toll free)
20V Li-Ion Cordless Blower Skin
1800 909 909
Assembly
WARNING: Before assembling and
disassembling the blower tube, be sure the
on/o switch is in ‘’0’’ O position and remove the
battery pack from the blower.
1. Unpacking (See Fig. A)
Unpack all parts and lay them on a at, stable
surface. You will nd a blower tube (5) is provided
with main machine. The blower tube (5) needs
to be tted to the blower housing before
proceeding to use.
2. Assembling and disassembling the blower tube
(See Fig. B1, B2)
To assemble, press the tube release button (6) and
slide the blower tube (5) into the motor housing (4).
Ensure the tube release button (6) on the blower
tube (5) aligns with the arrow (a) on the motor
housing (4).
To disassemble, press the tube release button (6),
and remove the blower tube (5) from the motor
housing (4).
NOTE: Do not try to separate the tubes by force or
by using tools.
3. Removing or installing the battery pack *
WARNING: Before inserting the battery
pack, make sure that the on/o switch (1) is
in OFF position.
Depress the battery pack release button (7) to
release and slide the battery pack (8) out from the
battery pack compartment (3). After recharging the
battery, slide the battery pack back into battery pack
compartment (3). A simple push and slight pressure
will be sucient. (See Fig. C)
* Battery is not included with this product