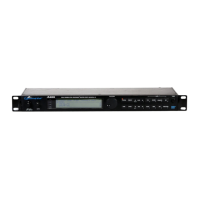
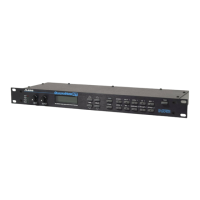
Chapter 1 – Your First Session with the MIDIVerb 4
8 MidiVerb 4 Reference Manual
After making your connections, turn on the system’s power using this procedure:
➀ Before turning on the MidiVerb 4’s power, check the following items:
• Have all connections been made correctly?
• Are the volume controls of the amplifier or mixer turned down?
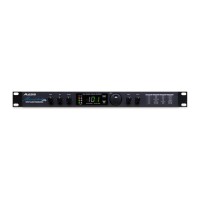
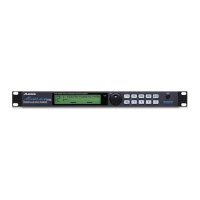
➁ Turn on the [POWER] switch on the front panel of the MidiVerb 4.
Upon power-up, the display will briefly read “ALESIS MIDIVERB 4”, and will then
display the last selected Program Number (00–127, PRESET or USER Bank), and the
[PROG] button’s LED will be lit.
➂ Turn on the power of the amplifier/mixer, and adjust the volume.
Setting Levels
Proper setting of the input and output levels is crucial in order to achieve the
maximum signal-to-noise ratio. As a good rule of thumb, it is always best to set both
input and output level controls at 3/4 or 75% of full. This will decrease the possibility
of overload distortion and keep the amount of background noise to a minimum.
Automatic Input Level Settings
The MidiVerb 4 has the unique ability to automatically select the proper levels for the
inputs based on the signal you are routing to it. In other words, you tell the it to auto-
adjust levels, and then feed it a signal (play your guitar or keyboard, or playback
tape); the MidiVerb 4 does the rest.
To auto-adjust the input levels:
➀ Connect your audio source to the MidiVerb’s input(s), as described in Chapter 2.
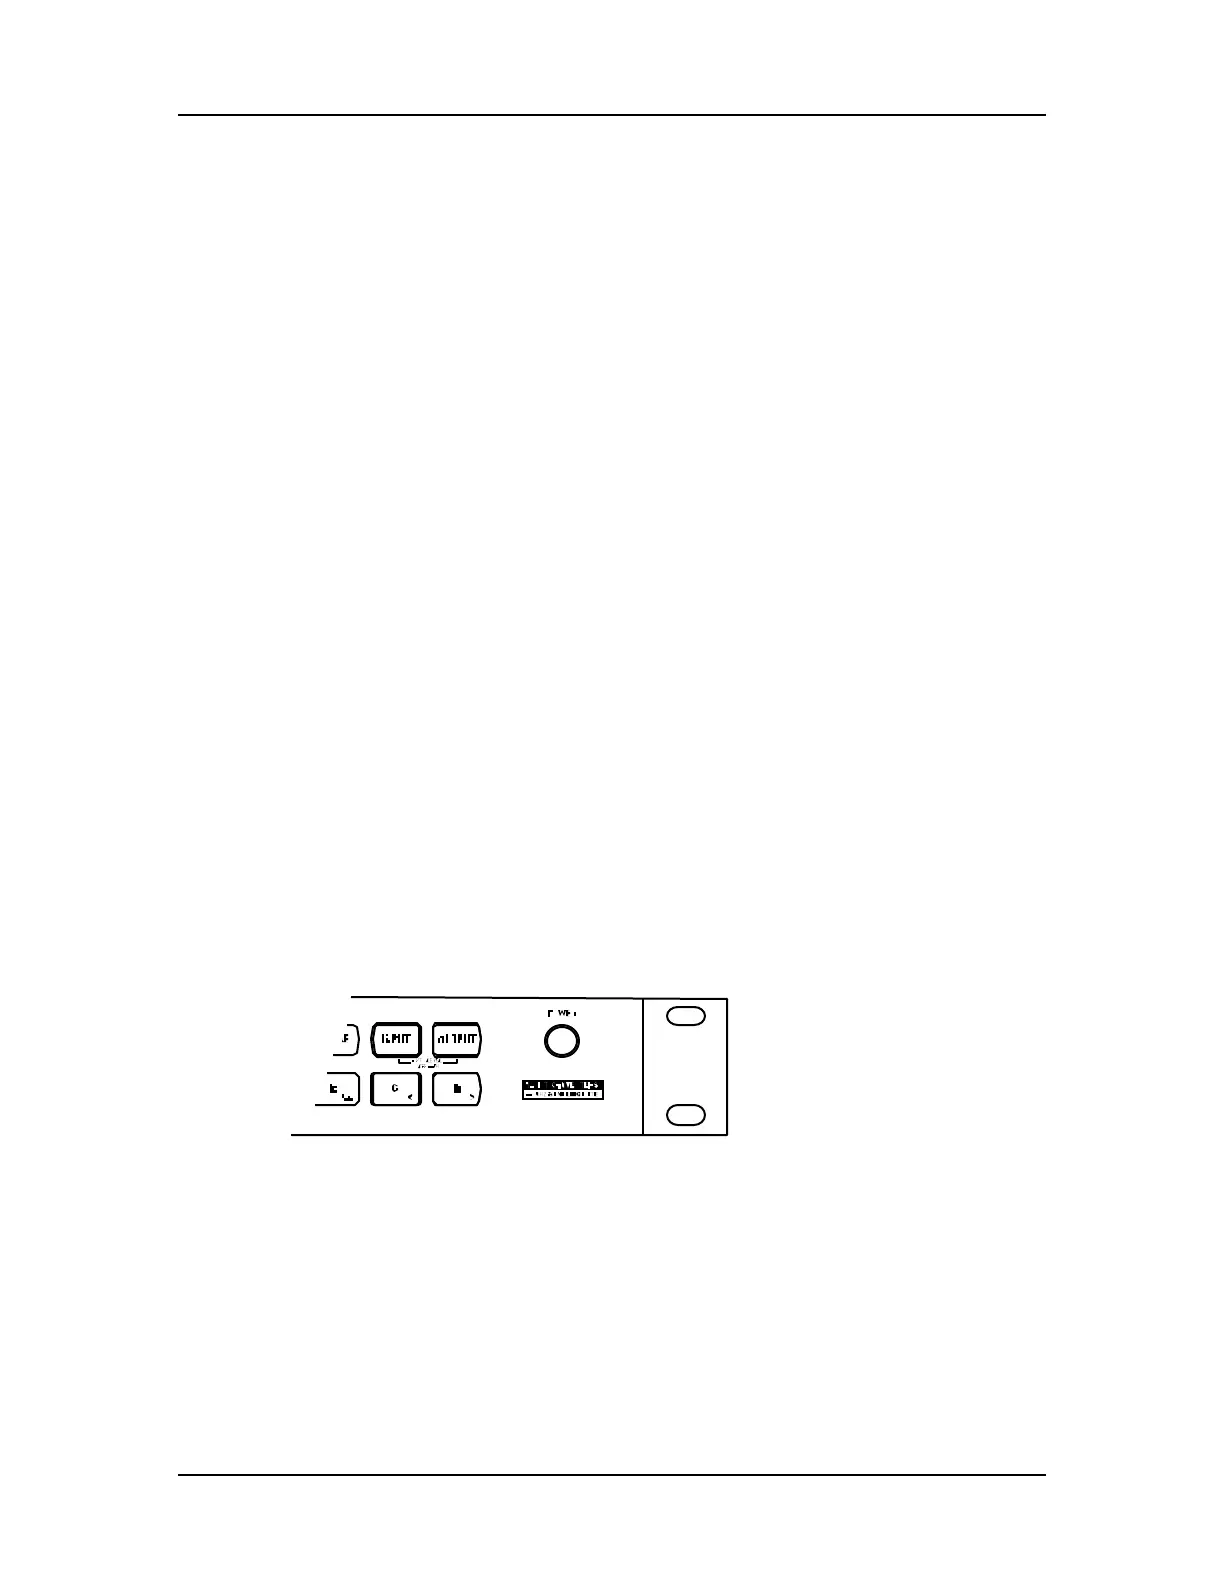
➁ Simultaneously press both [INPUT] and [OUTPUT] buttons.
➂ Feed signal to the MidiVerb 4’s input(s).
The Auto Input function will “listen” to the signal at its input(s) for about 5 seconds,
and adjust the input levels for both channels.
Note: If five seconds of “listening” isn’t long enough, you can extend this time indef-
initely by using a footswitch. You can use any momentary footswitch connected to
the [FOOTSWITCH] jack on the rear panel. Simply hold down the footswitch once
the Auto Input function has been activated. For more information, see Chapter 2.