3 www.Observint.com
© 2017 Observint Technologies. All rights reserved.
By default, the Setup Wizard will open automatically. Refer to the Alibi Embedded Network Video Recorder Firmware V3.4.90 User
Manual provided at www.alibisecurity.com/resources for incomplete instructions for using the Wizard and conguring and using your
NVR.
Important Notes for using the Wizard:
• Password: When logging into the recorder for the rst time, create a “Strong” administrator user password. Follow the on-screen
instructions, and save this password and the GUID le created by the rmware in a secure location. NOTE: There is no factory default
password for this device.
• Date and Time: Set the time zone, date and time correctly. All recorded video and capture (photo) les are time stamped.
• Storage - HDD: In the HDD Management wizard, if a new recorder is shipped with a pre-congured HDD, nothing needs to be done
with it in this window. If you installed an HDD or replaced the HDD, that HDD needs to be initialized by the recorder before it can be
used to record data. Select (check the box for) that HDD, then click Init to initialize the disk. NOTE: Init will erase all data from the
disk and can take several minutes to complete. When the initialization is complete, click Next to continue.
• Network Settings: By default, the recorder acquires it’s network settings using DHCP (dynamic network settings). Depending on
the conguration of the network, these settings may change. To improve remote access to the recorder, Observint recommends that
you congure the DVR with xed network settings. To easily change the DHCP acquired network settings to xed network settings,
un-check the Enable DHCP option in the network setup menu, and then click Apply.
Step 9. Access the Menu system
After the initial setup of your QVR using the Wizard, the Menus interface enables you to rene your conguration settings and expand the
functionality of the system. To use most menus, the user must log into the NVR system, either locally or remotely, with administrative
privileges. To open the Menu system from the Live View screen, right click anywhere in the screen, then select Menu.
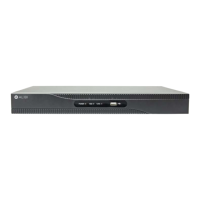
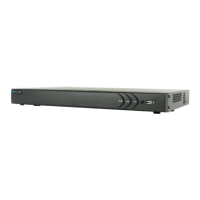
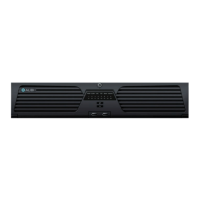
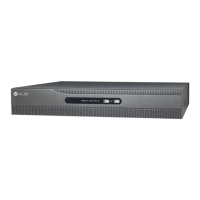
Step 5. Install a monitor, mouse, power
For the following steps, refer to the back panel photo above for the location of connectors.
1. Install and setup your monitor in accordance with the instructions provided with the monitor. Do not power it on at this time.
2. Cable the HDMI or VGA connector to your monitor’s VGA or HDMI input. The HDMI interface provides the best performance.
3. Plug the mouse into the USB connector on the front or back of the NVR.
4. If you plan to access your NVR remotely, or congure your NVR to transmit alerts, email, etc. to external servers, plug a drop cable from
your local area network (LAN) into the RJ45 LAN connector on the back of the NVR.
5. Connect the power cord (or power adapter for ALI-NVR3304P only) to the power connector on the back panel of the NVR, and then
into a UPS (recommended) or surge protector.
Step 6. Install cameras
Install your security cameras. Always follow the installation instructions provided with the camera. NOTE: If the cameras feature Power over
Ethernet PoE), the cameras that plug into the ports on the back of the NVR can be powered through those ports.
Step 7. Connecting it together – initial system setup
1. Plug the Ethernet drop cables from the cameras into the RJ-45 Ethernet Switch Ports on back of the NVR.
2. Power on your cameras.
3. Power on the NVR using the power on / o (I / O) switch on the back panel.
4. Power on the monitor.
NOTE
Some monitors have multiple inputs such including VGA ,HDMI, BNC, etc. If you are using this kind of monitor, congure your monitor to
display the input connected to your NVR (HDMI or VGA).
Step 8. Use the Wizard for basic configuration setup
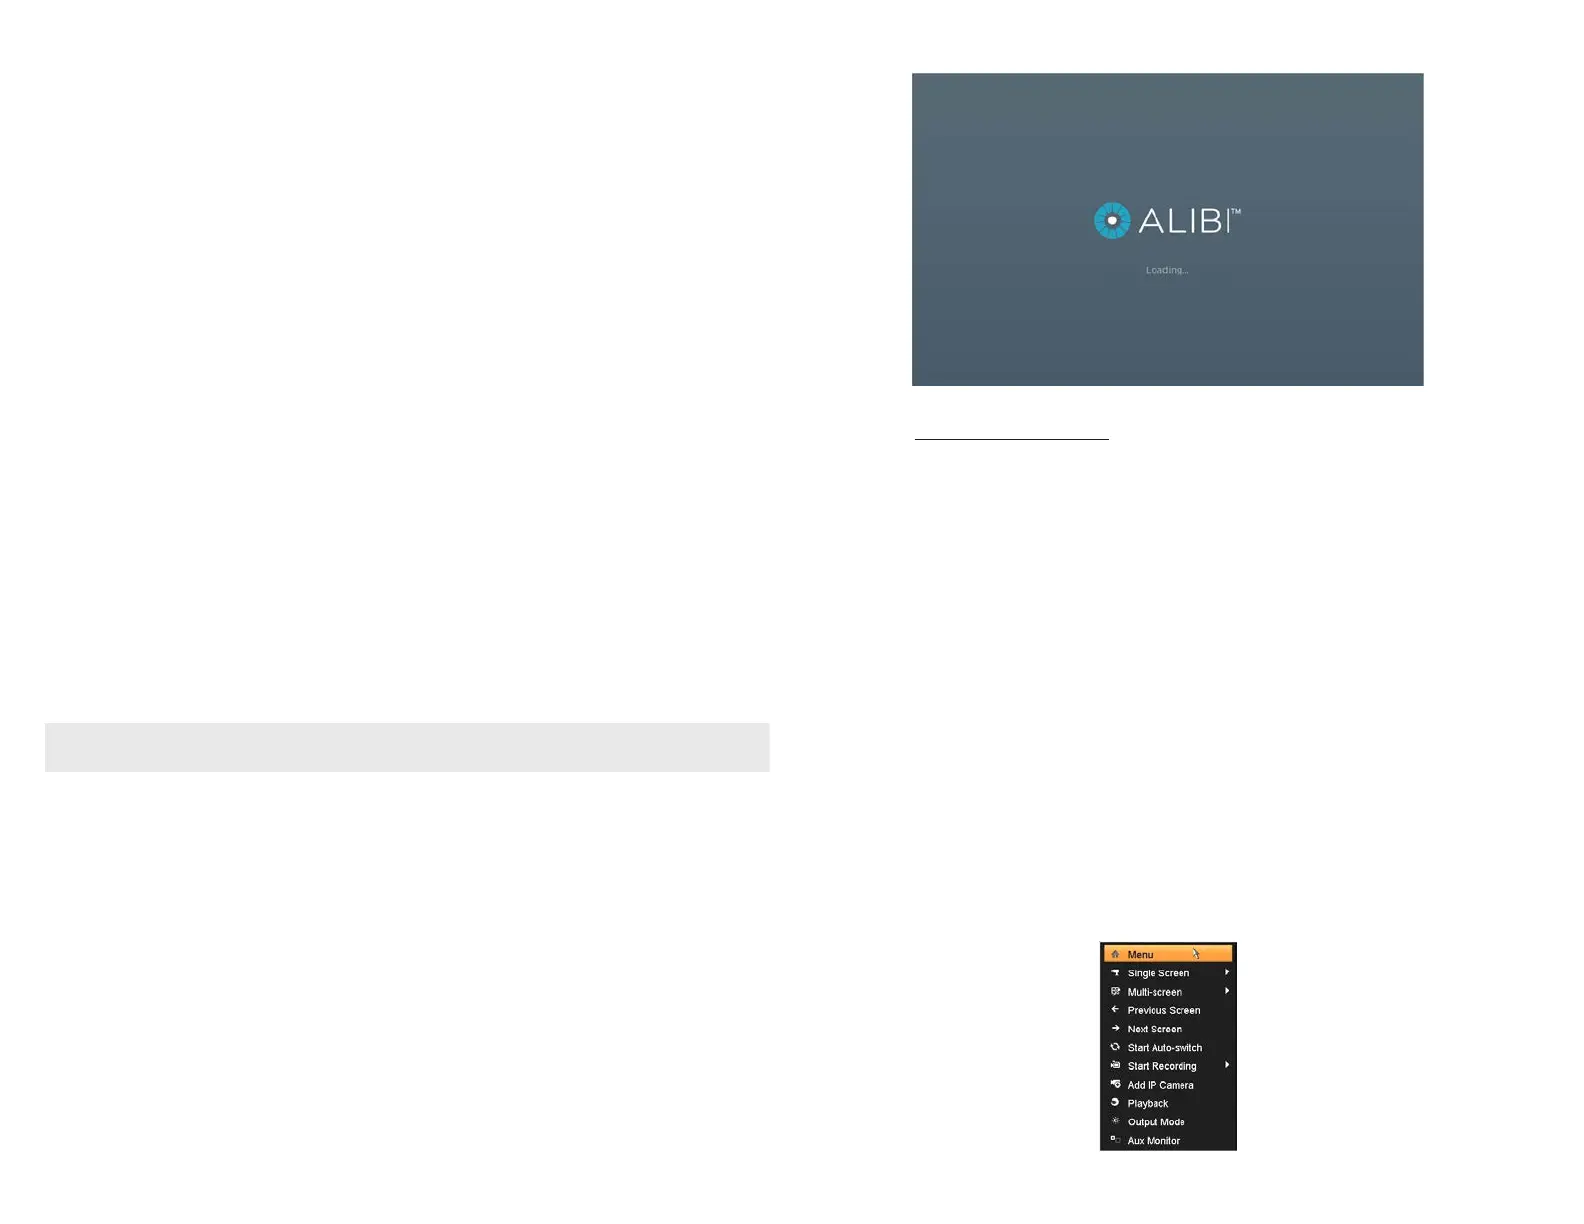
Power on the NVR. Normally, an Alibi logo splash screen appears within 2 minutes.
 Loading...