1 December 2017 2 P+JAssem Version 1.1
2.0 Prepare for assembly.
Get a cup of coffee. Have a snack. Assembling a guitar is a process that takes time, patience, and thought.
It is not to be rushed. You will want to cherish this instrument for years to come. Go slow and be patient.
The assembly process is broken into the following sections:
• Unpacking and Parts Review
• Finishing
• Assembly
• Final Setup
Let’s get started. Open the box.
2.1. Unpack
Gently take out and unwrap the body and neck. Place them on a towel or work cloth. Remove all the
hardware and spread on a towel or large work cloth.
• Inspect the neck and body for any shipping damage.
• The neck should be smooth and ready for final sanding and finishing.
• The body should be ready for finish sanding and either sealing, staining, or painting. (You will have
to do finish work on the body and neck. That is half the fun of assembling your own guitar. Make it
yours!!)
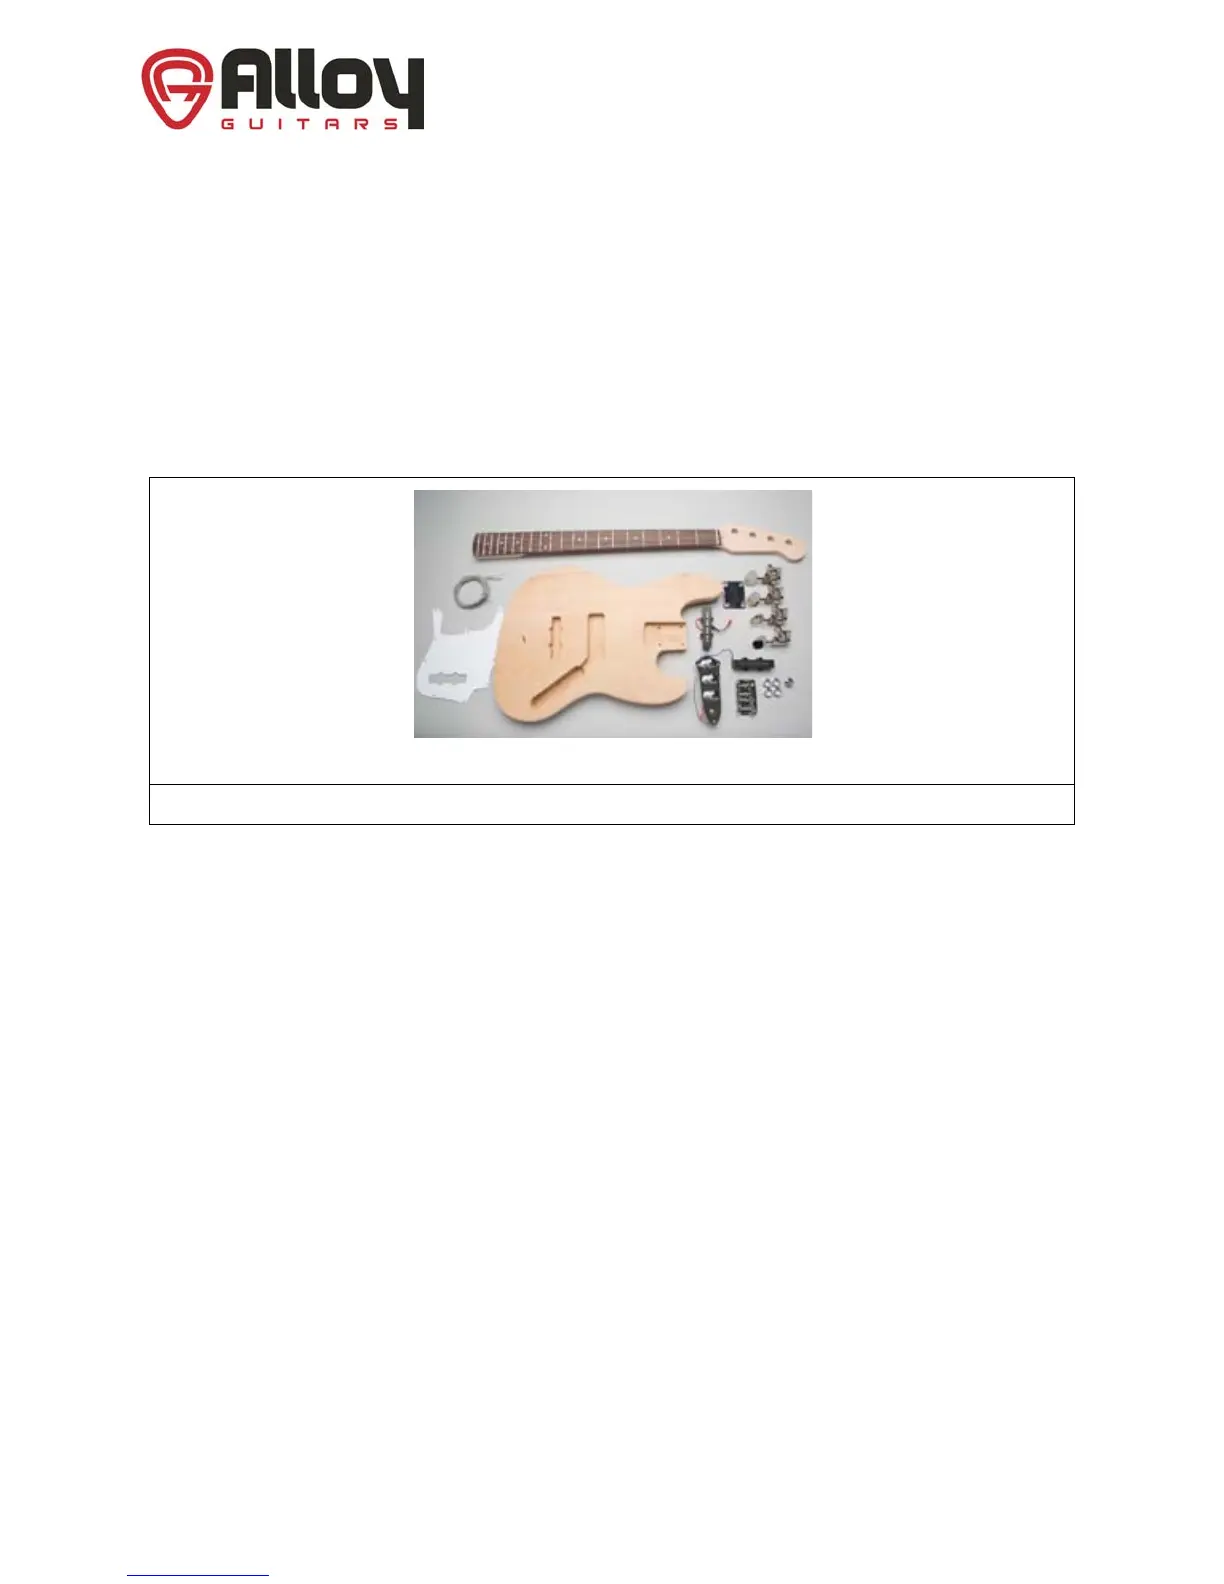
Identify all the hardware components. Please see the photos below, but note that some of these photos
may differ slightly from the components that you received.
1.Body
2.Neck
3.Pickups x 2 (J-Style) or x 1 (P-Style)
4.Pickguard
5.Prewired volume/tone circuitry
6.Strings
7.Bridge
Figure 1 Box Contents (J-Style shown)