Mounting
Due to the high output of the integrated 250W amplifi er, some
heat is produced when the system is in operation. Therefore,
the heatsink should not be obstructed, allowing for free
circulation of air. For proper installation please contact your
authorized Alpine dealer.
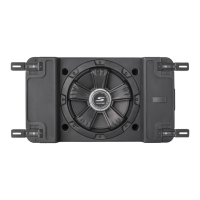
1 Attach the included mounting plates with
the supplied screws to the pre-drilled
holes in the bottom of the enclosure.
WARNING: Make sure to use the screws
provided for mounting the plate to the
enclosure to avoid potential damage to
internal parts.
2 Once the plates are mounted as shown,
position the PLT-5 in the desired location
within the vehicle. Before securing with
screws, check to make sure all screws can
affi x to a structurally solid surface while
avoiding vehicle wiring, components, etc.
Note: For securing the mounting plates to the vehicle, it
may be necessary to use longer screws (not included) to
accommodate carpet thickness, etc.
ENGLISH
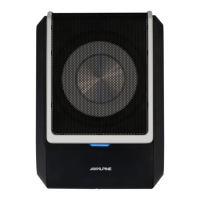
Wiring Connections
1 Remove the tuning access panel on the
amplifi er
2 Then gently remove the amplifi er end cap
3 Route the wires through the opening
on the bottom of the end cap
4 After making all you connections (refer
to the “amplifi er connection” portion)
re-install the amplifi er end cap by lining up
the end cap mounting grommets over the
pegs and press fi rmly at each corner until
panel is fl ush to the enclosure
x2
x4
3-EN
manual_r13.indd 4manual_r13.indd 4 4/4/06 11:50:55 AM4/4/06 11:50:55 AM