R
Designed by ALPINE Japan
68-24567Z41-A
• OWNER’S MANUAL
Please read before using this equipment.
• MODE D’EMPLOI
Veuillez lire avant d’utiliser cet appareil.
•MANUAL DE OPERACIÓN
Léalo antes de utilizar este equipo.
ALPINE ELECTRONICS OF AMERICA, INC.
19145 Gramercy Place, Torrance,
California 90501, U.S.A.
Phone 1-800-ALPINE-1 (1-800-257-4631)
EN
FR
ES
Thank you for purchasing this Alpine product. Please take a moment to protect your purchase by
registering your product now at the following address: www.alpine-usa.com/registration
.
You will be informed of product and software updates (if applicable), special promotions, news
about Alpine, and entered for a chance to win prizes.
Merci d’avoir acheté ce produit Alpine. Nous vous invitons à consacrer un moment à la protection
de votre achat en enregistrant votre produit dès maintenant à l’adresse suivante :
www.alpine-usa.com/registration
.
Vous serez tenu informé des mises à jour des produits et des logiciels (le cas échéant), des
promotions spéciales, de l’actualité d’Alpine, et vous aurez une chance de remporter des prix.
Gracias por adquirir este producto Alpine. Con solo unos pocos pasos podrá proteger su producto,
registrándolo a través de la siguiente dirección: www.alpine-usa.com/registration
.
Recibirá información sobre nuevos productos y software, promociones especiales, novedades sobre
Alpine y participará en el sorteo de premios.
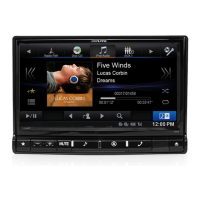
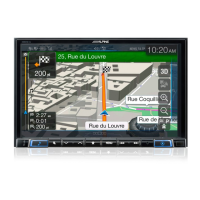
8-INCH ADVANCED NAVI STATION
X008U
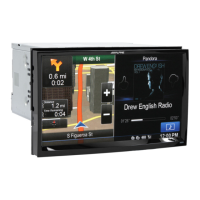
7-INCH ADVANCED NAVI STATION
INE-W957HD
This HD Radio receiver enables: