15
INSTRUCTION BOOKLET
WARNING: Never leave your drone charging unattended for extended periods of
time. Always disconnect the battery from charger immediately after the battery
is fully charged. Please refer to the enclosed safety instructions.
PACKAGE CONTAINS:
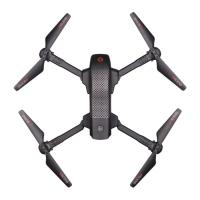
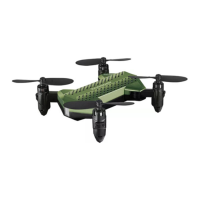
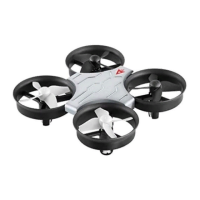
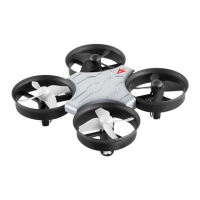
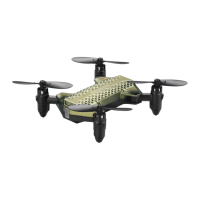
Colors and styles may vary slightly from photos
Instruction
Manual
Spare Parts Battery
ASC-2400
USB Charger 2.4G Wireless
Controller
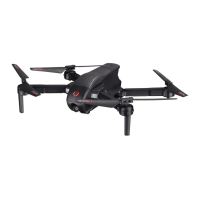
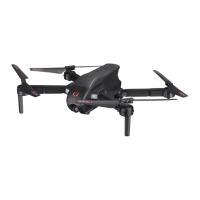
ON BOARD
HD VIDEO
ON BOARD
HD CAMERA
1280 x 720 pixels
25 frames per second
Phone Holder
HD VIDEO DRONE
ASC-2400
Set of 4 AAA
Batteries
for Controller
Made in China
CT-6333
C009-USA-V1.0
Ascend Aeronautics™ is the registered trademark of AMAX Industrial Group LTD.
AMAX Group USA Address: 12645 Memorial Dr Suite F1 #388 Houston, TX 77024
© 2021 All Rights Reserved. visit us at www.amaxbrands.com
CHOKING HAZARD
-
Small parts.
Not suitable for children under 3 years.
WARNING!
FCC Part 15 C Notice
CAUTION: Changes or modifications not expressly approved by the party responsible for compliance could
void the user’s authority to operate the equipment.
NOTE: This equipment has been tested and found to comply with the limits for a Class B digital device,
pursuant to Part 15 of the FCC Rules. These limits are designed to provide reasonable protection against
harmful interference in a residential installation. This equipment generates, uses and can radiate radio
frequency energy and, if not installed and used in accordance with the instructions, may cause harmful
interference to radio communications. However, there is no guarantee that interference will not occur in a
particular installation. If this equipment does cause harmful interference to radio or television reception,
which can be determined by turning the equipment off and on, the user is encouraged to try to correct the
interference by one or more of the following measures:
• Reorient or relocate the receiving antenna.
• Increase the separation between the equipment and receiver.
• Connect the equipment into an outlet on a circuit different from that to which the receiver is connected.
• Consult the dealer or experienced radio/TV technician for help.
This device complies with Part 15 of the FCC Rules. Operation is subject to the following two conditions :
(1) This device may not cause harmful interference, and
(2) this device must accept any interference received, including interference that may cause undesired
operation.
FCC RF exposure statements (for the drone only)
This Transmitter must not be co-located or operating in conjunction with any other antenna or transmitter.
This equipment complies with FCC RF radiation exposure limits set forth for an uncontrolled environment.
This equipment should be installed and operated with a minimum distance of 20 centimeters between the
radiator and your body or nearby persons.
Conforms to safety requirements of
FCC.
Distributed by:
Costco Wholesale Corporation
P.O. Box 34535
Seattle, WA 98124-1535
USA
1-800-774-2678
www.costco.com