INSTALLATION AND OPERATING INSTRUCTIONS
72-0113 08-03-18 4211-149 7014363 314 SYRA 77 D
Page 9
SECTION 5: INSTALLATION PREMIUM/A60 CONTROL (1601-33 or 1601-33-1) CONT.
Recessed Mounting For the Premium Control
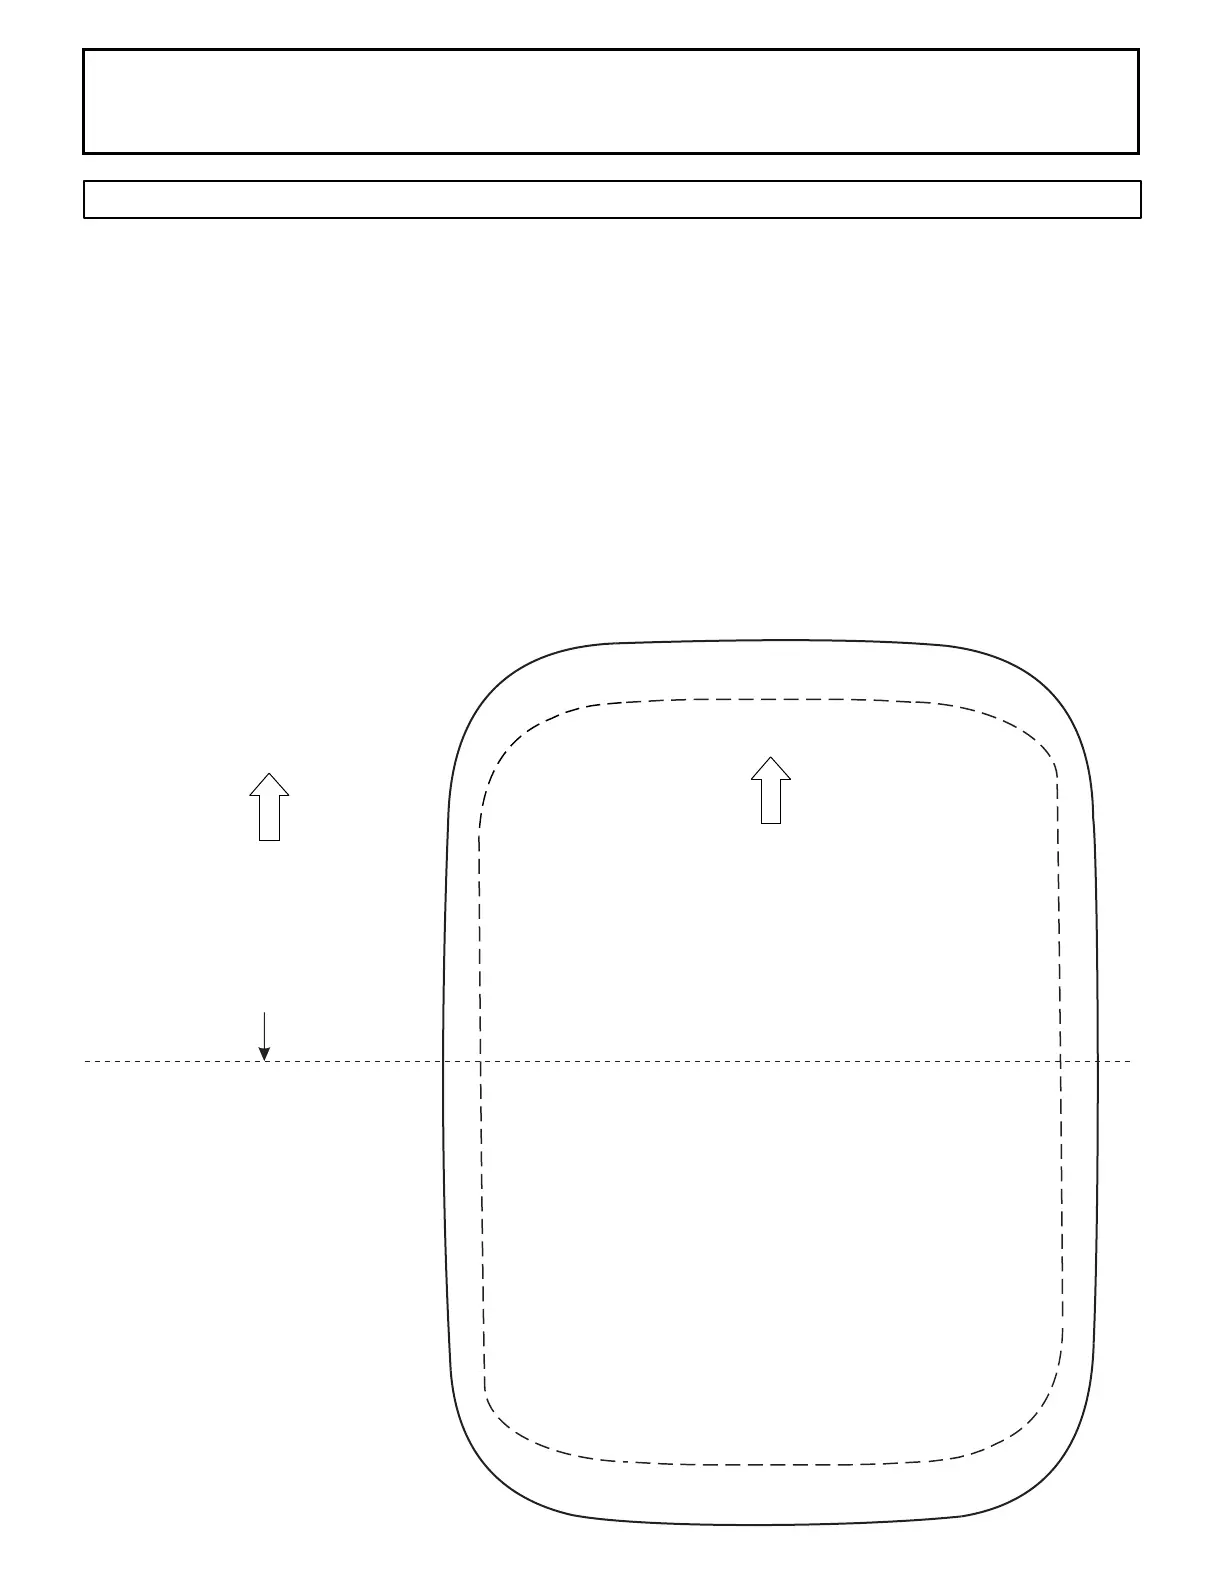
The recessed mounting box allows the control to mount with its surface almost even to the wall surface. Print this page to “Actual” Size on
Printer Options. (This will ensure the size of the opening is correct). Cut out the middle of this page on the dotted lines. The hole will be the
size of the mounting box. Insert the mounting box in the hole of this page to ensure it is the correct size.
Trace the paper cut out on the wall. Cut a hole in the wall to match the inner dotted line for the mounting box. Run the control cable out of
the wall through the hole in the mounting box. Ensure the hole is just big enough to mount the box. Push the mounting box into the hole and
turn the mounting screws to pull the tab tight against the inside of the wall. Ensure the box is level and the correct end is UP (there is an
arrow on the wall side of the box pointing up).
Connect the Control coupler to the control cable then feed the cables and connector through the hole in the box and into the wall. Test the
Control before mounting it into the wall! Once mounted, the Control will be hard to remove!
When ready, apply a small amount silicone to the back of the control, carefully push the control into the box, and hold in place.
Note: Do not use the adhesive tape between control and mounting box. It will be too think and will cause issues with snapping
on the Trim Ring.
Press the trim ring on to the front of the box and control. Snap it in, place top and bottom and along both sides.
Print Page as “Actual” Size
Cut on Dotted Line and remove this part of page
Trace This Inner Opening on the Wall
Solid Line represents the outline of the housing lip.
Print page to “Actual Size”;
do not select “Fit” to page
on printer Page Sizing.
Level Line


 To Previous Page
 Loading...