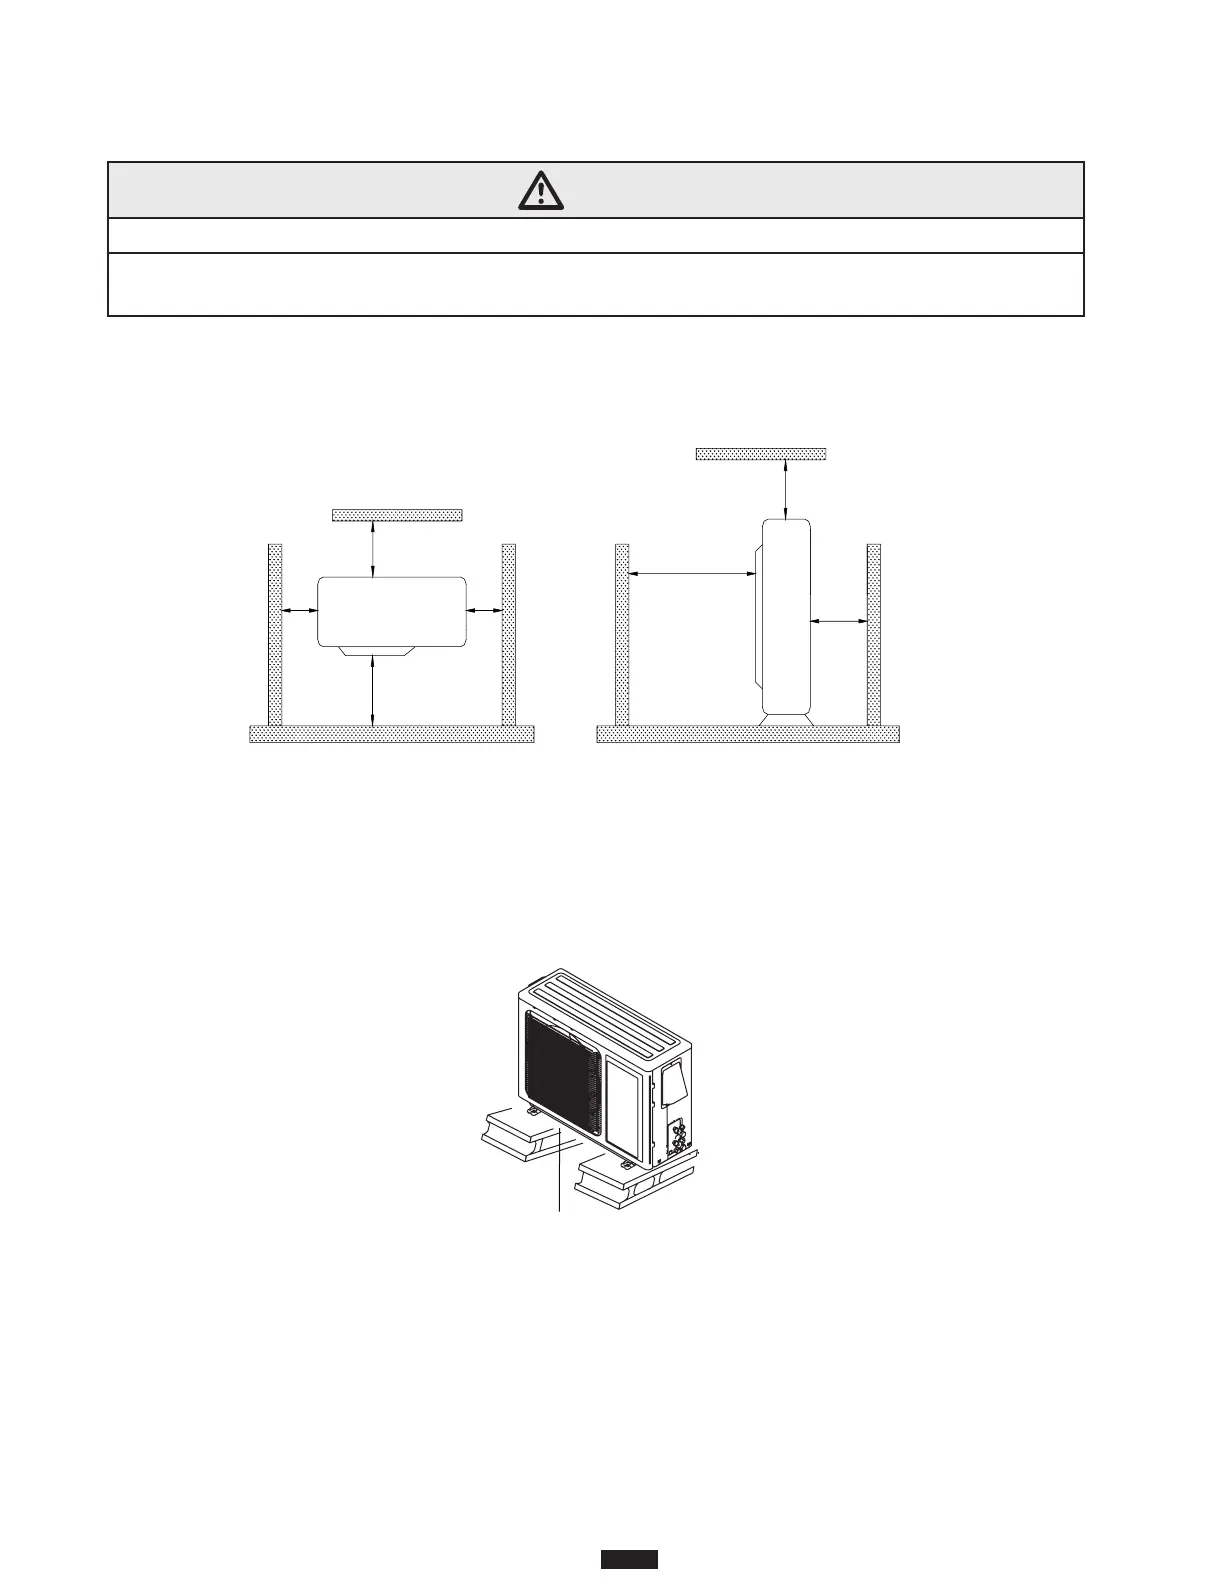
When the outdoor unit is surrounded by walls or other obstructions, the installation space
of the unit should be no less than the clearances indicated below. For efficient operation,
leave three of four directions of peripheral constructions open when possible.
WARNING
1. Install the unit where it will not be tilted by more than 5°
2. If the location is subject to strong winds, the additional force must be accounted for and
the unit must be fixed securely to the base.
>20(500)
>39(1000)
>79(2000)
>20 (500)
>20(500)
>20(500)
>79(2000)
inch(mm)
Installing the Outdoor Unit
Select the installation location that provides easy access to the indoor unit.
1. Make sure the location can support at least four times the weight of the unit.
2. Secure the outdoor unit on the selected base location with expansion screws.
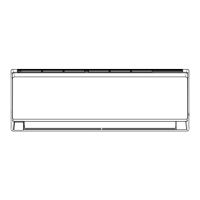
3. The outdoor unit should be installed at least 1 1/16 inch above the ground or base in order
to install a drain joint (as shown below).
At least 1 1/6 inch clearance
Condensate Management of the Outdoor Unit
1. It is required to install a drain pipe for the outdoor unit to drain out the condensate water
during heating operation. Note: In climates where outdoor freezing is an issue, the pipe and
connection should be adequately protected from freezing. (Self-regulating heat tape is one
example of pipe freeze protection).
2. When installing the drain pipe, apart from the drain pipe mounting hole, all other holes should
be plugged so as to avoid water leakage.
3. Insert the drain pipe fitting into the drain pipe mounting hole located at the base of the unit and
then connect the drain pipe to the pipe joint.
18
15 SEER Mini-Split