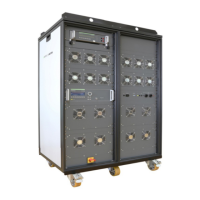
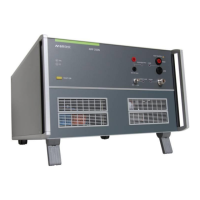
Sequoia / Tahoe Series User Manual California Instruments
M447352-01 REV-A 75
4.1.1.1 Basic Output Programming
For basic operation, the power source requires the selection of the output phase number (1-Phase or
3-Phase), output phase sequence, output voltage mode (AC, DC, or AC+DC), voltage range (Low-Range
or High-Range), the mode of operation (CV/CC or CV/CL modes), and adjustment of the output parameters
(voltage, current, frequency, phase, and DC offset). This could be accomplished through the front panel
display by navigating to the appropriate menu, entering the desired values, and enabling the output;
alternately, the remote digital interface could be used with SCPI commands (refer to the Sequoia Series
Programming Manual P/N M447353-01 and Tahoe Series Programming Manual P/N M447354-01) or the
Sequoia/Tahoe Virtual Panels GUI; refer to AMETEK PPD website, www.programmablepower.com, to
download the latest version.
4.1.1.2 Basic Functional Test (Source Mode)
WARNING!
When performing the functional tests, exercise appropriate care to protect
against hazardous voltages that are present on the input and output.
A basic functional test of the power source could be performed with the following steps:
1. Connect an oscilloscope and DVM to the power source AC/DC Output connector. Recommended
equipment: oscilloscope, Tektronix TDS 3034C with P5202A high-voltage differential probe; DVM,
Keysight 34461A.
2. With the AC mains verified as being off, make the AC input voltage connections to the power source
input connector.
3. Turn on the AC mains, and then turn on the POWER switch on the power source front panel.
4. Verify that the front panel display lights up. After several seconds the display should show the
DASHBOARD Screen Top-Level Menu or the Default screen; refer to Section 5.6 for the description
of menus.
5. Switch on the resistive load for each phase that is set to draw 90% of full-scale current at 166 V(RMS)
for the low-range AC output.
6. Using the front panel display or remote digital interface, set the output of each phase for AC mode
operation with the following parameters: voltage mode = AC; voltage range = low, 166 V;
output voltage = 166 V(RMS); frequency = 60 Hz; and current setting = full-scale for the model being
tested. Ensure that the Constant-Voltage/Current-Limit mode is selected in the REGULATION menu
of the CONFIGURATION Screen Top-Level Menu; refer to Section 5.6.2.6 (Source Mode).
7. Enable the output by tapping the OUTPUT switch. The OUTPUT LED in the switch button will turn on
when the output is on.
8. Verify that the output voltage of each phase remains a sine wave within specifications for voltage
accuracy.
9. Program the output current to 50% of the full-scale output current and verify that a fault condition is
generated with the output turned off, the output voltage set to zero, and the front panel FAULT indicator
on.
10. Return the current setpoint to 100% of full-scale and set the output voltage = 166 V(RMS).
11. Enable the output with the OUTPUT switch. The OUTPUT LED in the switch button will turn on when
the output is on.
12. Verify that the output voltage of each phase returns to its set point.
 Loading...