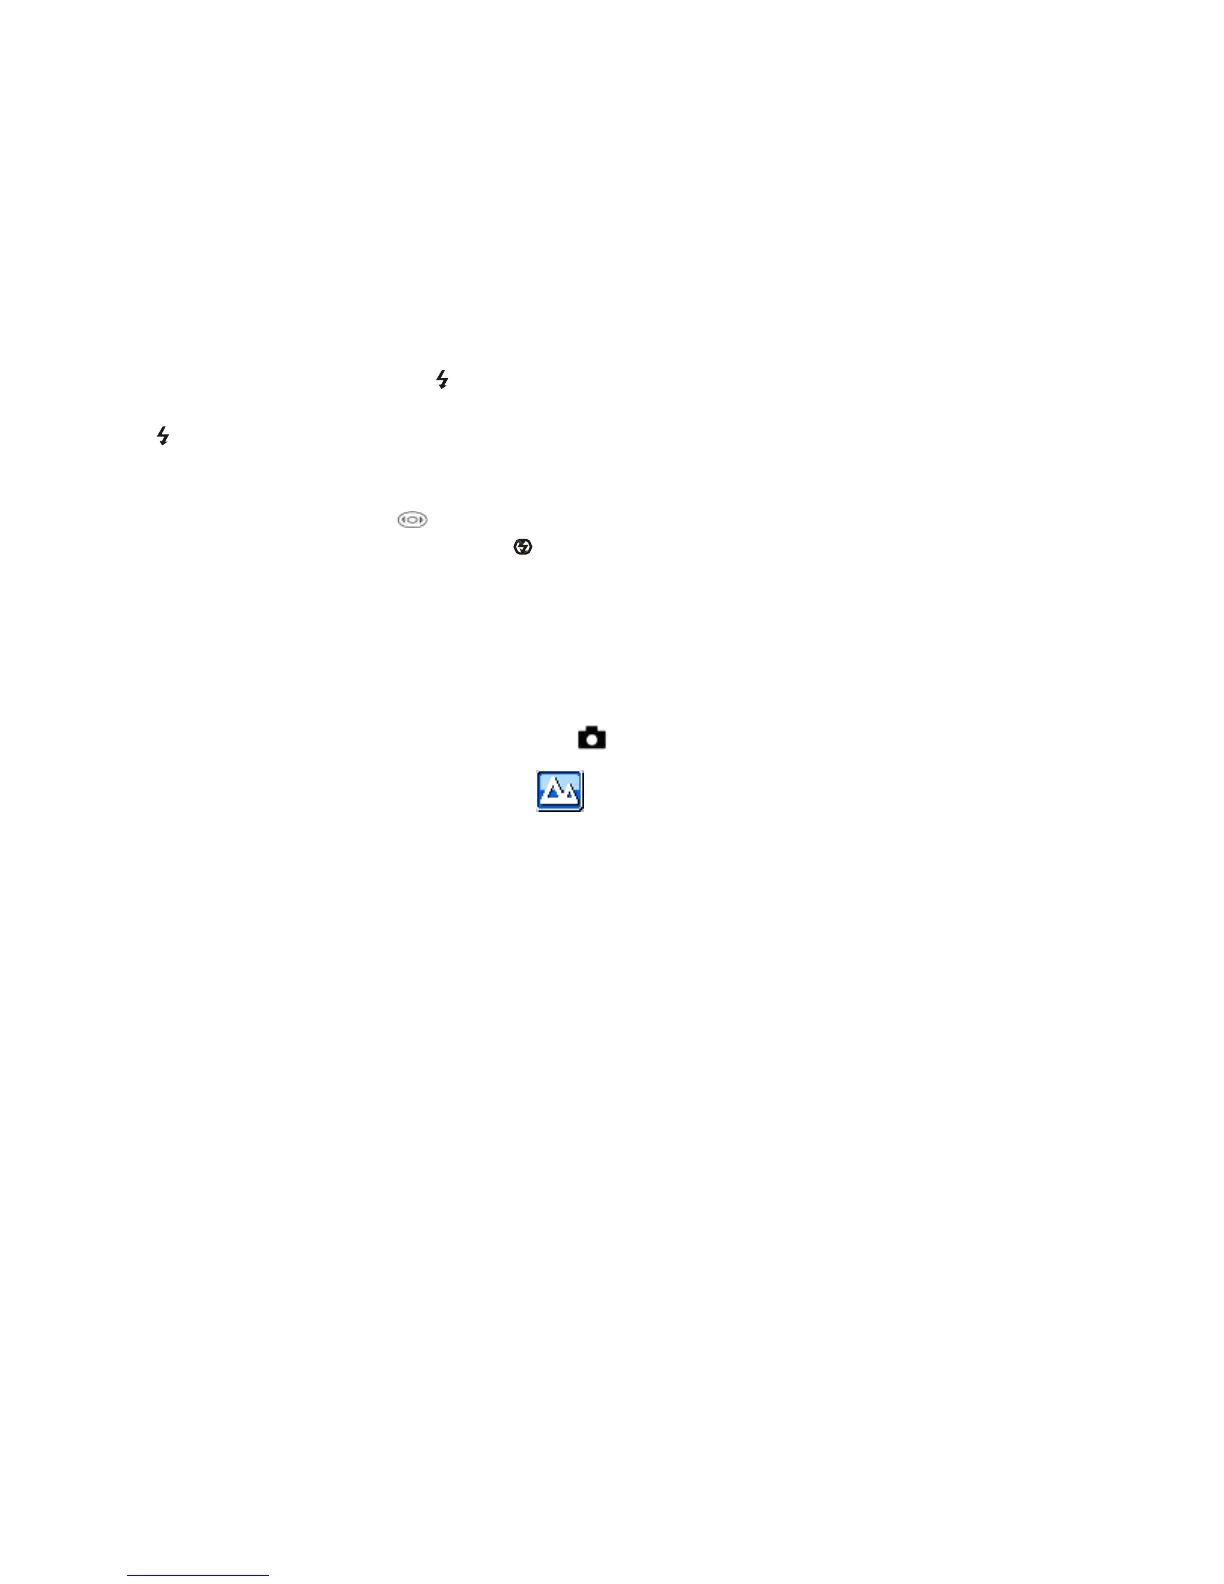
Press Flash button repeatedly. The icon will appear on the LCD screen. This means the flash function
has been "forced on" (manual flash). If the flash is not ready, a red LED will light up beside the LCD screen
and the
icon will flash repeatedly- wait until the flash is ready before taking a photo. A “low battery”
warning will appear on the LCD screen if there is insufficient battery power to operate the flash.
Press the Flash button until the
icon appears on the LCD indicating that Red-Eye reduction is on.
Press the Flash button repeatedly until the
icon appears. This will turn off the flash function.
Scene
Your camera supplies scenes for you to take photos in any environment nearly, there is abundant scene
included with your camera. Such as Auto, Night Portrait, Night Scenery, Portrait, Scenery, Sport, Party,
Beach, High Sensitivity. You can choose your best scenery according to your light and environment
conditions.
Press Power button to turn on your camera – the
icon will appear on the top left of your LCD screen.
1. Press Menu button.
2. Press Right/Left button to select the icon .
3. Press Up/Down button to select:
Auto / Night Portrait / Night Scenery / Portrait / Scenery / Sport / Party / Beach / High Sensitivity.
4. Press Menu button or Multi-Function button A to confirm.
Note:
1. After you selected your scenery, the corresponding scenery icon will be appeared on the LCD.
2. You can press Left button for setting different scenes quickly:
a. Press Left button.
b. Press Up/Left/Right/Down button to select the scene and press Menu or Multi-Function button A to
confirm.
Image Size
The image size and quality settings determine the number of photos can be saved and the amount of
memory required for each photo. The higher quality photo will take the more memory. The image size and
quality will also affect the maximum size, you can print your photo effectively. To set the Image size: