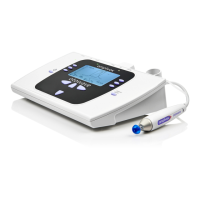
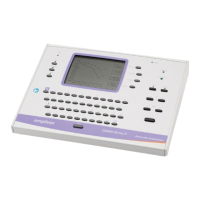
OM024-6 Model 240 Operating Manual Page 15
4.5 Automatic audiometry
4.5.1 Pre-test
(1) Switch the audiometer on
(2) Perform a listening check
(3) Use “Set Auto” from MENU (see Section 3.4.2) to adjust the automatic
test settings. While holding down the MENU key use the MASKING
keys to step through the available options and the SIGNAL
keys to change the settings as required:
250 - select Y or N to include or exclude a test at 250Hz
1K5 - select Y or N to include or exclude a test at 1.5kHz
8K - select Y or N to include or exclude a test at 8kHz
FAM - select Y or N to include or exclude include a familiarization
sequence to allow the patient to become familiar with the tones
and establish an initial threshold at 1kHz
Set Auto - select 2of3 (which records a threshold when the patient
has made 2 correct responses from 3 test tones) or 3of5 (which
records a threshold when the patient has made 3 correct
responses from 5 test tones)
(4) Prepare the test environment & patient (see Sections 4.1 to 4.3)
(5) Give the following instructions to the patient.
“As soon as you hear the tone, press and release the response
switch.
4.5.2 Familiarisation
If the familiarization option has been selected (Section 4.5.1 – step 3) an
automatic test will commence with a trial run at 1kHz starting from -10dB
to allow the patient to become familiar with the increasing level and
operating the response switch.
If the automatic familiarisation run is not used (or if the patient is having
difficulty responding to the presented tones) the familiarisation process
described in Section 4.4.2 may be used.
4.5.3 Test
(1) To test both ears ensure that the left ear is selected
(2) To test the right ear only ensure that the right ear is selected; to test
the left ear only cancel the test once the right ear testing has begun
(3) To initiate a test press and hold the MENU key, then press the AUTO
key and release both