Installation and Setup
43
Hardware Reference Manual – Enova DGX 100 Series Digital Media Switchers
Installing an Enova DGX 100 Series Enclosure
For installing the Enova DGX 800/1600/3200, all of the steps below are required. For the Enova DGX 6400, the procedure above
must be completed first, after which only Steps 4 through Step 11 below are required).
To install and setup an Enova DGX Switcher:
IMPORTANT: Installation of the Enova DGX 3200 requires a minimum of two people for Step 3; we recommend using three people.
1. Enova DGX 6400 only – complete the previous procedure and then go to Step 4.
2. Select a position in the rack for the enclosure that is accessible and does not restrict airflow.
3. Position the enclosure in the rack. Screw in the rack ear screws on each side.
4. Audio Insert/Extract Boards only – Remove the boards (see page 157) and set the DIP switches to either insert or extract
audio (see page 158). This is the only mechanism for configuring the insert/extract functionality.
CAUTION: On systems with DXLink Fiber Input and Output Boards, we recommend using the provided cable management bars or
some other type of cable management system to avoid damage to the fiber cables.
5. Recommended for DXLink Fiber Boards – Attach the provided cable management bars to the input and output boards (see
page 44).
6. Attach only the first two source and destination devices.
If connecting devices to DXLink Twisted Pair Boards, the boards require DXLink Transmitters and Receivers. Install the
Transmitters and Receivers between the first two source and destination devices and the DXLink Boards (see “System
Setup with DXLink Transmitters and Receivers” on page 87 and the product’s documentation).
If connecting devices to DXLink Fiber Boards, the boards require DXLink Fiber Transmitters and Receivers. Install the
Transmitters and Receivers between the first two source and destination devices and the DXLink Fiber Boards (see “System
Setup with DXLink Fiber, Duplex and Simplex Units” on page 116 and the product’s documentation).
If wiring devices to Dante Audio Switching Boards, see page 136.
If wiring devices to Audio Switching Boards, see page 148.
If wiring devices to Audio Insert/Extract Boards, see page 160.
7. Attach power cords to all power receptacles on the enclosure, then turn on the entire system (see page 47).*
We recommend using a surge protector and/or an AC line conditioner.
8. Launch the System Configuration interface via a browser on a PC or tablet (see page 51).
IMPORTANT: The default Username for the interface is “administrator” and the default Password is “password.” After initial setup,
defaults should be changed to ensure system security.
9. Disconnect factory default switch and execute a test switch to make sure system is working properly (see page 56).
10. When the test switch works correctly, attach the remaining source and destination devices and any additional required
transmitters and receivers. If applicable, wire remaining connectors on Audio Switching Boards or Audio Insert/Extract
Board(s).
* Power Budget Planning – If an Enova DGX 3200 system contains DXLink Twisted Pair Boards, read the “Power Budget Planning” in
the board chapter. Calculate the power draw for the system to maintain redundancy of power supplies in enclosure and determine
how many DXLink Twisted Pair TXs and RXs can be powered via the switcher.
Special Information for Audio Expansion Boards
Three types of audio expansion boards are available: Dante Audio Switching Boards (ASB-DAN), Audio Switching Boards (ASB) and
Audio Insert/Extract (AIE) Boards. For Dante Audio Switching Board information, see page 128. For Audio Switching Board
information, see page 146. If the system contains AIE Boards, the connector default settings may need to be changed for desired
audio insertion or extraction functionality. For AIE Board information, see page 155.
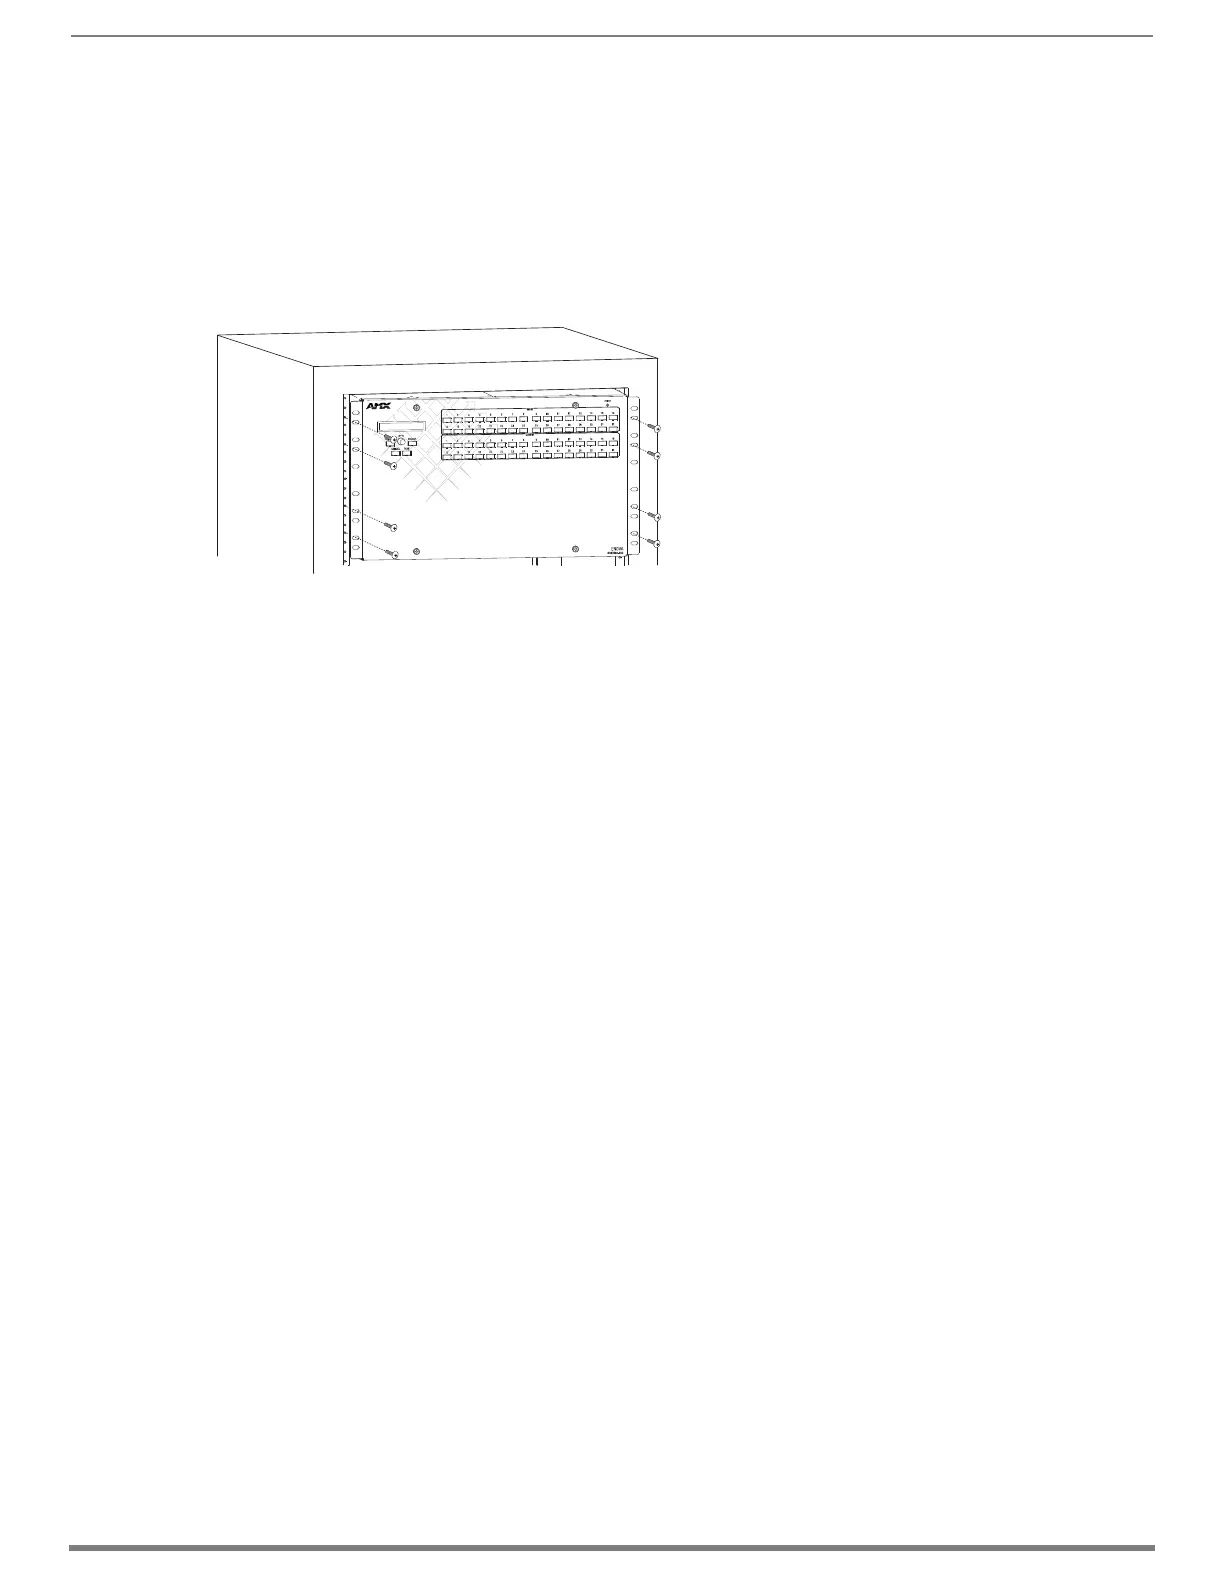
FIG. 17 Insertion of Enova DGX 3200 into rack
Rack mounting screws
aligned with rack
IMPORTANT: For position in rack, see “Caution”
under Installation Procedure on page 42.
 Loading...


