Page 10 of 14 • Andersen Ultimate 5th Wheel Connection (Gooseneck Mount) Installation Manual 1-2022 • www.AndersenHitches.com
Every time you connect a trailer to a tow vehicle using
the Ultimate 5th Wheel Connection, you should make
sure that all bolts are tightened to the proper torque
specs. Additionally, before each trip—and regularly
during a trip—check all hardware, bolts and nuts
for wear and fatigue.
5-1. With the latch in the open position, back the tow
vehicle underneath the trailer until the Kingpin Coupler
is directly above the Ultimate Ball.
SECTION 5: CONNECTING YOUR TRAILER TO THE BASE UNIT
NOTE: THERE IS NEVER A NEED TO GREASE BALL OR COUPLER
± IMPORTANT Before connecting the
Ultimate Connection base to the kingpin
coupler, make sure that the remote latch
cable is pulled out to the open position.
Failure to do so can result in the trailer not
being secured to the Ultimate Connection
base. It may also cause damage to the coupler
assembly and/or Ultimate Ball.
± IMPORTANT DO NOT FORCE THE LATCH
CABLE HANDLE INWARD. If the handle will not
push in fully, check to make sure that the receiver
is fully seated over the Ultimate Ball.
NOTE: The red ball funnel that is part of your
Kingpin Coupler allows you to easily hook up the
Ultimate 5th Wheel Connection, even when up to
3” off center.
5-2. Lower the trailer until its full weight is resting on
the Ultimate Ball, making sure that the ball is seated
completely inside the coupler block’s ball socket.
The height of the Ultimate Ball can be adjusted to allow
for trailer leveling or to help with side rail clearance for
longer pin boxes. Be sure to loosen the Ultimate Ball
Set Screw and tighten it after adjusting the ball height.
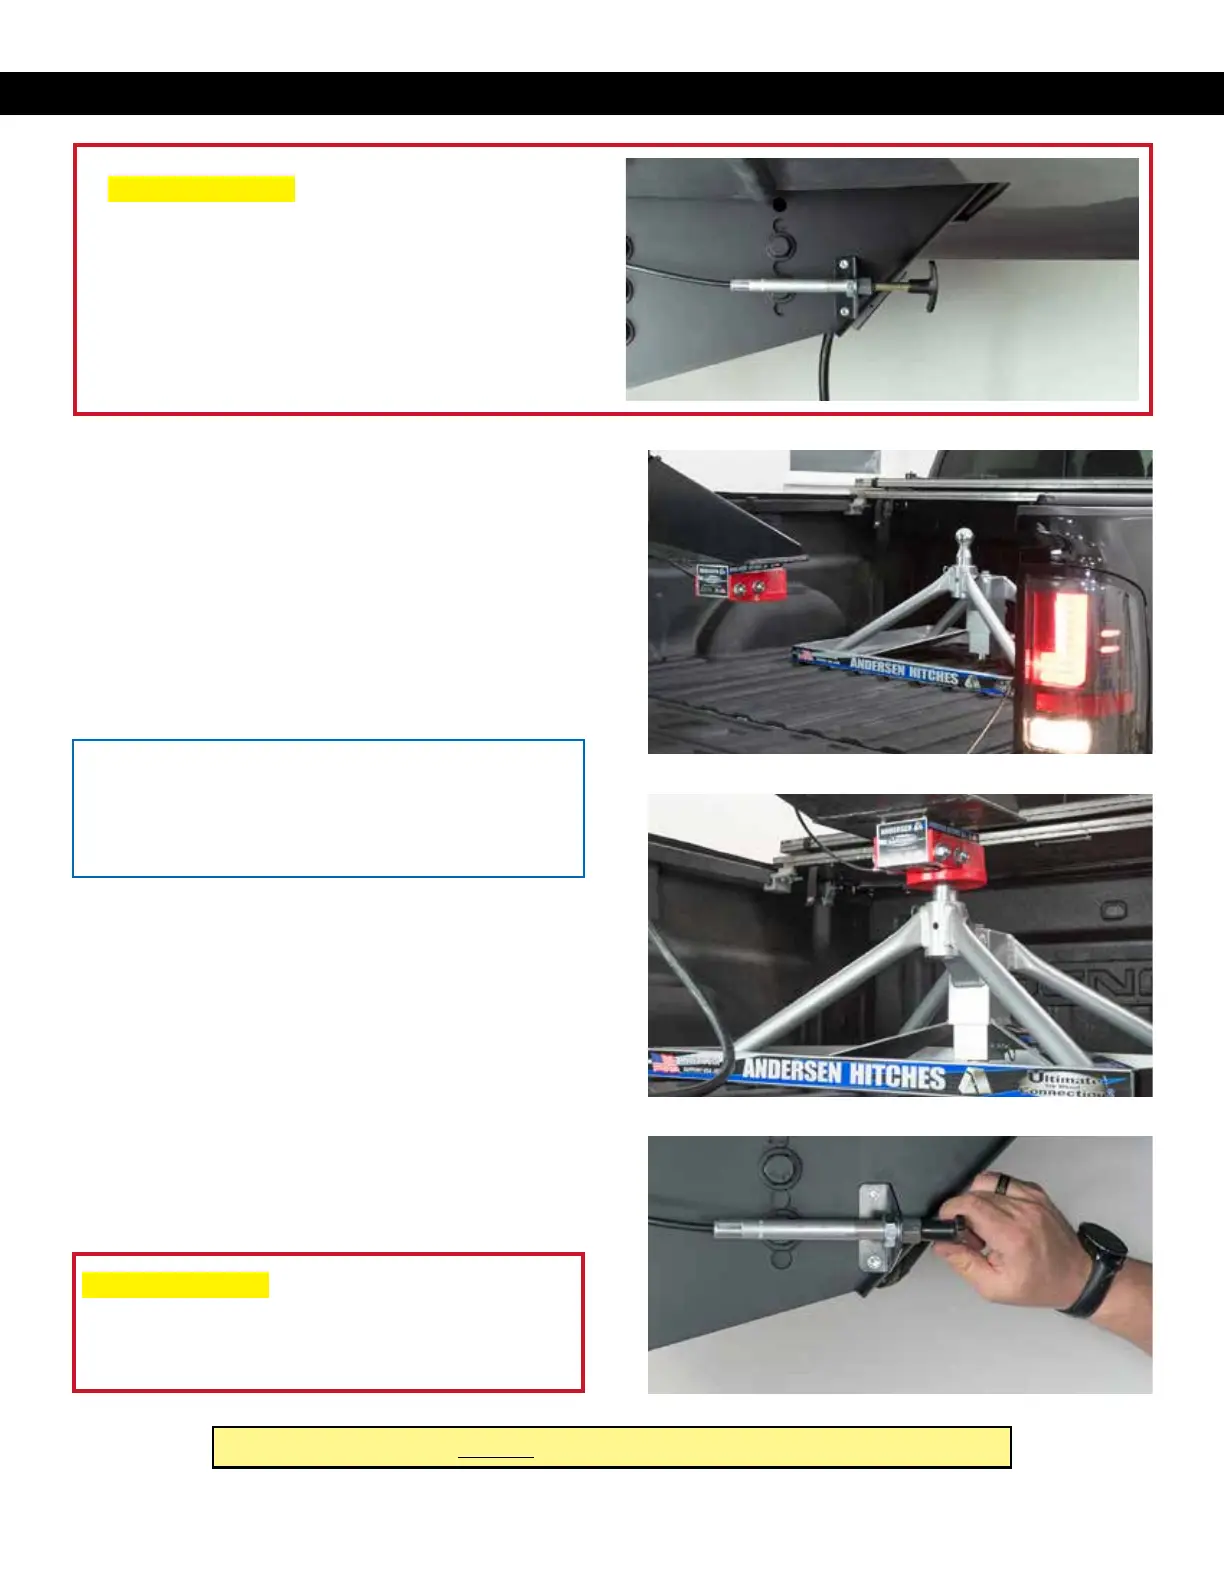
5-3. Secure the Coupler Block by pushing in the
remote latch handle and then locking it in place by
turning it a full 90 degrees in either direction.
5-15-1
5-25-2
5-35-3