2
For a Left Hand Installation, go to Page 3.
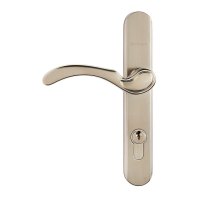
You can match your Andersen storm door lock to Schlage® or Kwikset® entry door locks. See handle set instructions contained within handle set box for details.
“Kwikset” is a registered trademark of Newfry LLC. “Schlage” is a registered trademark of Schlage Lock Company.
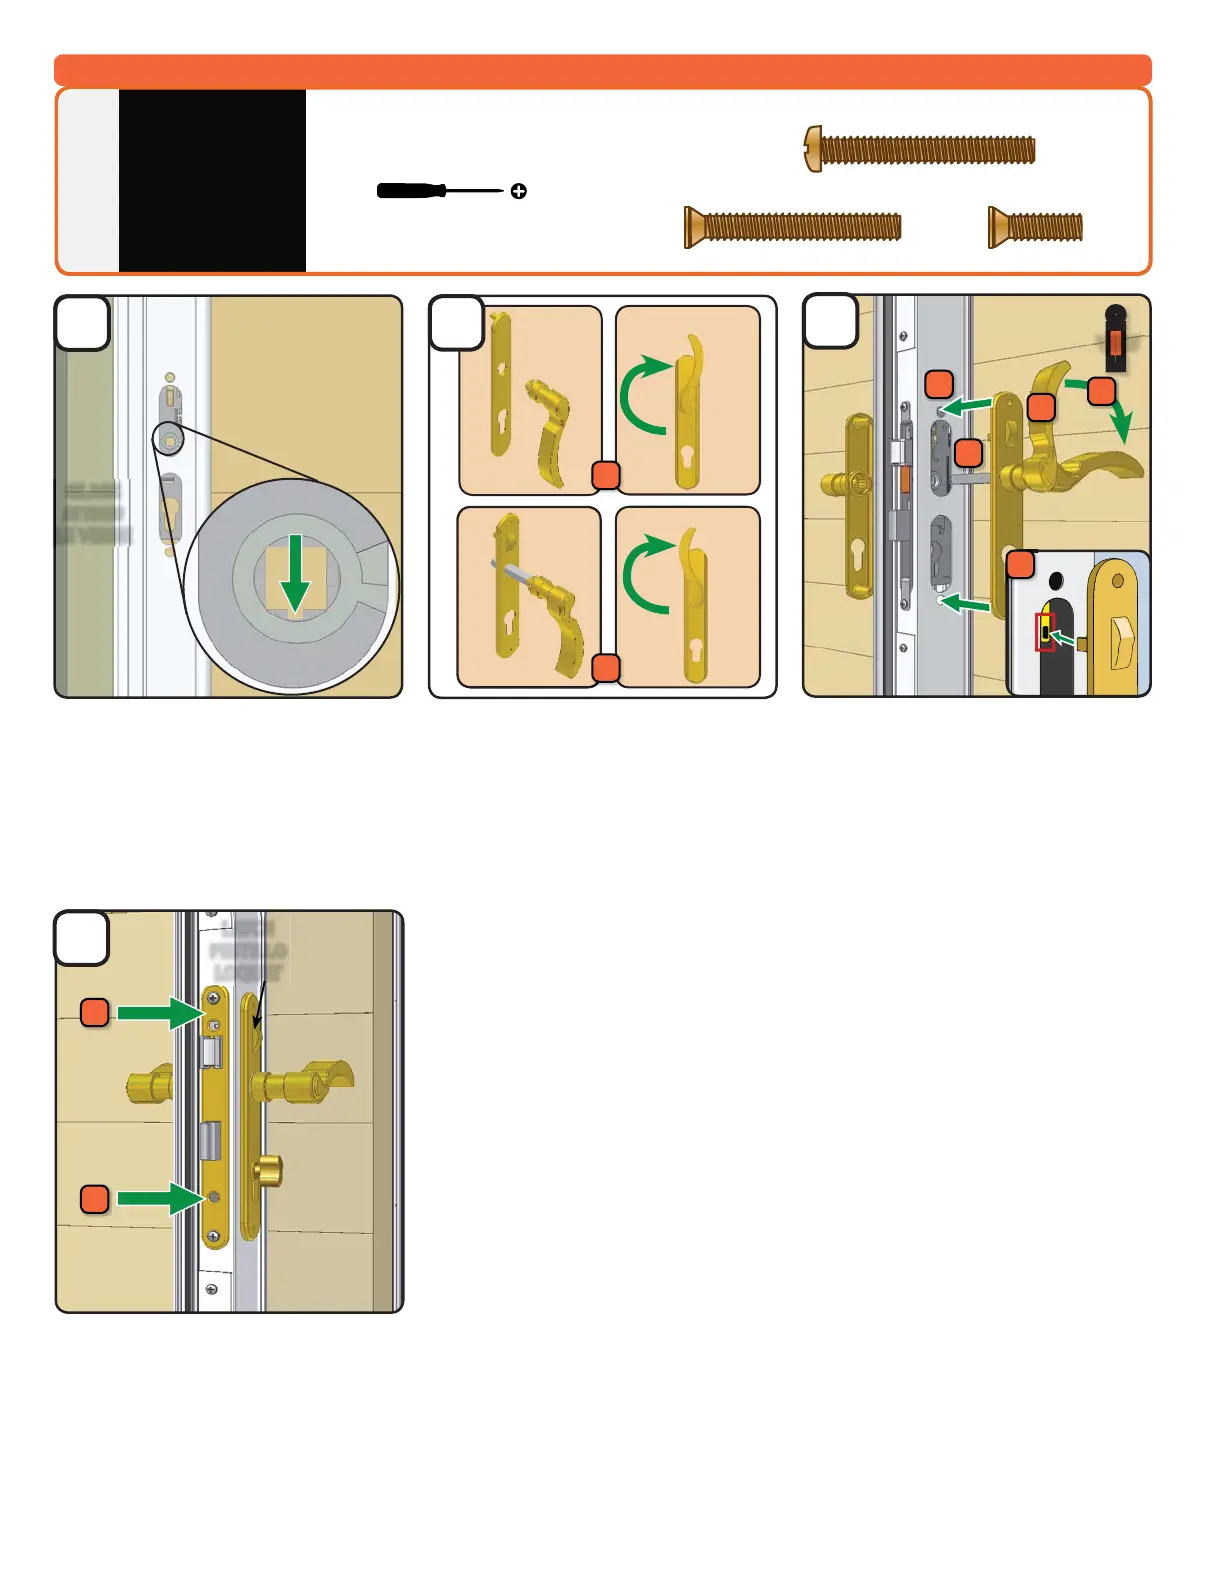
1. Install lock case trim plate onto lock case and
fasten with one 5/8” screw. Do not overtighten.
2. Insert dead bolt key cylinder into lock case and
fasten with one 1 1/2” athead screw. Do not
overtighten.
NOTE: Latch may not have function on some door
models.
1. Insert handle without spindle into outside
trim plate (with Andersen logo) with lever
pointing down and rotate handle 180 to
secure it.
2. Repeat for other handle and inside trim
plate (with slider).
3. NOTE: Trim plates should not be installed
on the door while completing above steps.
c
b
1
2
1
i
VIEW
4
3
5
2
d
1
2
LATCH
PESTILLO
LOQUET
1. Look into handle holes on door to make
sure lock case is oriented properly. Notch
in square spindle hole should be facing
downwards.
TIP: If notch is not facing down, use handle
and spindle to rotate spindle hole into correct
orientation.
NOTE: Window or screen will release from door
frame with quick release window systems.
a
GLASS
DE VIDRIO
LE VERRE
5/8”
1-1/2”
x 2
1-1/2”
INSTALL
HANDLE SET
(R
IGHT HAND)
1
Tools needed:
1. Rotate handle levers into a vertical position.
NOTE: Some door models may require
handle to be in horizontal position for
installation.
2. Install both handle assemblies onto the
door. Spindle will pass through square hole
in the lock case and into the other handle.
3. Install lockbat latch to lockbar. Spindle of
lockbar latch will t into the hole in the
lockbar.
4. Rotate handles to a horizontal position.
5. Attach trim plate together using two 1 1/2"
pan head screws.
 Loading...