USER MANUAL
PAGE 5
ANTTRON ©2013
3 - Installation and menu structure
3.1 - Installation
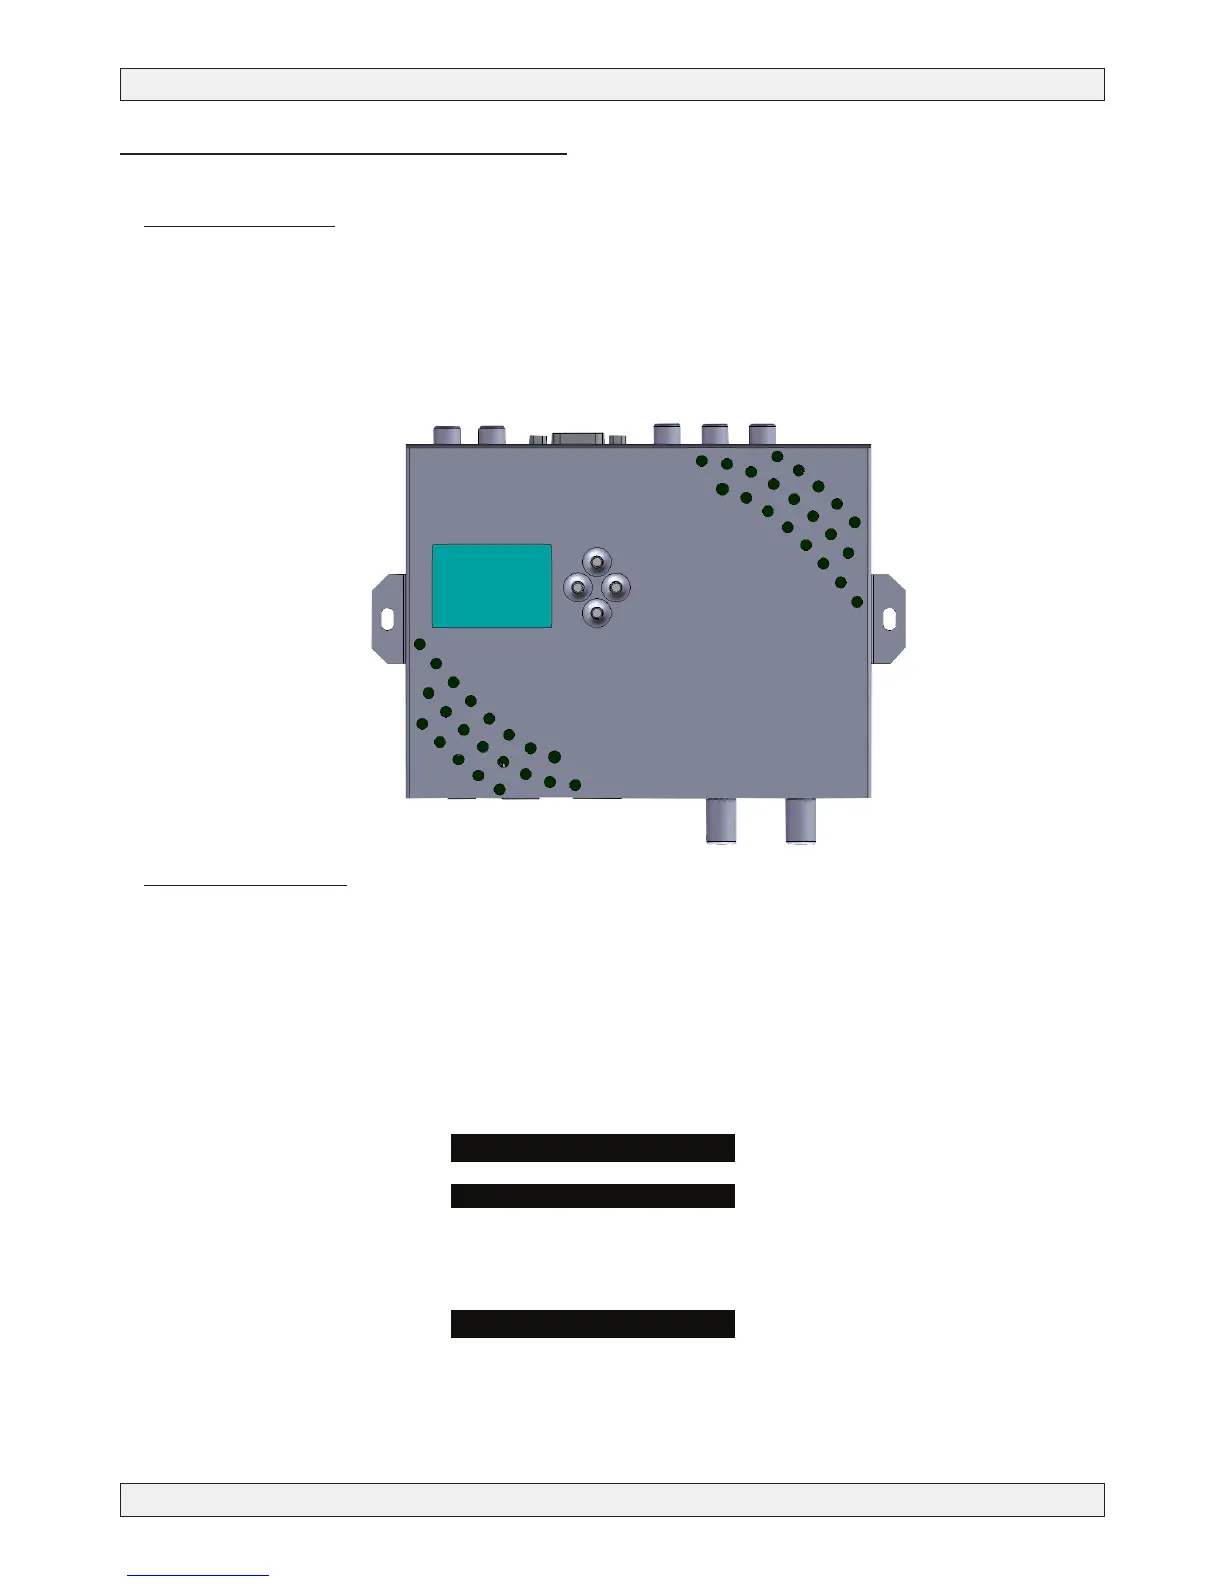
Install the TM250HD against a wall using the wall xation brackets to ensure cooling of the housing
through natural convection. ( see drawing)
Connect the audio and video source using HDMI, PC, or component VIDEO and ANALOG audio cables.
Connect the RF input cable (if present) and the RF output cable. If the RF input is not used, please con-
nect a 75 ohm terminating resistor to it. Once the modulator installed and the cables connected, please
proceed connecting the power supply to the modulator.
3.2 - Powering up
Plug in the connector of the power supply. The display will show the ANTTRON logo while booting.Once
the modulator has booted correctly the main menu will appear.
In the rst line the model number is displayed (TM250HD) followed by the installed rmware version.
When the modulator is encoding, the actual resolution is displayed in the bottom line of the display
When the modulator in intiialising, the mention INIT is displayed at the bottom line.
TM250HD