Calibration&Leveling
After using the X-MAKER 3D printer for a long time,the calibration should be performed to adjust the distance between
the nozzle and the base plate.
Manual leveling is required in the event that prints become warped.
1. If the distance between them is too wide, your print will not adhere properly to the base plate.
2. If the nozzle is too close to the base plate, it can prevent material from extruding.
Make sure there is no excess of material under the nozzle tip before calibrating, or you may get inaccurate results;
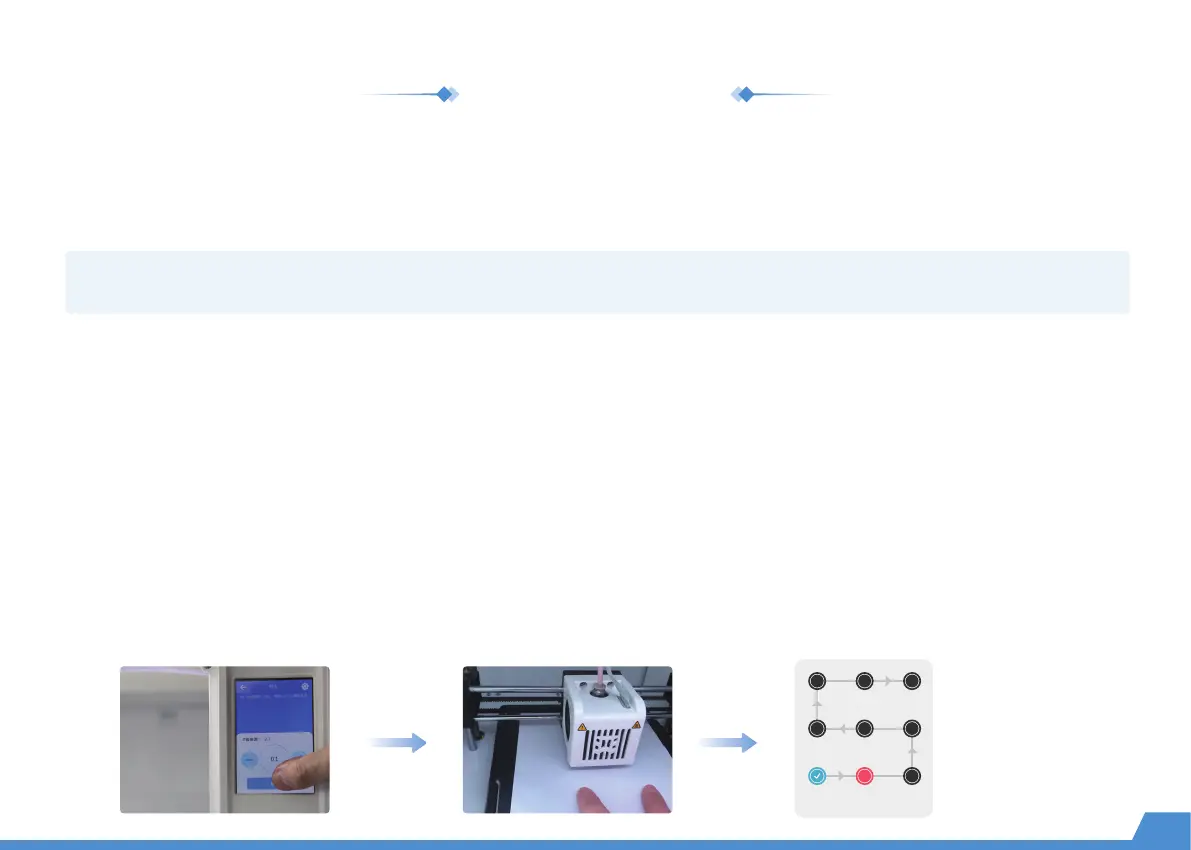
Place the calibration card in between the nozzle and the base plate and go to "Setting -> Calibration".The Z offset value is shown on the
touchscreen; Use the touchscreen controls to adjust the distance until you feel some resistance when moving the card. Select [Save] to
continue. (Press the [+] button once and the nozzle will be raised by 0.1mm; press the [-] button once and the nozzle will be lowered by
0.1mm.)
Click [Leveling] again and t he nozzle will move to nine points following the sequence shown in the image on the right.
Repeat the Step 3 above for each point and adjust the distance between the nozzle and the base plate until you feel some resistance
when moving the card. Click the [Complete] button and the calibration is finished!
Calibration
Leveling
Note: Calibration is a professional operation. Usually, there is no need to perform manual calibration. The distance has been set before printers
leave the factory. It is recommended to adjust the offset value in the range from -0.5mm to 0.5mm.
16
Leveling sequence
 Loading...