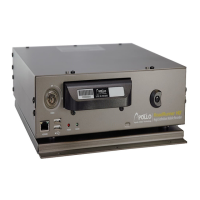
Front Cover (sold separately)
Insert the front cover key into the keyhole and rotate it clockwise. Place the cover over the front of the recorder. Align
the slots with the pins on the recorder and slide the front cover to the right. Rotate the key counterclockwise to lock
it into place.
Power Switch
The unit can be turned on or off with the key provided with the unit.
Drive Assembly
A removable hard disk or solid-state drive is mounted in the Drive Assembly. The drive can be removed to view the
video on the personal computer or utilized in another Recorder. The Power Switch must be in the Off position to
remove the drive after the POWER LED on the recorder turns off.
Network Port
The Recorder can be networked using the 1000Mb Ethernet connector. Connect a Cat5e cable with an RJ-45 jack to
the Recorder connector.
USB Port
A USB port is provided for updating firmware, configurations and retrieving video files.
LED
POWER: The POWER LED is lit when the unit is On.
RECORD: The RECORD LED blinks when the Recorder is recording video on the drive.
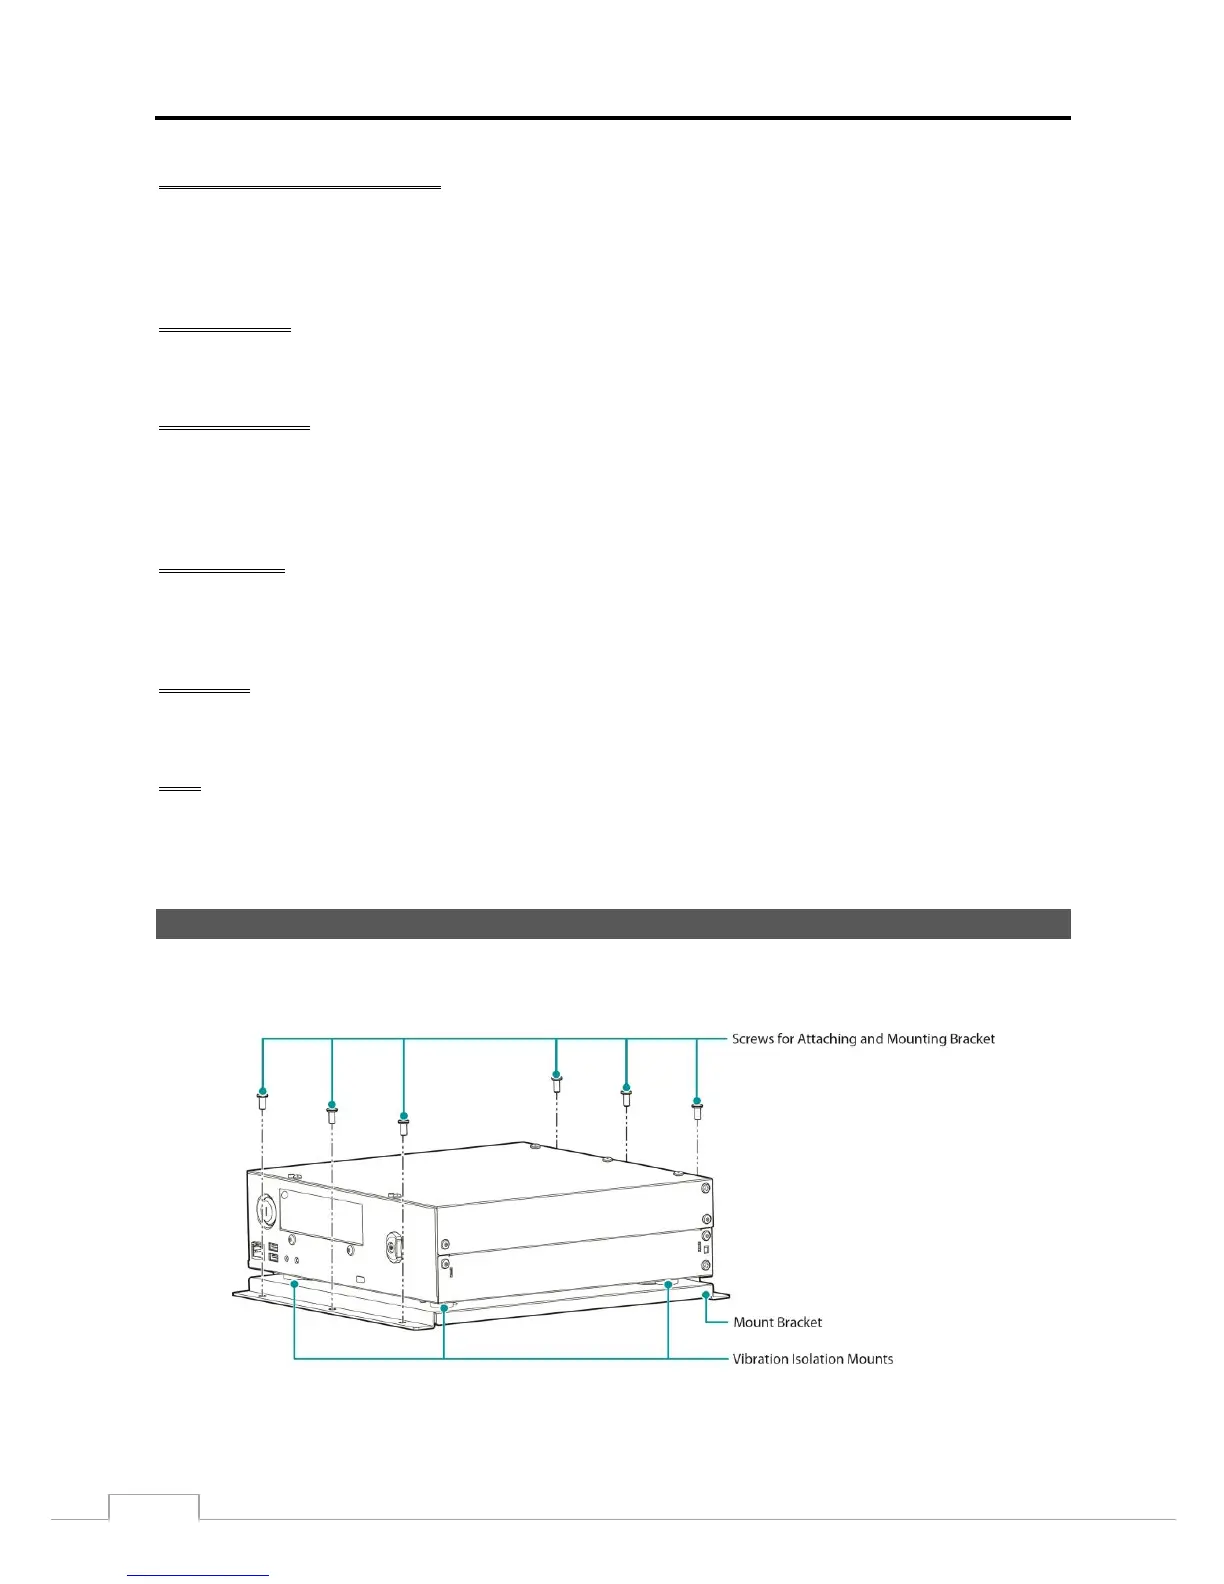
Mounting the Recorder
IT IS IMPORTANT THAT THE RECORDER IS MOUNTED IN A LOCATION WHERE IT
CANNOT BREAK LOOSE AND CAUSE INJURY IN THE EVENT OF AN ACCIDENT.
The rubber collars of the vibration isolation mounts are between the Recorder and the
bracket as shown in the illustrations above. Attaching the bracket in any other manner
can cause the isolation mounts to fail.