2.0 Installation
2.1 Installing the Hard Disk Docking Station
1.
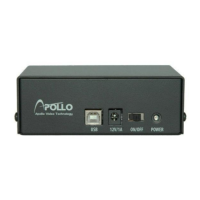
Connect the 4-pin power adapter cable to the back of the
Docking Station unit.
2. Connect the other end of the power adapter to the provided
power cord and into a wall outlet.
3. Connect the USB ports of the Docking Station to the PC using
the provided USB cable.
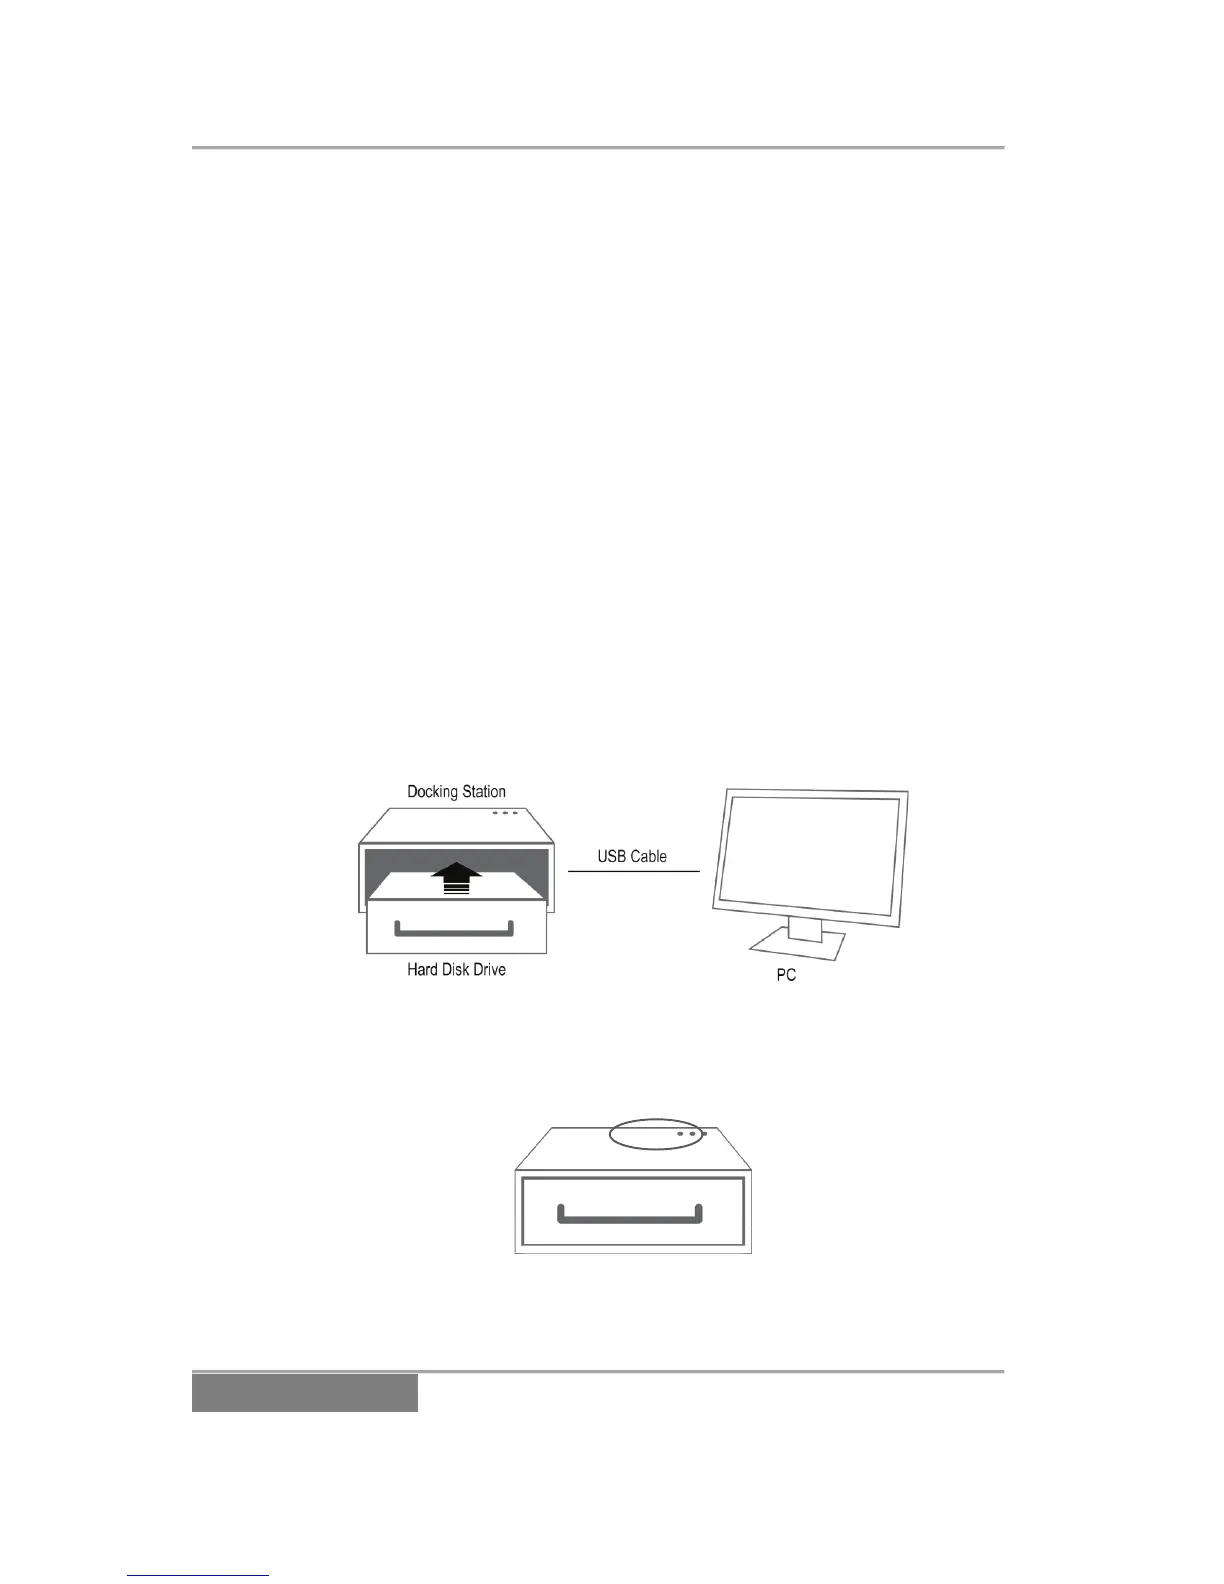
4. Once you have recorded video on the DVR’s removable hard
drive, you can view it on a computer using the Hard Disk
Docking Station:
a. Remove the hard disk drive from the DVR:
i. Turn the DVR key to the “OFF” position.
ii. Ensure the front panel LED lights are not
illuminated.
iii. Remove the hard disk drive.
b. Insert the hard disk drive into the Docking Station.
2.2 Notifications
LED indicators located on the top of the docking station indicate the
following:
HOST READY: The amber LED is lit when the Docking Station has
power and is connected to a computer by USB.
Apollo Video Technology
24000-35
th
Avenue Southeast – Bothell, WA 98021
Toll Free: 888-AVT-USA1; Tel: 425.483.7100; Fax: 425.483.7200
www.apollovideo.com