•
•
•
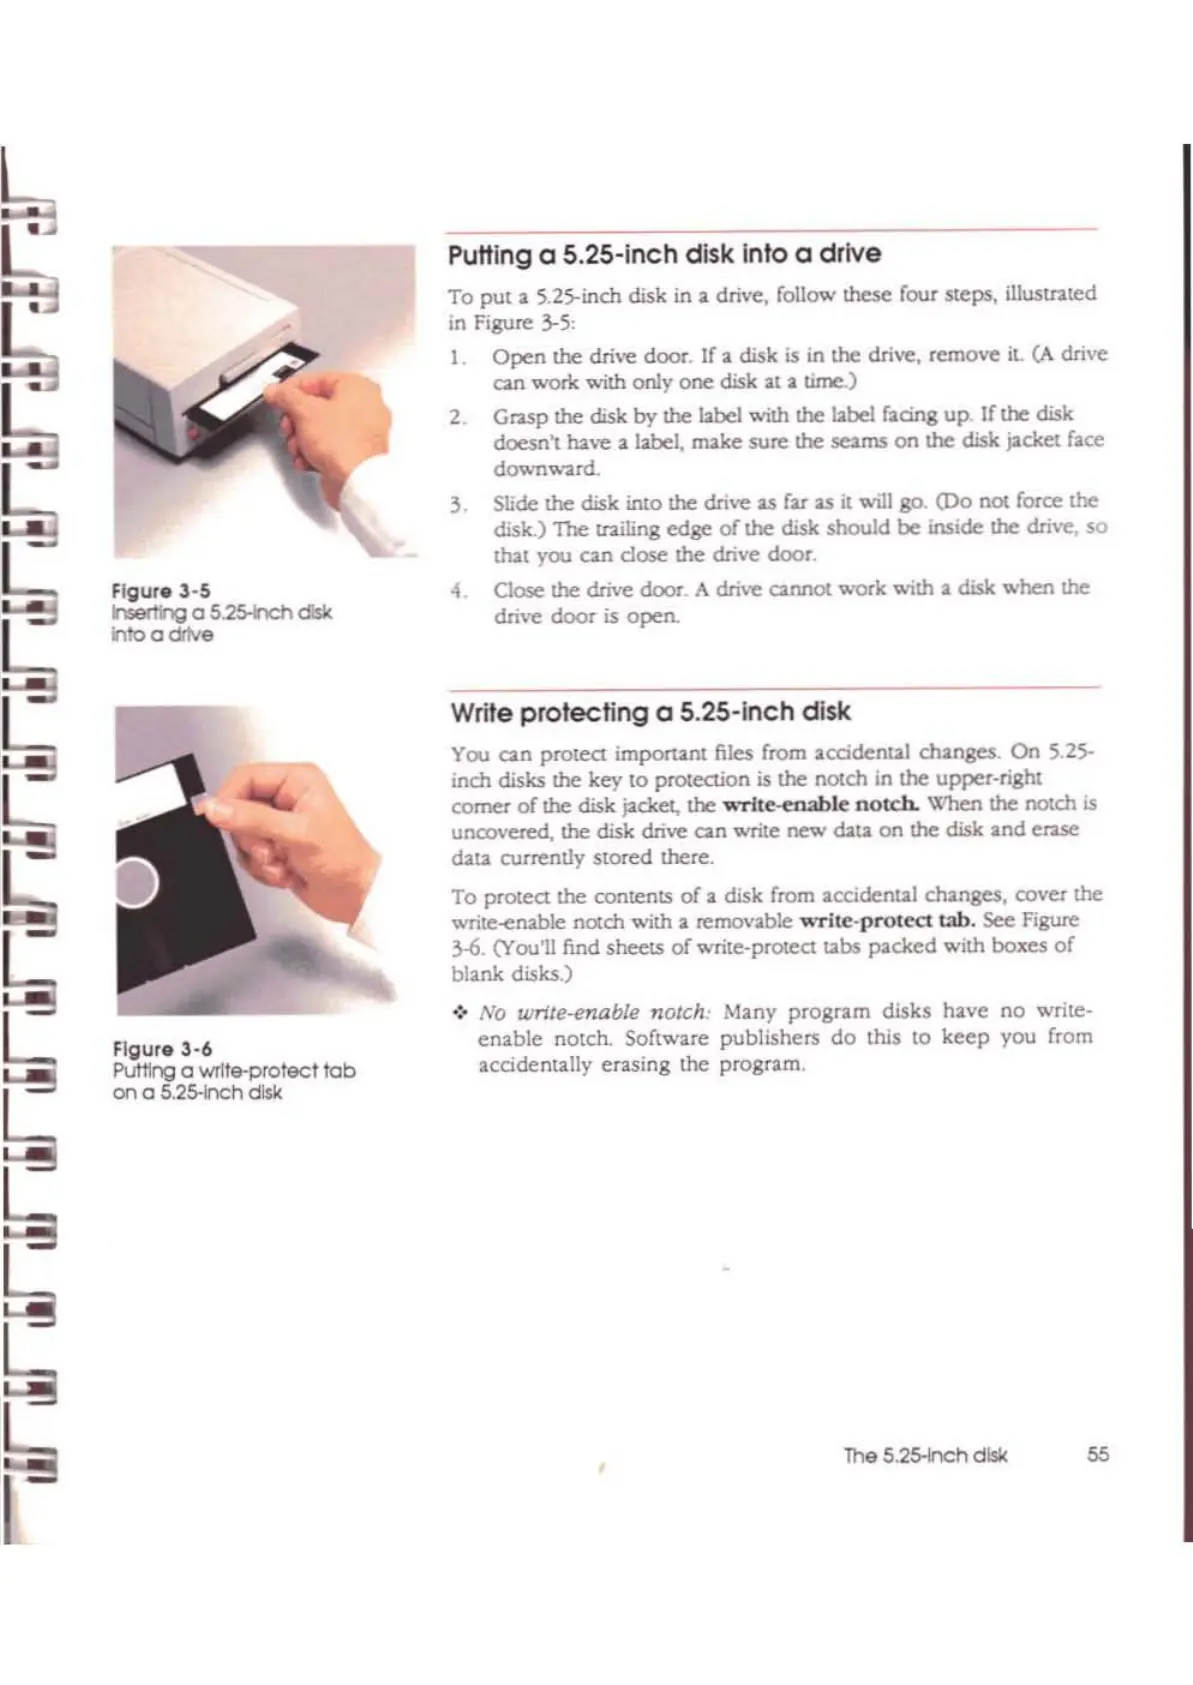
Flgur.3-5
hserthg
a S.25-hchdisk
Into a drive
Flgur.3-6
PuttIng a wrlle-protecl
tob
on
0 5.25-lnchdisk
Putting a 5.25-lnch disk into a
drive
To
put
a
~.2S-inch
disk in a drive, follow lhe5e four steps,
illustnted
in Figure 3-5:
1.
Open
the
drive door. If
11.
disk is in
the
drive, remove it. (}. dri\oe
can
work
with only
one
disk
:at
a
time)
2.
Grasp
the disk
by
the
bbd
with
the
12be1
f:acing
up!fthe
disk
doesn't have a
l.abel,
make
sure
the seams
on
the disk p.ckel
bee
down",
...
td.
3.
Slide the disk into the drive as far
as
it will go.
(Do
not force the
disk.) The uailing
edge
of
the
disk
should
be
inside the drive, so
WI
you
can
dose
the
drive
door
4
C~
the drive door. A
dri\'e
cannot
work
with
a disk when the
drive
door
is open.
Write
protecting
a 5.25-inch disk
You
can
protea
imporunt
files from accidental changes. On 5.25-
inch
disks
the
key
to
protection is
me
notch in the
upper.right
comer
of
the disk pcket, the
..
Tlte-enable
notch.
When
the notch is
uncovered, the
disk
drive can write
new
dau.
on
the disk
and
ClUe
dala currenlJy stored there.
To
protea
the contents
of
a disk from accidental changes, cover
the
write-elU.ble
nOl.ch
with
a removable
"'Tile-protect
tab.
see
Figure
3..6.
(You'll find sheets
of
write-prolea
tabs
packed
with
boJCes
of
blank disks.)
.)
No
write-enable notch: Many
program
disks
have
no
write-
enable
notch. Software publishers
do
this
to
keep
you from
accidentally erasing
the
program.
The 5.2s-nch disk
55