Photos, Videos, and FaceTime
|
177
4. Slide the Still/Video slider in the lower-right corner of the screen. When
theslider appears to the left, the iPad’s cameras capture still images.
Whenthe slider appears to the right, the iPad’s cameras capture video.
5. Tap the Record button in the middle of the right side of the screen to cap-
ture a still image or start recording a video. (You will need to tap the Record
button a second time to stop recording video.)
6. Tap the Photos button in the lower-left corner of the screen to view your
captured still or video images. (This is equivalent to tapping Photos from
the Home screen.) Tap the Done button in the Photos app when you want
toreturn to the Camera app.
Using Photo Booth
Your iPad comes with an app called Photo Booth, which mimics those coin-
operated photography machines at amusement parks and shopping malls. With
Photo Booth, you can take a regular picture or a distorted image using either the
front- or back-facing camera.
To see how to capture bizarre images using Photo Booth, follow these steps:
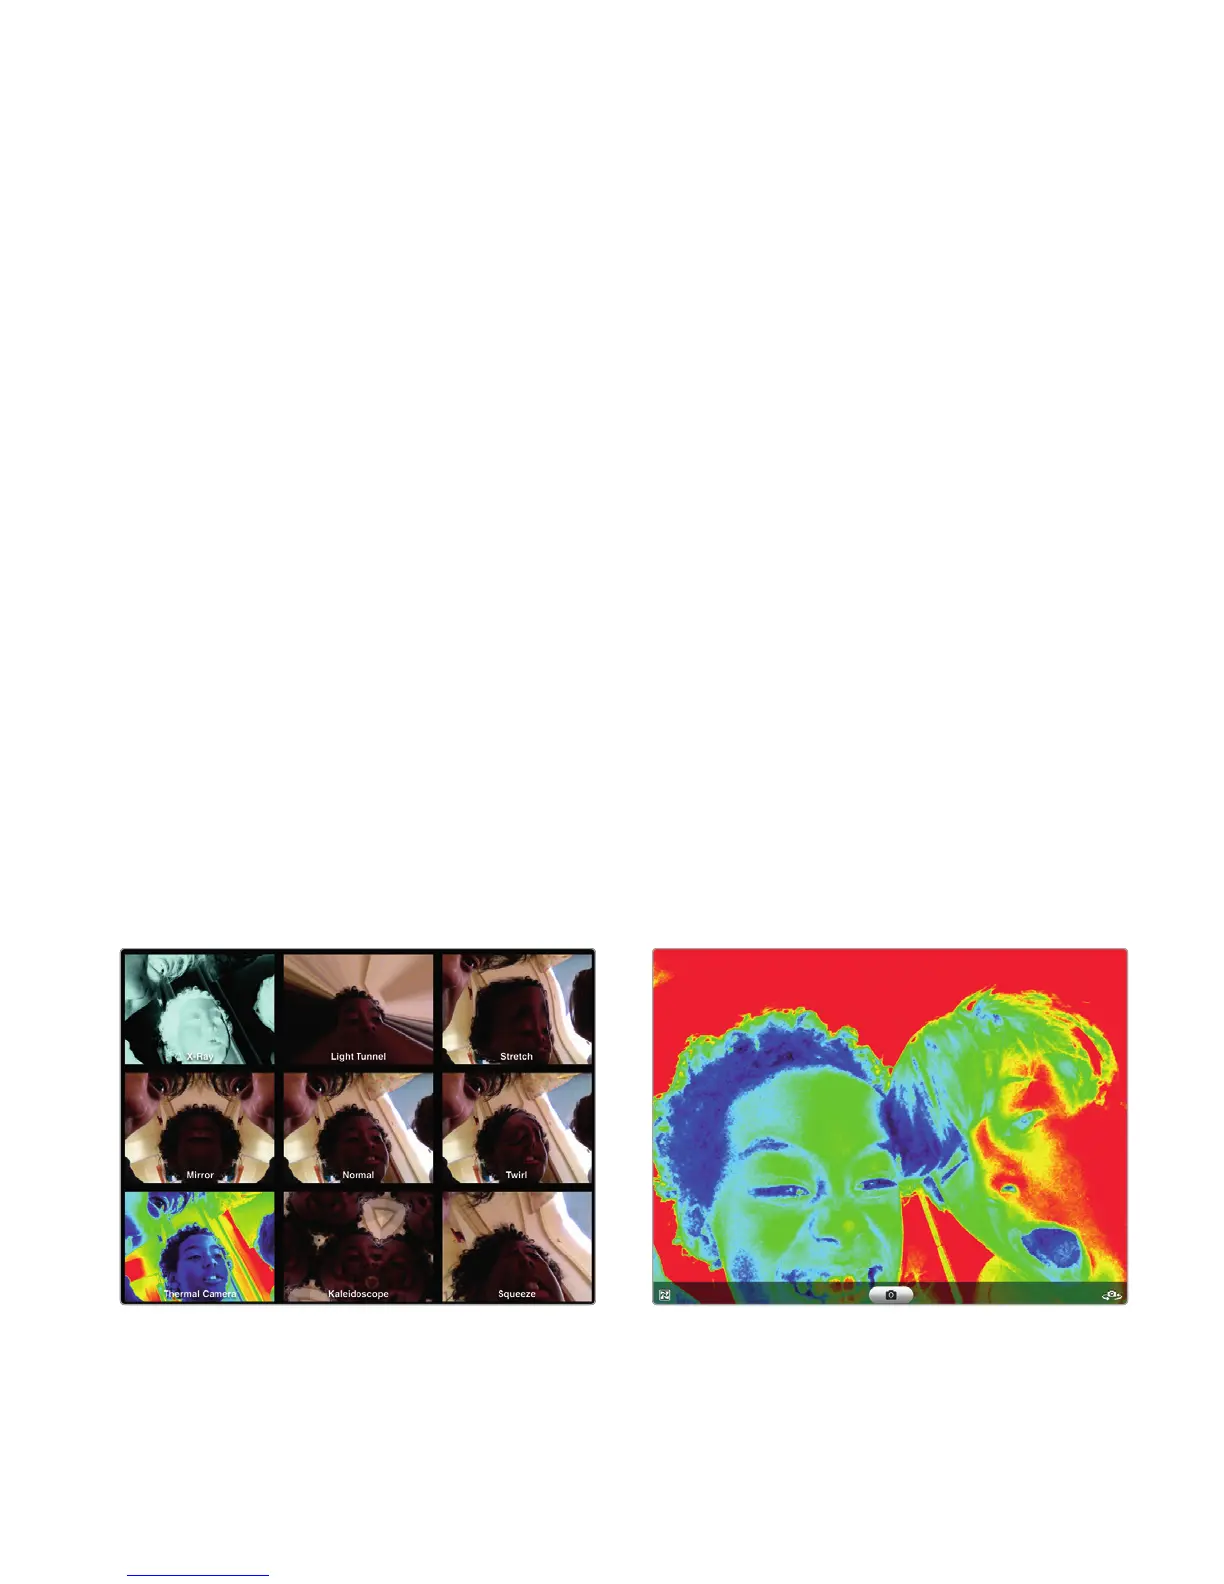
1. From the Home screen, tap Photo Booth. The Photo Booth screen appears,
displaying several different visual effects, as shown in Figure 21-2.
2. Tap a visual effect, such as Light Tunnel or Mirror. Your chosen visual effect
appears, as shown in Figure 21-3.
3. Tap the Camera button in the lower-right corner of the screen. Tapping this
button switches between the front- and back-facing cameras.
4. Tap the Record button in the middle bottom of the screen to capture a still
image.
5. Tap the Effects button in the lower-left corner of the screen to view different
visual effects (see Figure 21-2).
FIGURE 21-2: Photo Booth displays different
visual effects you can use.
FIGURE 21-3: Photo Booth lets you turn ordi-
nary images into bizarre creations.