QuickBooks for Mac 2014 User’s Guide 130
Categorize your jobs
Just like customers, you can also categorize your jobs. To create a job type, choose Lists > Customer & Vendor
Profile > Job Types. You can then categorize the job on the Job Info pane when you edit the customer by choosing
one of the job types from the list. This gives you much more flexibility when you create reports about your jobs. For
example, if you are a graphic designer and one of your job types is “brochure,” you could create a job profitability
report and filter the report so that it lists only your brochure jobs. You would then know how much money you had
made from designing brochures.
Use types in reports
Now that you’re using customer and job types, you can apply that filter to a report to get better insight into your
business.
Classes
I’m a data nerd. Seriously. It’s being able to see how the numbers fall into what categories that makes me go all
moony-eyed. So that’s why classes are one of my favorite features about QuickBooks.
Classes are simply categories. You can then apply a class to transactions to get more insight into your business
data. A class can be a department name, a location, or anything that means something to you. Say you’re a
magician. You might create the classes “corporate event” and “children’s party.” That way when you need to buy a
custom costume for your rabbit, Hopscotch, that spells out “Happy Birthday, Princess” in pink glitter, you can
classify that expense as being related to a “corporate event.” (Hey, it could happen. Really, it could.) Then you can
create a class report to show all your income and expenses related to a class.
Creating classes
The first thing you need to do to use classes is be sure they are
turned on in your Preferences. Choose QuickBooks > Preferences
and go to the Transactions preferences. Be sure that “Use class
tracking” is checked.
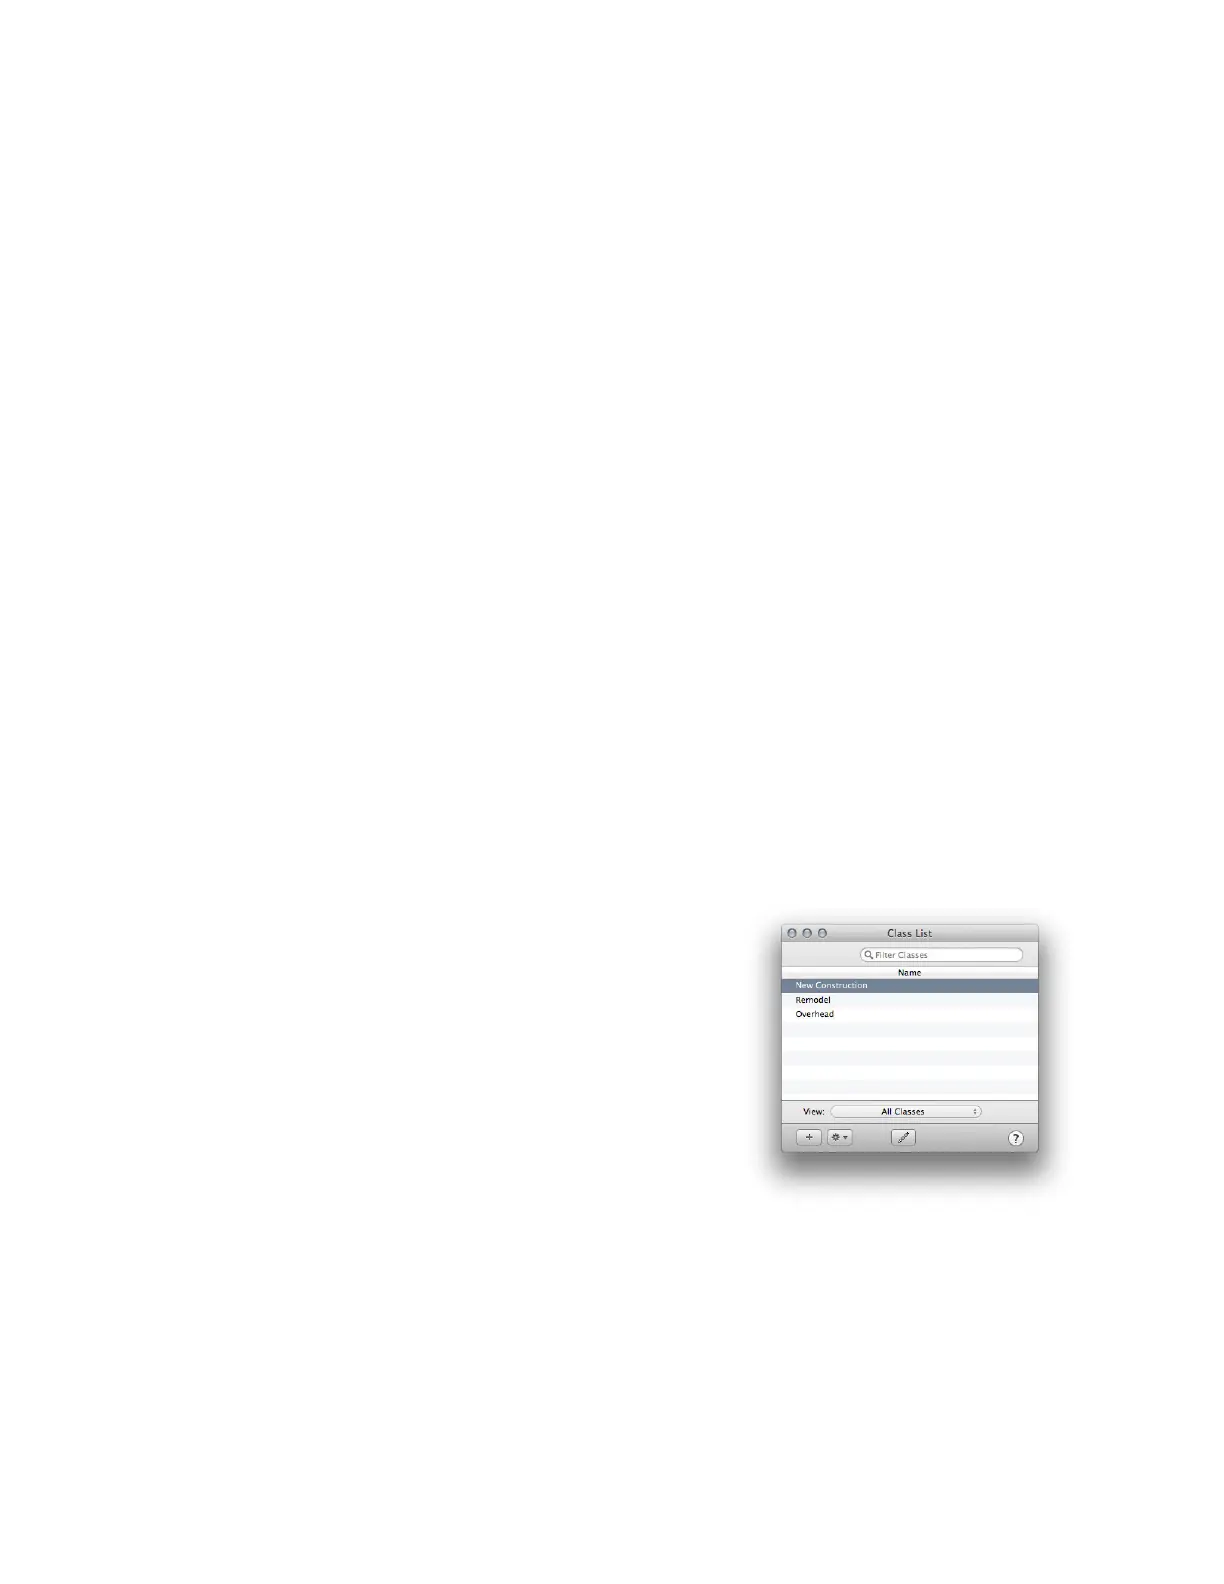
Now you can create classes on your class list. Choose Lists >
Classes. To add a new class, just click the + button.
The example to the right is from one of the sample files that
comes with QuickBooks. The file is for a landscaping business, so
you can see that the categories reflect the type of work the business
does.
!