Using Manual Controls and the On-Screen Display 37
Accessing and Adjusting Controls in the On-Screen Display
To access controls in the On-Screen Display, follow these steps:
1 Press the OSD on/off button on the left underside of the display.
The On-Screen Display appears.
Note: If the display is connected to a Mac OS–based computer and you are using the display
in computer mode, the Monitors & Sound control panel opens. For more information, see
Mac OS Help.
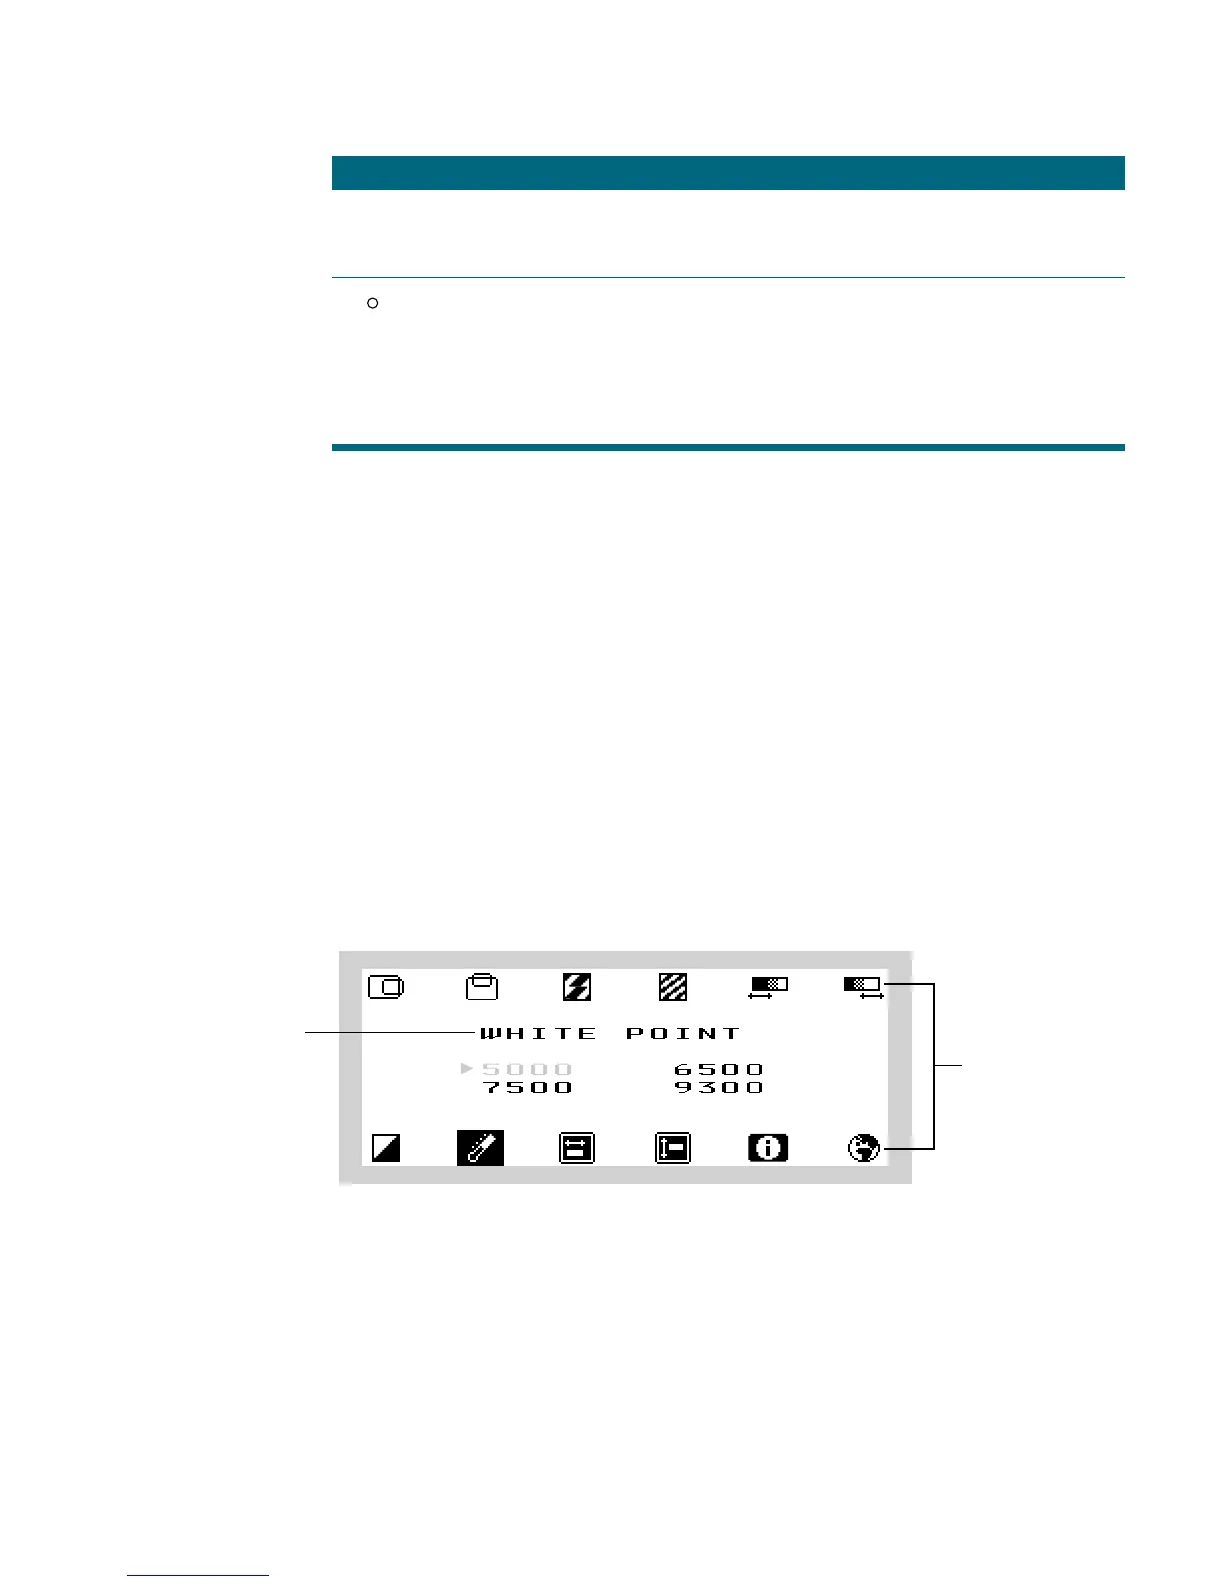
2 Use the OSD navigation buttons to highlight the icon you want to change. (Press ø to move
to the right; press
o to move to the left.)
The icons represent controls that you use to adjust the picture and the On-Screen Display
window. As each control icon is highlighted, a description of the control appears in the
window.
Note: The On-Screen Display disappears after approximately 10 seconds if you haven’t
pressed the OSD navigation buttons or OSD adjustment buttons.
3 Use the OSD adjustment buttons to adjust the setting. (Press + to increase the setting or
move to the next option; press – to decrease the setting or move to the previous option.)
4 After you finish adjusting a control, the setting is saved when the OSD window disappears.
Power Press this button to turn the display on or off.
Power indicator
light
A green light indicates the display is on. An amber light indicates
the display is in sleep mode.
A blinking amber light indicates that you’ve pressed the Reset
control to reset the settings for all formats.
If there is no light, the display is off.
Icon Control Function
®
Control
icons
Description of
highlighted control