ENGLISH
10
3Start-up
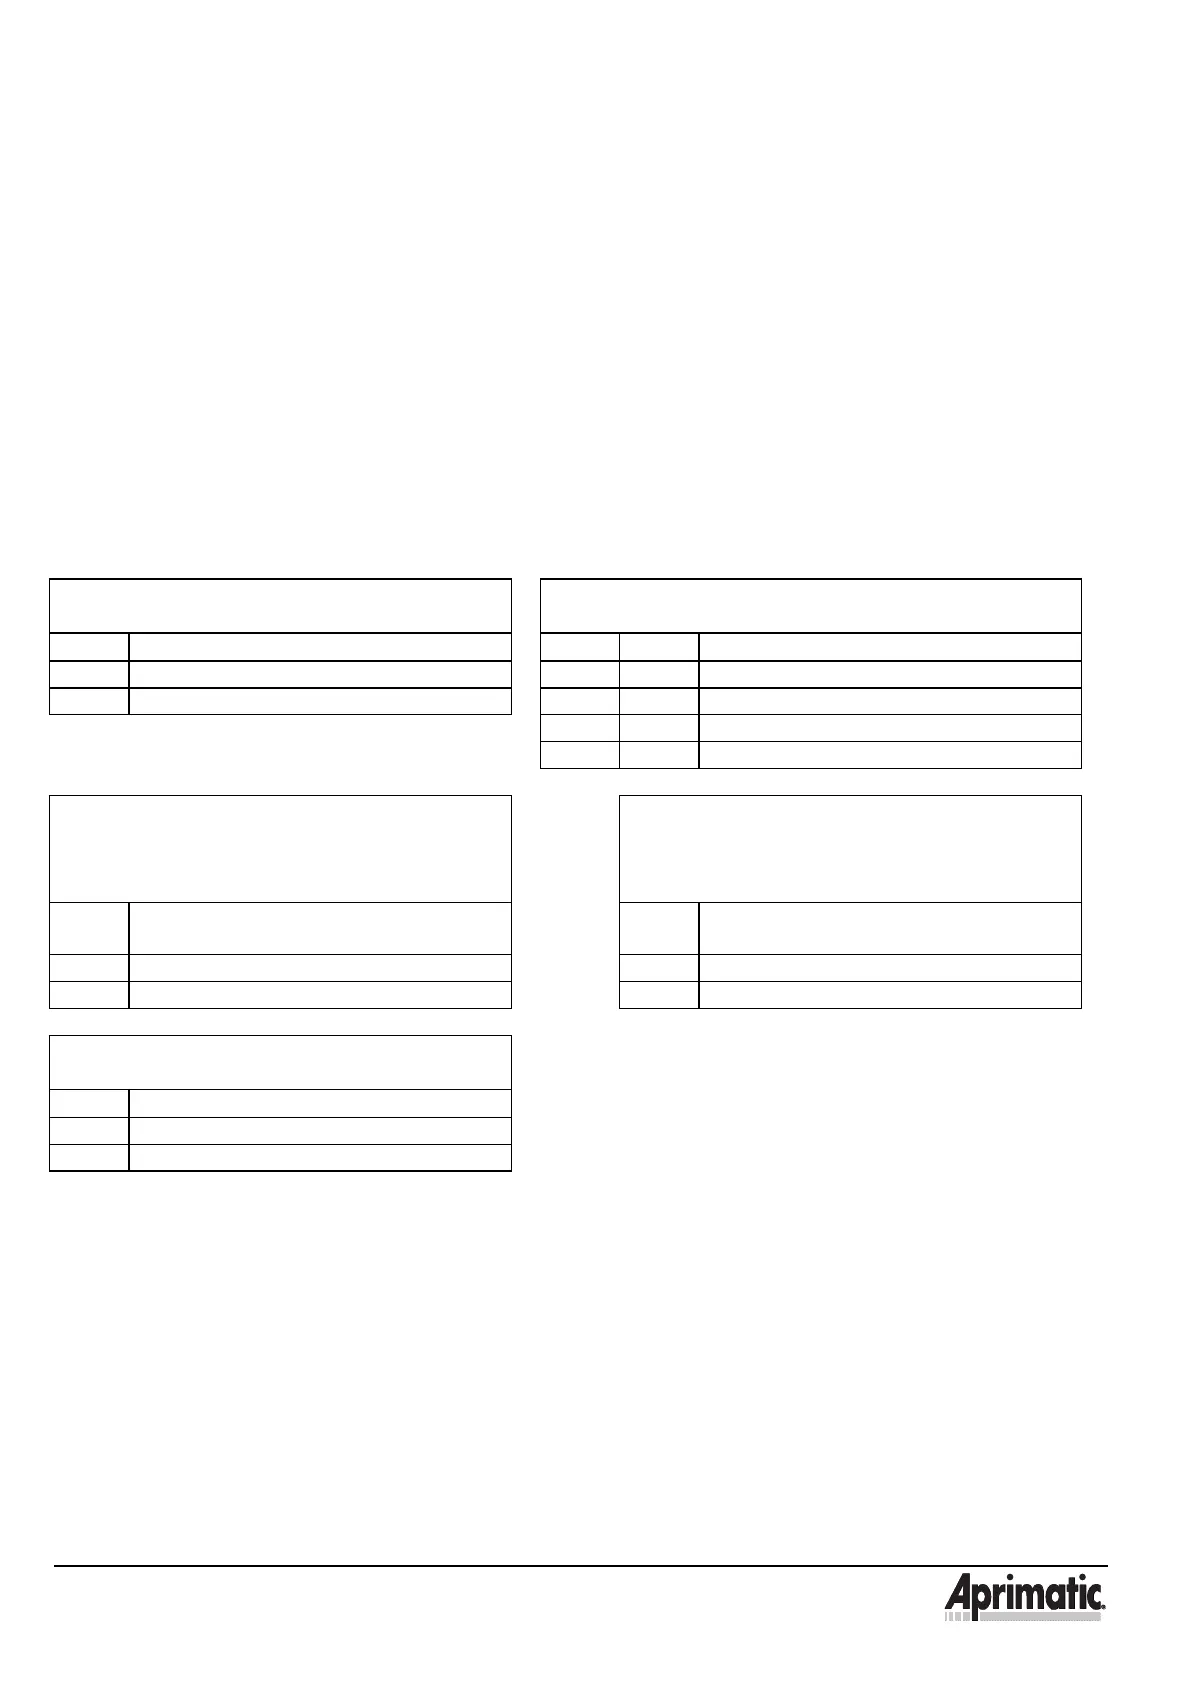
Caution: Before starting, restore the connection between the membrane keypad on the cover of the
CF10/2 control unit and the control unit itself. Connect the membrane keypad earthing cable.
After making these connections, turn ON the mains supply and check that the system is operating
correctly.
3.1 Programming
Caution: All the selections are enabled when you turn ON the device or when you press reset.
You can now program the control unit using DIP-SWITCH SW1, to select the push-button function, timing
of opening controlled by the thermostat, the type of functioning in the event of a power failure and whether
to have a buffer battery or not.
The tables below summarise the programming options.
SELECTION OF THE TYPE OF PUSH-
BUTTON FUNCTIONING
SELECTION OF THE THERMOSTAT OPENING
TIMING
DIP 1
PUSH-BUTTON FUNCTION
DIP 2 DIP 3
Opening timing
ON Maintained push-buttons ON ON 15 sec.
OFF Spring-return push-buttons OFF ON 30 sec.
ON OFF 45 sec.
OFF OFF 120 sec.
SELECTION OF THE TYPE OF
FUNCTIONING IN EVENT OF POWER
FAILURE
SELECTION OF THE TYPE OF
FUNCTIONING IN EVENT OF POWER
FAILURE
(SMOKE DETECTORS ENABLED)
DIP 4
LOGIC FUNCTION
(with buffer battery)
DIP 5
LOGIC FUNCTION
(with buffer battery)
ON Automatic opening and alarm signal ON Automatic opening and alarm signal
OFF No function OFF No function
SELECTION OF BUFFER BATTERY
PRESENCE/ABSENCE
DIP 6
BATTERY FUNCTION
ON Battery not fitted
OFF Battery fitted
The functions of DIP-Switches 4 and 5 are ONLY enabled if the buffer battery is installed. If the battery is
fitted, DIP-Switch 6 must be turned to OFF. If the battery is not fitted, DIP-Switch 6 must be turned to ON.