STEP 1
: SITE PREPARATION
STEP 1.1:
AREA PREPARATION
To select an appropriate site, consider the following:
• Distance from the fence
• Accessory location (filter, decking, power source, etc.)
• Electrical outlets
• Weeded areas
• Overhead electrical wires
• Surrounding trees (roots and falling leaves)
• Sun reflection
• Underground cables and gas conduits
• Prevailing winds
NOTE 1:
Do not install your pool on concrete, asphalt, wood, grass, turf, gravel or chemically treated soil.
Do not inst
all your pool on windy days. Ensure that you at least 3 or more helpers.
NOTE 2:
It is extremely important that the ground surface is firm and level, and that the pool site is free of
grass, rocks, roots, or any sharp objects. Any parcel of grass left un
der the pool will rot and may release an
unpleasant odor.
NOTE 3: Avoid installing your pool on surfaces that have been treated with oil, weed killer or chemical
products as this could adversely affect your pool installation and damage the liner.
The ent
ire pool surface must be completely leveled. Do not fill the lower ground area, as any added ground will
not provide the strength needed to support the weight of the pool.
ATTENTION!
Aqua Leader
is not responsible for any damages to your pool if it is
not installed
according to the installation instructions. Installin
g your pool on soft or non
-
level
ed ground will void the
warranty.
STEP 1.2: GROUND SURFACE AND LEVELNESS
After choosing for the best location on your site, you can
start the
installation.
1.2.1:
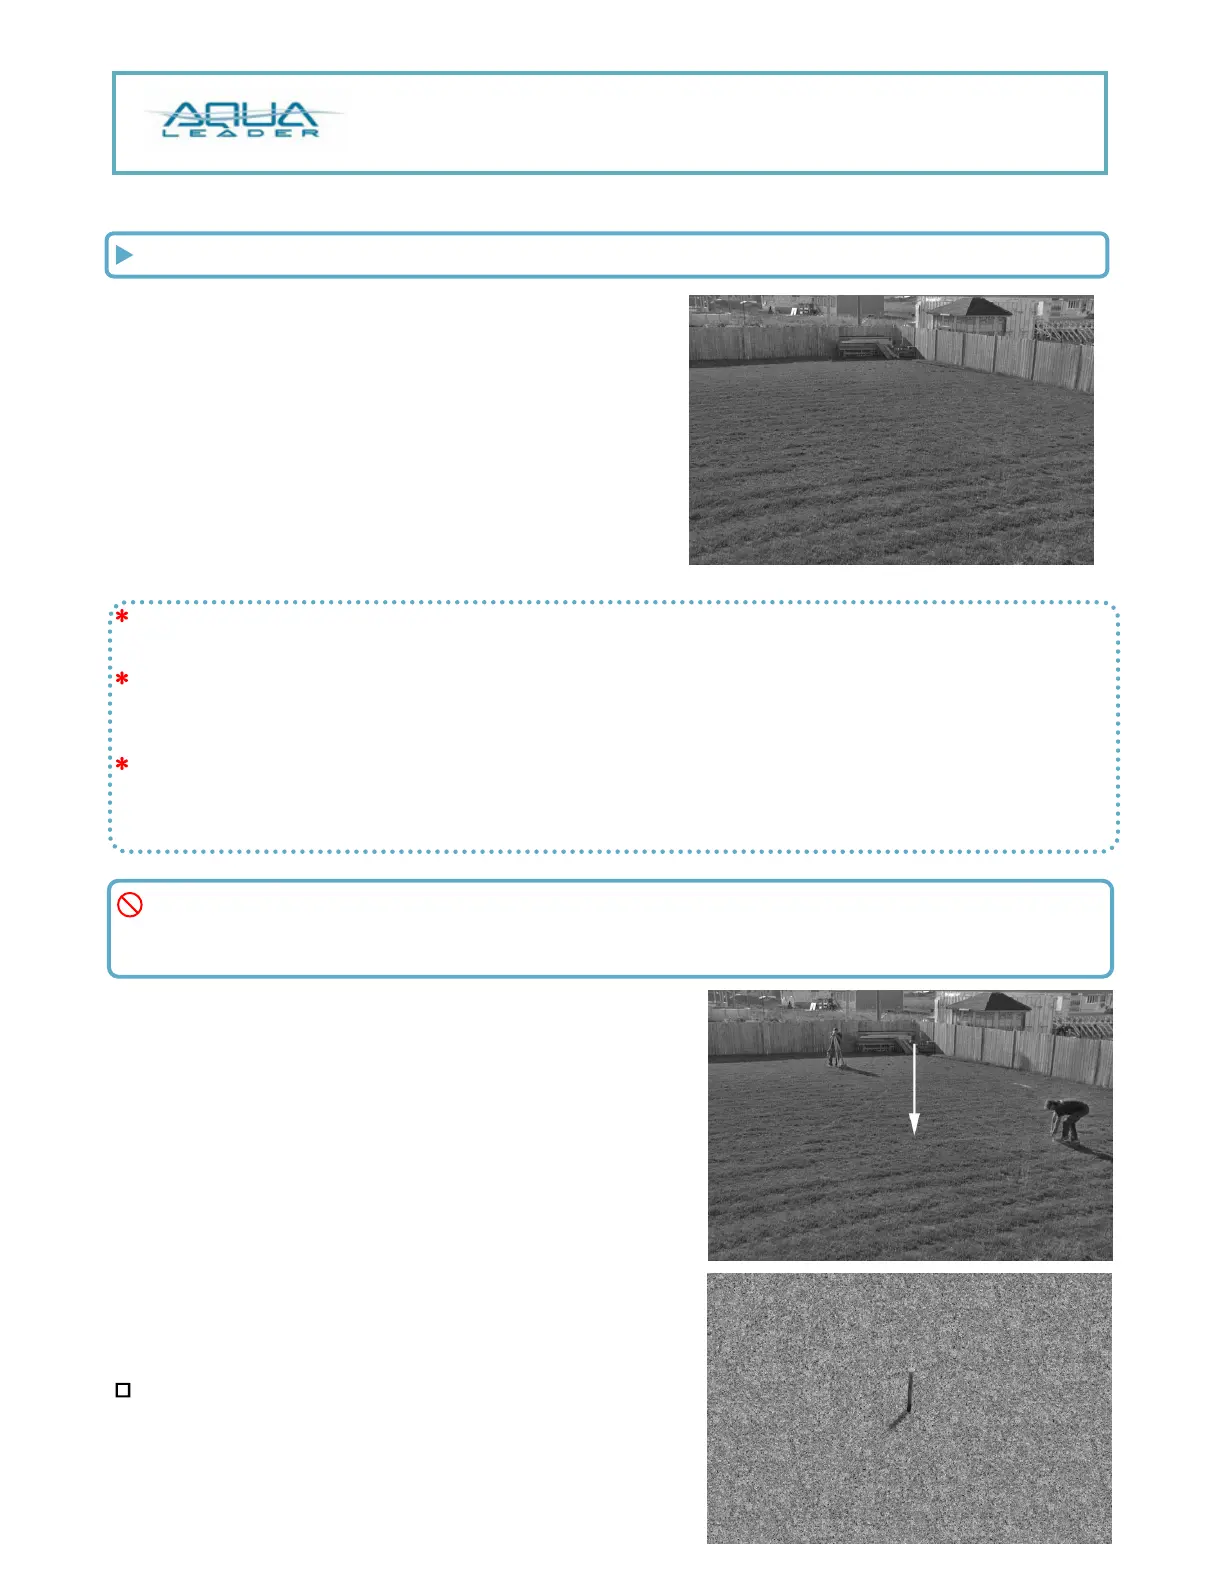
Once you have decided on the best location, mark
where the center of the pool will be by pushing a steel rod into
the ground.
4



 To Next Page