6
E
nsuring the washers are positioned within the valve inlets, offer the valve into position. Tighten the
f
ixing nuts using a suitable tool taking care not to overtighten.
8
5
Place the cover plates onto the exposed ¾” threads, flush with the finished wall surface and apply a thin bead of mastic if re-
q
uired.
1
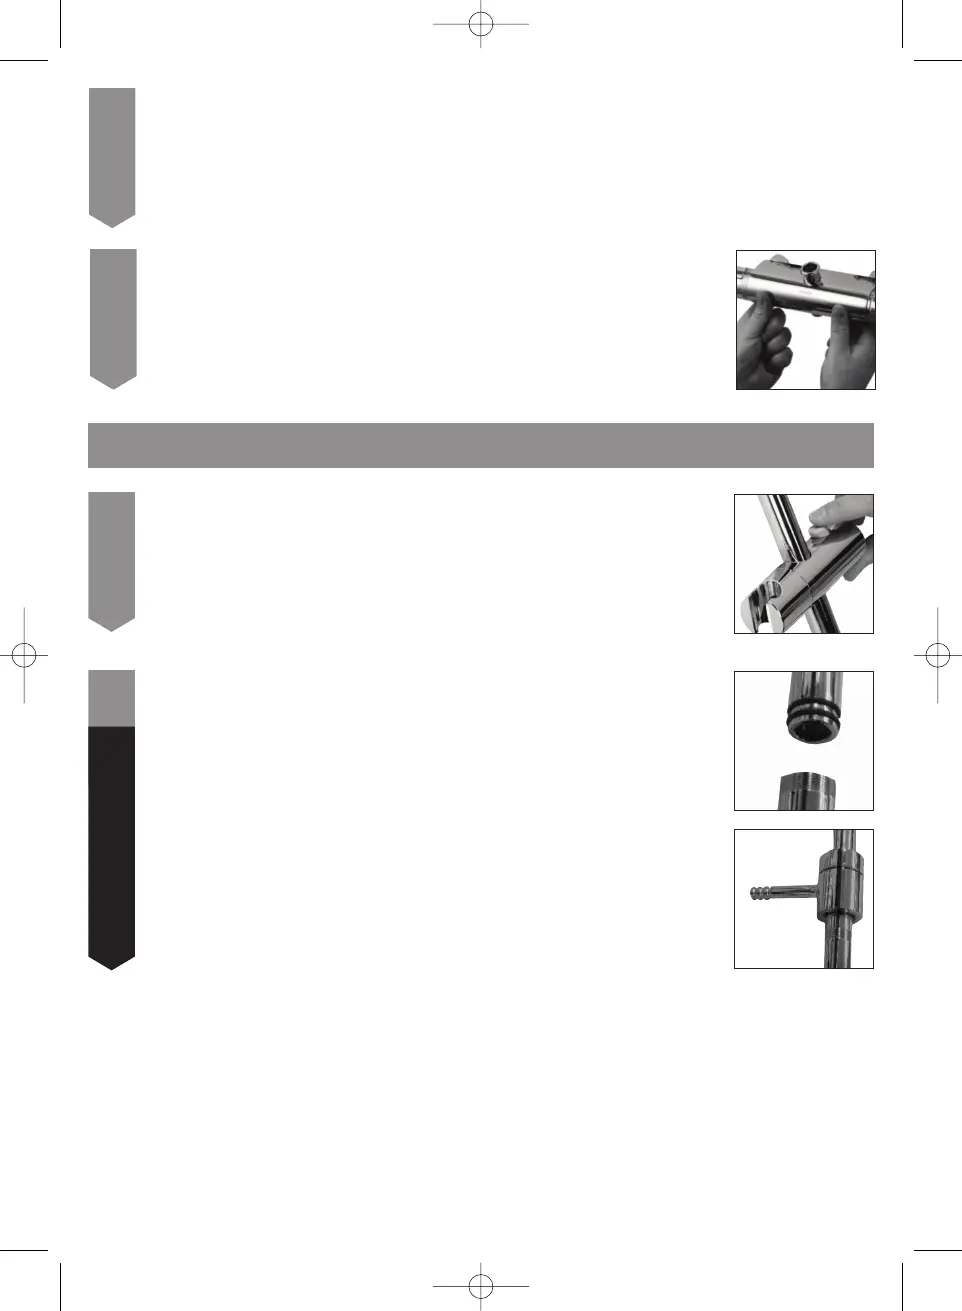
Ensuring the handset cradle is on the left hand side of the rail, pass the rail through the handset
holder whilst keeping the slider button depressed.
2
Fit the formed shower arm to the straight riser tube. Then screw the wall stay support, onto the
threaded fixed riser rail until secure.
The straight riser tube is a fixed length and is not suitable to cut down.
Fixed and adjustable height head assembly


 To Next Page