B
Bonnie RamosAug 9, 2025
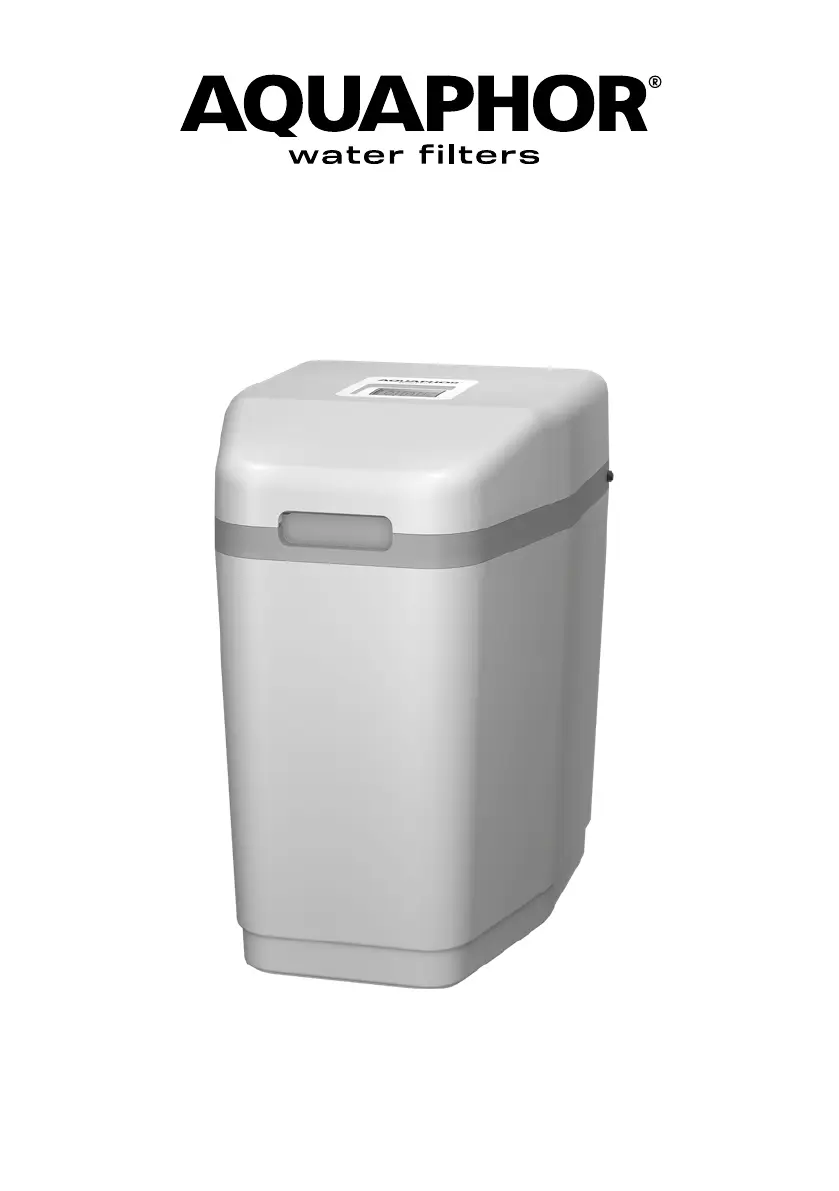
Why is there no soft water coming from my AQUAPHOR S550?
- DDaniel TylerAug 9, 2025
If your AQUAPHOR Water Dispenser isn't dispensing soft water, possible causes include: * The bypass valve is in the Bypass position or not fully in the Service position. Set the bypass valve to the normal Service operation. * The device is connected to the water supply incorrectly. Check the connection to ensure it is correct. * There was a prolonged power failure. Reset the current time. * The water consumption isn't being tracked. Check if the water consumption indicator on the softener works when water is drawn. If not, further inspection is needed. * The source water composition has changed. Analyze the water and adjust the settings accordingly. * The source water is mixed with purified water. Ensure there is no mixing of source water.