8
☎
US (866) 877-6637
|
☎
CAN (866) 766-3426
|
aquascapeinc.com
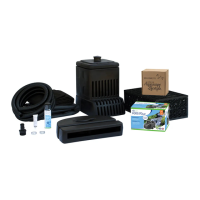
• The cord from the pump can be buried just beneath the
stone and gravel and run to the electrical supply.
TIP: In some instances the tubing/hose may be
tight and difficult to use with hose fitting. If this
is the case heat the hose with the use of a hair
dryer or simply dip the hose for a few seconds
in very hot water. Lubrication can also be used,
such as silicone grease, or vegetable oil.
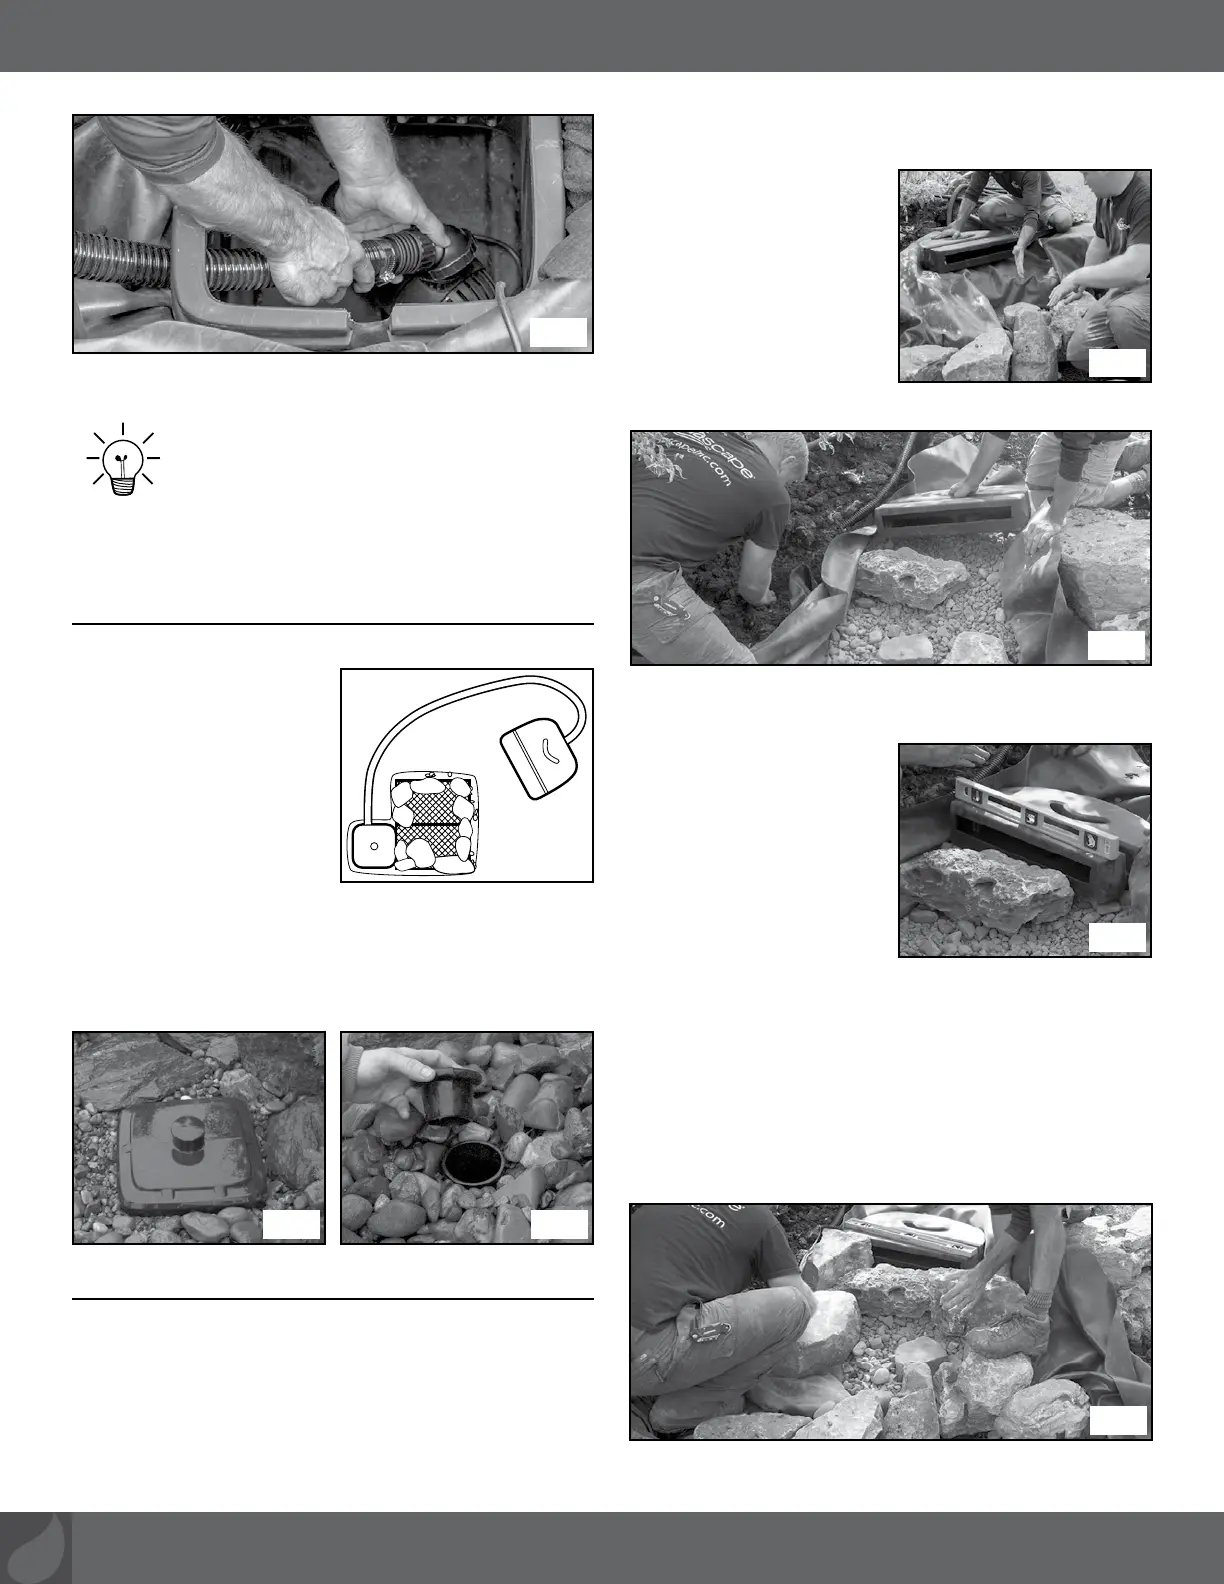
STEP 12
ADD ROCK AND GRAVEL
• Set larger boulders 6"–18"
around the perimeter of
the basin on top of the
AquaBlox to support the
edges of the basin (Ex. 18).
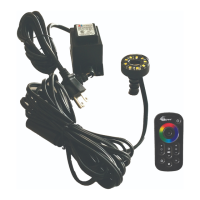
• Add 1.5" to 2" size gravel to
cover the AquaBlox in the
basin.
• A finishing layer of
decorative gravel can be added to the top if desired
(Ex. 19).
• The built-in water level inspection port allows the lid of
the Pondless Waterfall Vault to be buried just below the
surface of the rock (Ex. 20).
STEP 13
BUILD THE WATERFALL
• Position your waterfall so it is facing the main viewing
areas.
• Build waterfall and stream approximately 3' from the
AquaBlox, providing enough liner at the top of the waterfall
to wrap over the top of the Waterfall Spillway.
• Tamp the ground under the desired location for Waterfall
Spillway to provide a flat, level surface.
• Set the Waterfall Spillway
into place (Ex. 21).
• Pull your underlayment and
liner into place.
• You can adjust the height
of the Waterfall Spillway by
adding gravel underneath
the spillway (on top of the
liner) until you have reached
your desired height (Ex. 22).
• The gravel will also provide a suitable base for leveling the
Waterfall Spillway.
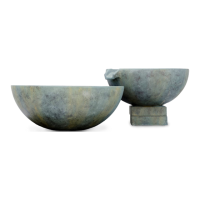
• The Waterfall Spillway
should be level from side to
side and tilt forward a 1/4
bubble on a 2' level (Ex. 23).
• Place two larger boulders
on either side of the
waterfalls you are creating
in order to frame the
waterfall. The water will be
running between the two
larger boulders you’ve set in place.
• You can now begin to stack the rocks between the two
larger boulders. These are the rocks that the water will be
running over, so take your time and be creative. Start with
the larger rocks on the bottom and work your way up to
the smaller ones on top.
• Small stones and gravel can be used to fill in the gaps
between the larger waterfall stones (Ex. 24).
Ex. 18
Ex. 19 Ex. 20
Ex. 21
Ex. 22
Ex. 23
Ex. 24
Ex. 17