INSTALLATION INSTRUCTIONS
For more information about our company or products, please visit our website at
aquascapeinc.com or call us at US (866) 877-6637 CAN (866) 766-3426
©2021 Aquascape, Inc. • All Worldwide Rights Reserved 01/21
facebook.com/aquascapeinc
youtube.com/aquascape4
pinterest.com/aquascapeinc
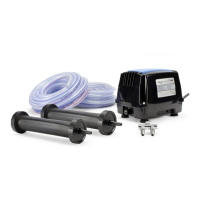
No. Description
1. Diaphragm x 2
2. Diaphragm Housing x 2
Contents
• Remove the four screws from the top of the compressor
housing, then remove the top section of the compressor
by pulling firmly (Ex. 1).
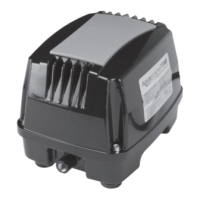
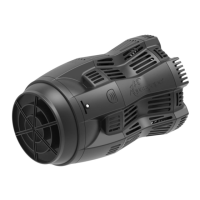
PRO AIR 60 DIAPHRAGM
REPLACEMENT
Instructions
• To expose the internal rubber diaphragm, loosen the four
screws on the silver diaphragm cover plate, then pull gently
(Ex. 2).
• Remove the screw at the center of the diaphragm (Ex. 3).
• Gently remove the white disc and the thin plastic washer
(Ex. 4).
NOTE: Do not lose these components. Set aside for
re-installation.
• Use the tab on the side
of the rubber diaphragm
to remove it from the
unit. Then, install the new
diaphragm (Ex. 5).
• Repeat for the other side if
needed.
• Re-install all removed
components by reversing
the process.
NOTE: Over time the diaphragm housing may wear;
two replacements are included. If needed, replace the
diaphragm housing.
Pro Air 60 Diaphragm
Replacement
Item #61007
1
2
Ex. 5
Ex. 1
Ex. 2
Ex. 3
Ex. 4