7
4.
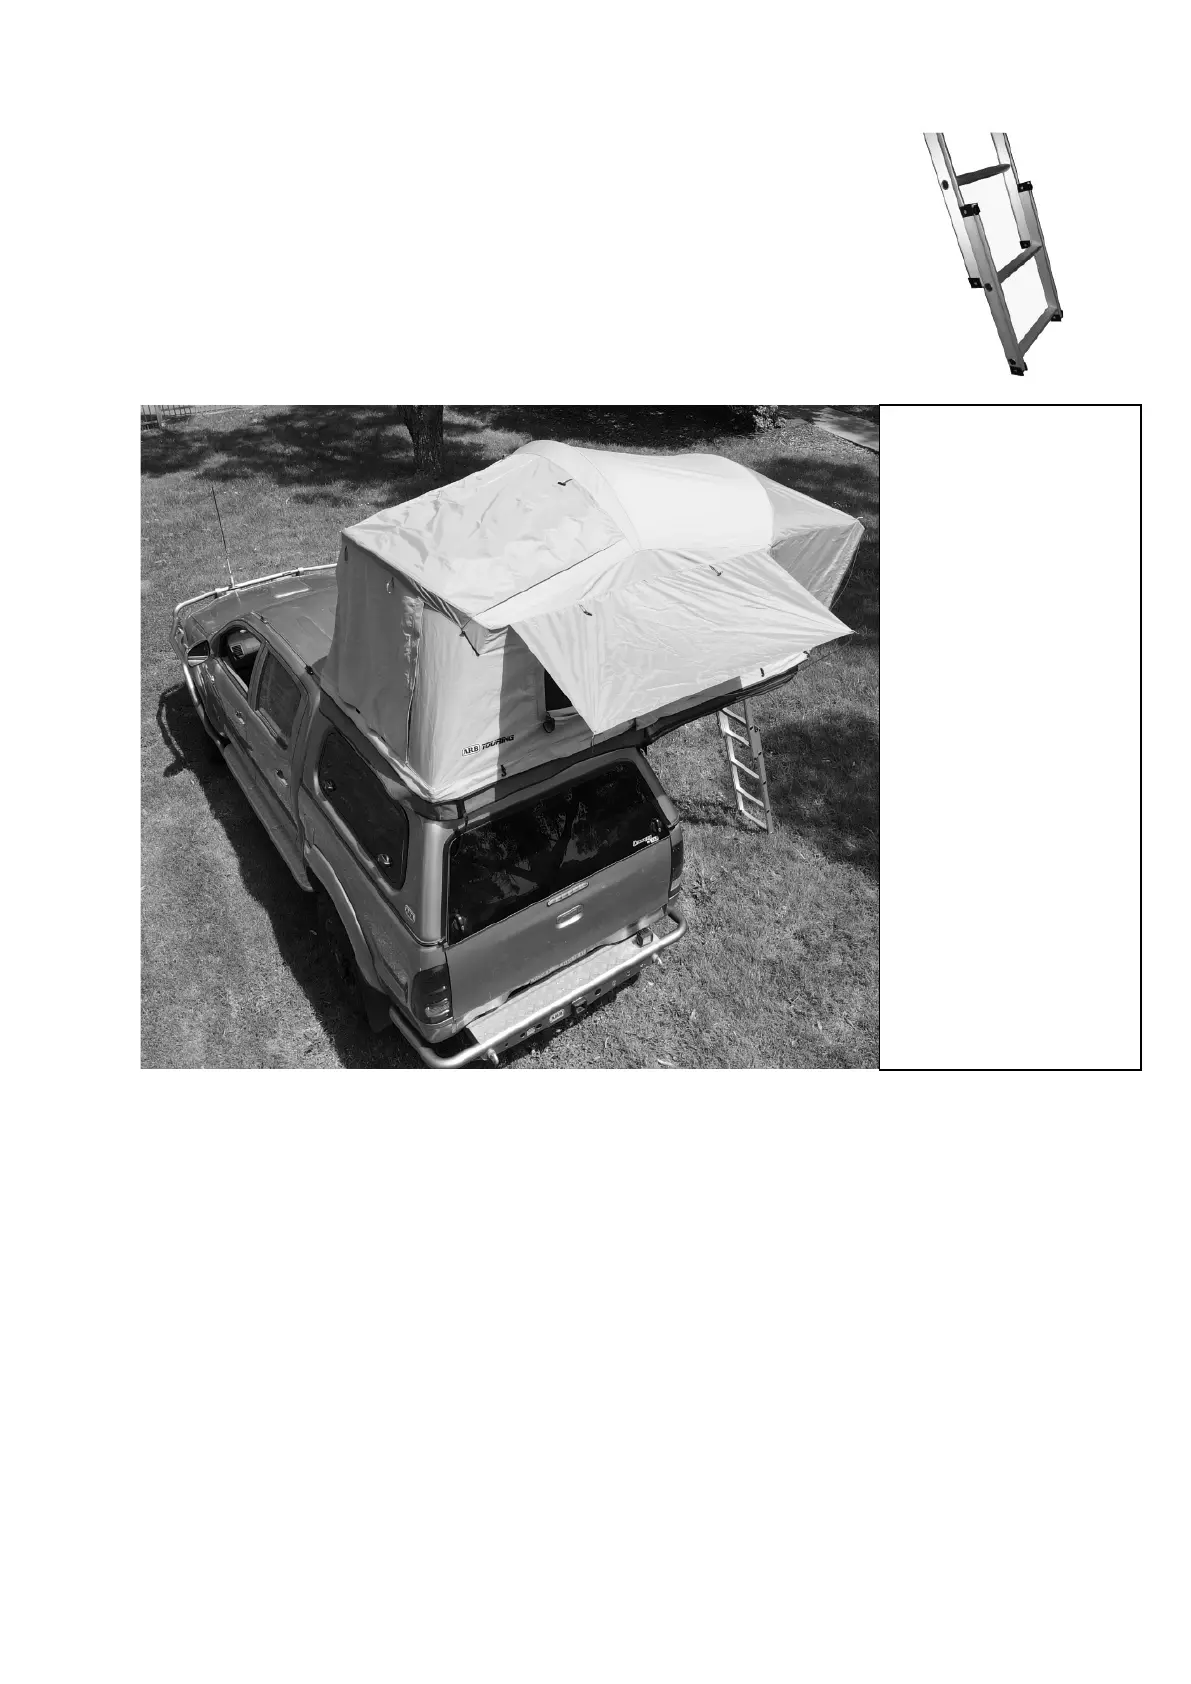
Ladder Extension Accessory
A Ladder Extension may be required depending on the height of your vehicle (in most cases
where the base of your rooftop tent is more than 2m off the ground).
If requi
red slide ladder extension into the base of the main ladder. Position ladder and
extension to an appropriate climbing angle. Drill two 8mm holes into the main ladder to
accept the two locking pins from the ladder extension.
The overlap of the ladder extension to the main ladder must not be less than 240mm
The Ladder extension is stored separately in its own bag.
Sunroof & Windows
The sunroof and windows
operate as per a normal
tent would, these are all
zippered with an external
weather resistant canvas
and mesh inner. In foul
weather it is always
recommended to have all
the windows done up
and awnings down in
strong winds. In wet
weather leaving the top
of your windows open
slightly to allow air flow.
this can assist in reducing
condensation inside the
tent. The front window
vent above the front door
is there to reduce the
condensation build up
when the tent is
occupied.
5. Tent Light & Power ports
The Power pole included contains a light, a 12V charging port and two USB charging ports. The Power Pole is also supplied with a
5m extension cord for connecting to a cigarette lighter port in your vehicle. Please see below for operation and setup.
1. Attach the Power Pole to the top of the center bow of the Rooftop Tent.
2. Connect the Power Pole to the connecter protruding from the apex of the center bow.
3. Connect the 5m extension cord to the connecter protruding from the bottom right-hand side of the center bow and through the
small zip aperture in the side of the Rooftop Tent.
4. Plug the cigarette lighter end of the 5m extension cord into the cigarette lighter socket of your vehicle to provide a 12V DC power
supply to the Power Pole the power pole now has power - To turn on light, touch the on off marking on the front of the light, keep
pressing to change the brightness levels and too power off.
NB. To protect the electrical cables from being damaged by the tongue and groove locking extrusions of the two bases,
ensure the wire protruding from the bottom right-hand side of the center bow is also protruding outside the Rooftop
Tent through the small zipped aperture in the canvas.
5. The Power Pole should be removed prior to packing away your Rooftop Tent. This will prevent damage to the Power Pole due to
pressure exerted on the Power Pole by other items left inside the Rooftop Tent at pack up. Additionally, this will allow for the
Power Pole to be used in general use. The Power Pole will also attach to the rafter arm or leg of an ARB Awning.
6. Be careful where the 5m extension cord is packed away to ensure that the cords are not damaged by the tongue and groove
extrusions locking the bases together, the next time your rooftop tent is opened.
7