- 5 -
1. Installing Hardware
NOTE: Don’t try to open the lid of the MiniCDRW 2 until
drivers are fully installed into your computer. The lid
may be locked and CANNOT be opened at this stage.
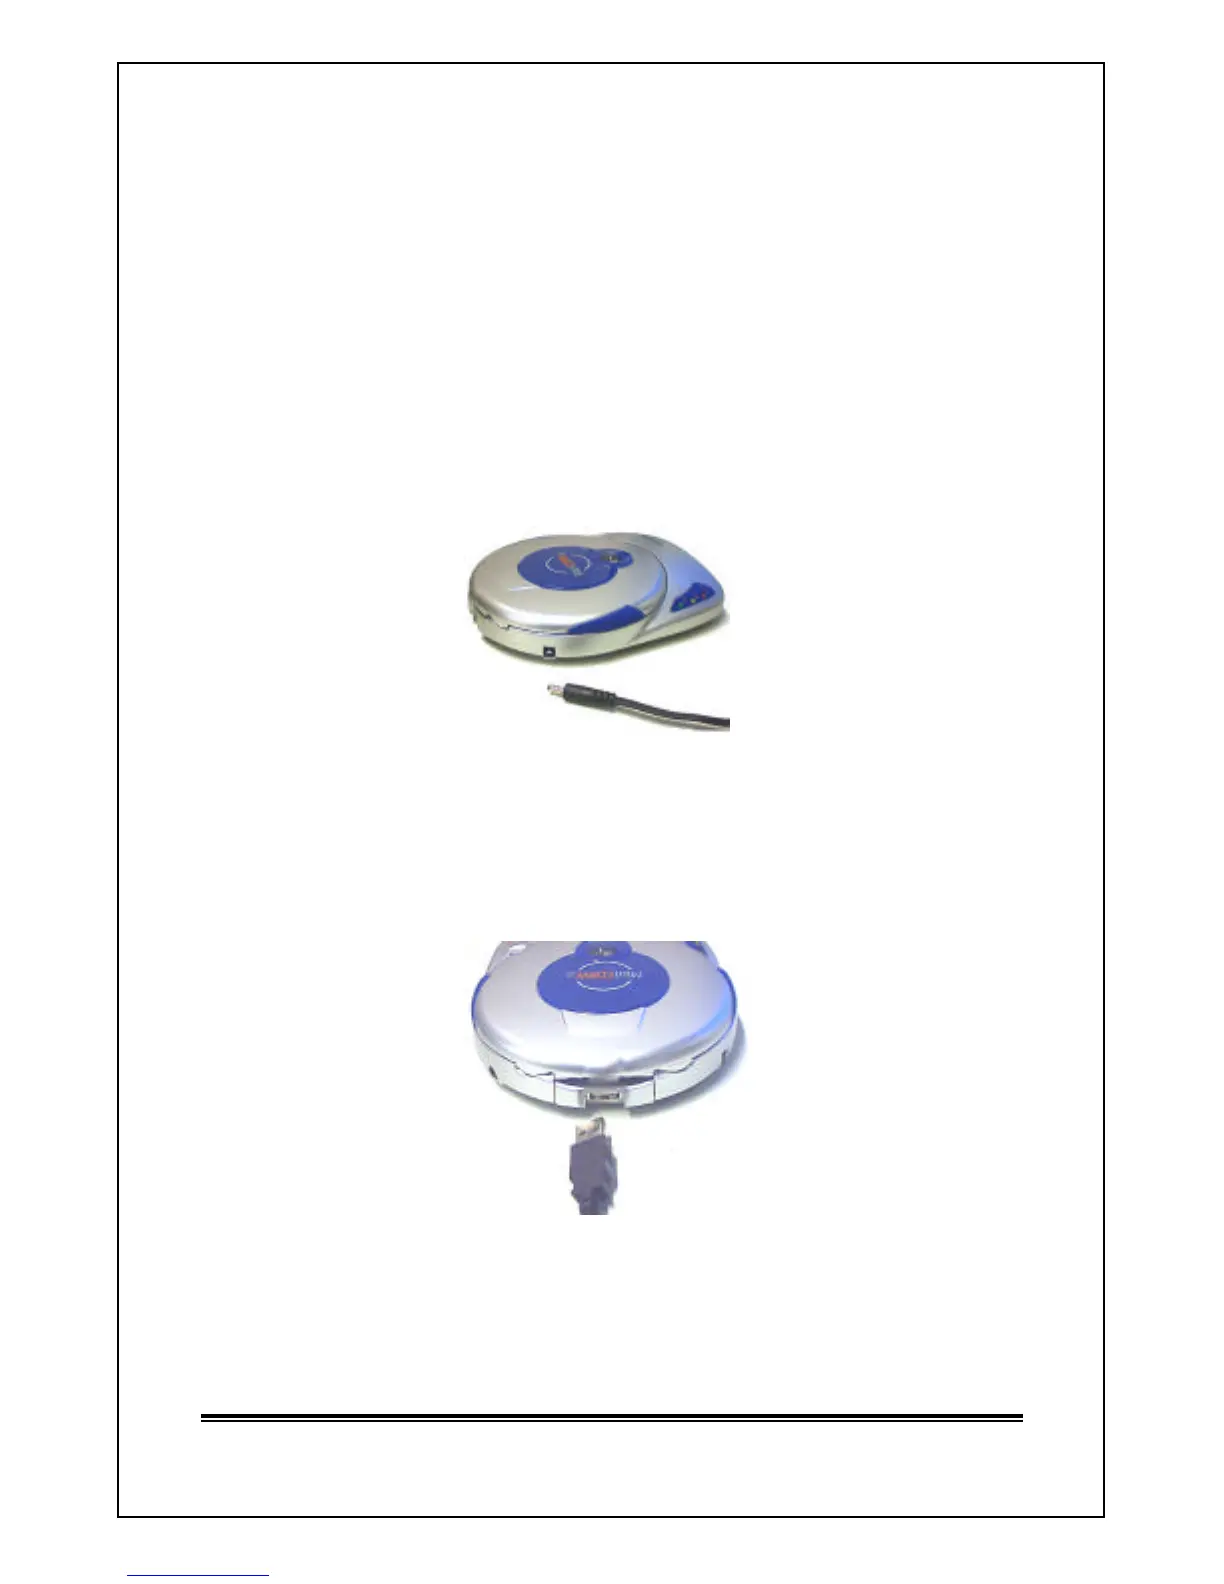
? Attach power cable into the Power Socket at the back of your
MiniCDRW 2.
? Plug in AC/DC adapter into an electrical outlet.
? Verify the green “ON” LED is turn ON.
? Connect USB cable to connector at the back of MiniCDRW 2 drive.
? Connect other end of your USB cable to a USB port of your computer.
Note Only High Speed USB2.0 port will allow you to use your
MiniCDRW 2 at maximum reading and writing speed.