8
B. FOR BALL HANGER HANGING SYSTEM
1. Using the hook for hang the fan body through one of the holes of canopy.
Support the fan with this hook while making the wiring connections.
2. Remove the ceiling canopy from the hook of hanger plate. Locate all wires
into the ceiling canopy.
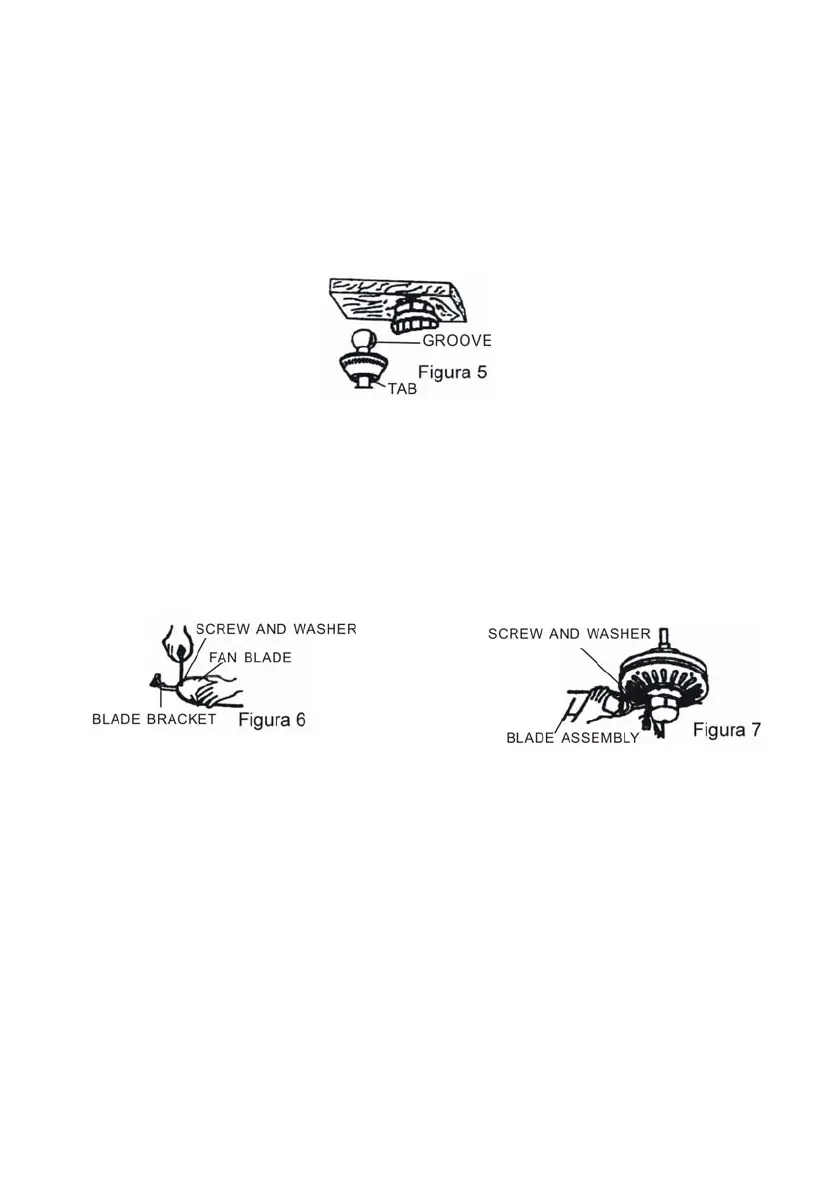
3. Make sure stem in seated firmly inside ball. Turn until groove locks with tab in
canopy. Locate ceiling canopy to its position affix to the hanger plate by
tightening lock screws as shown in Fig.5
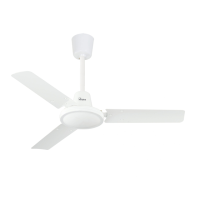
BLADE ASSEMBLY AND INSTALLATION
1. Mount the blade brackets to the fan blades using the blade screws and
washers provided. See Fig.6. Make sure all blade screws are tightened
securely.
2. Mount the blade assemblies to the motor with motor screws provided, Make
sure all screws are tightened. Securely. See fig.7.
ELECTRICAL CONNECTIONS
Connect coffee to live, blue to neutral, and yellow-green grounding lead to the
grounded conductor of the supply circuit. If you are installing a light kit, connect
black to live of the supply circuit. Use wire connectors provided with your fan.
NO LOOSE STRANDS or LOOSE CONNECTIONS SHOULD BE PRESENT.
After splices are made, the wires must be spread apart so that the yellow-green
and blue are on one side of the outlet box and the coffee (and black if light kit is
installed) are one the other side. Turn splices upward and carefully push all wiring
into outlet box. For optional wall controls, see Fig 8B,. (Note: Regulator control
fan speed only, cannot use in light kit)